3DPrintCAD › Guides › Basic shapes & body tools
Basic shapes and body tools: every option, explained
Build a part from simple shapes - boxes, cylinders, stars, text - and holes, then shape it with the body tools: round its edges, cut it in two, resize a hole, hollow it, attach it to other bodies, combine and repair it. This guide goes through every option in the order you meet it.
Watch the tutorial
A plate built from basic shapes in three minutes, with subtitles - holes, rounded edges, hole size, thickness, cut, text and attach. Watch on YouTube ↗
1Basic shapes
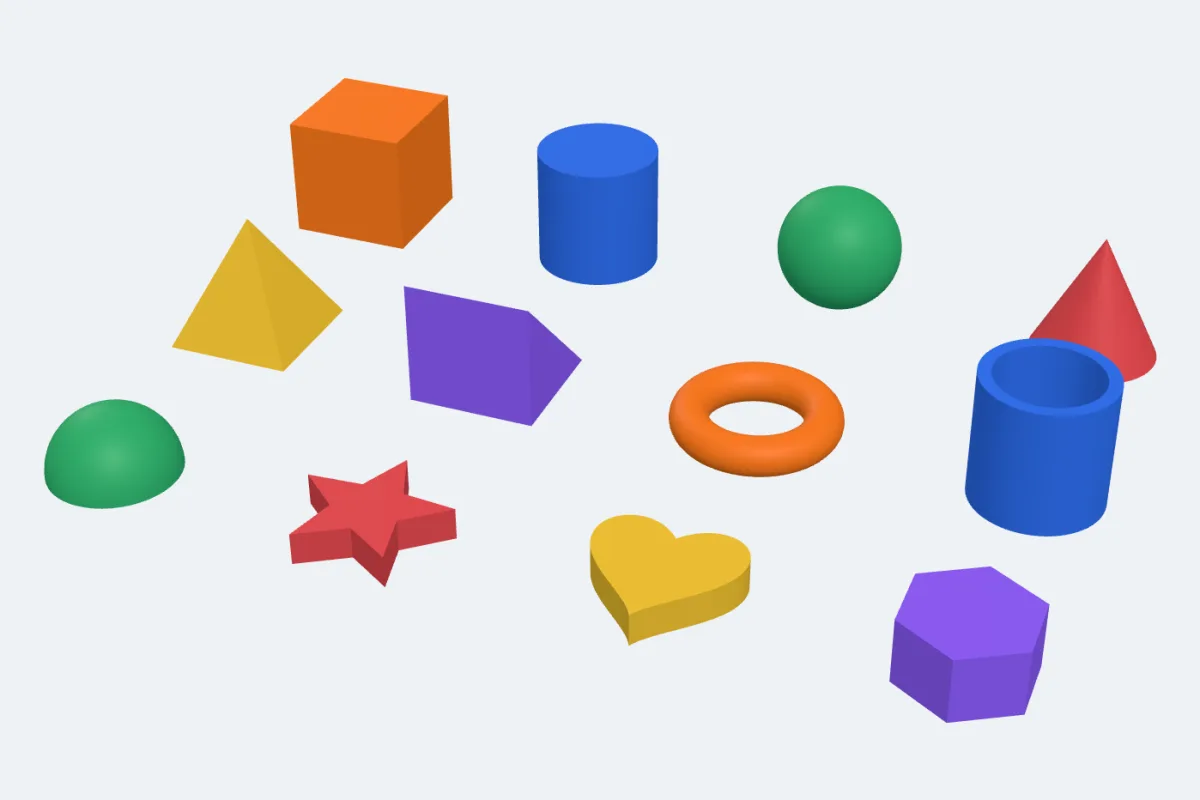
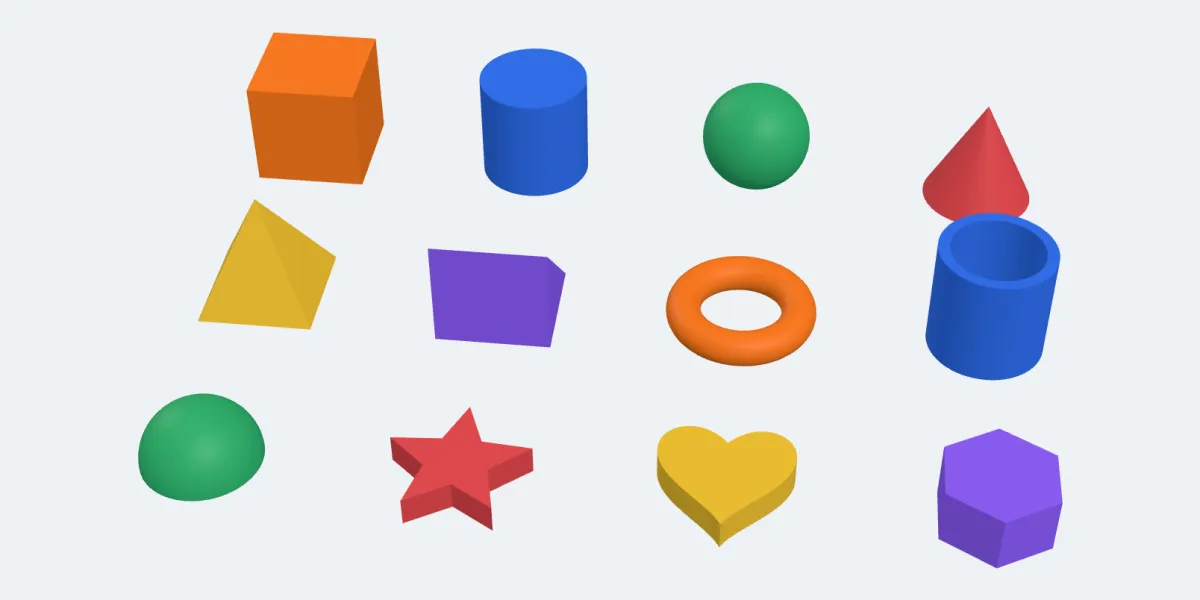
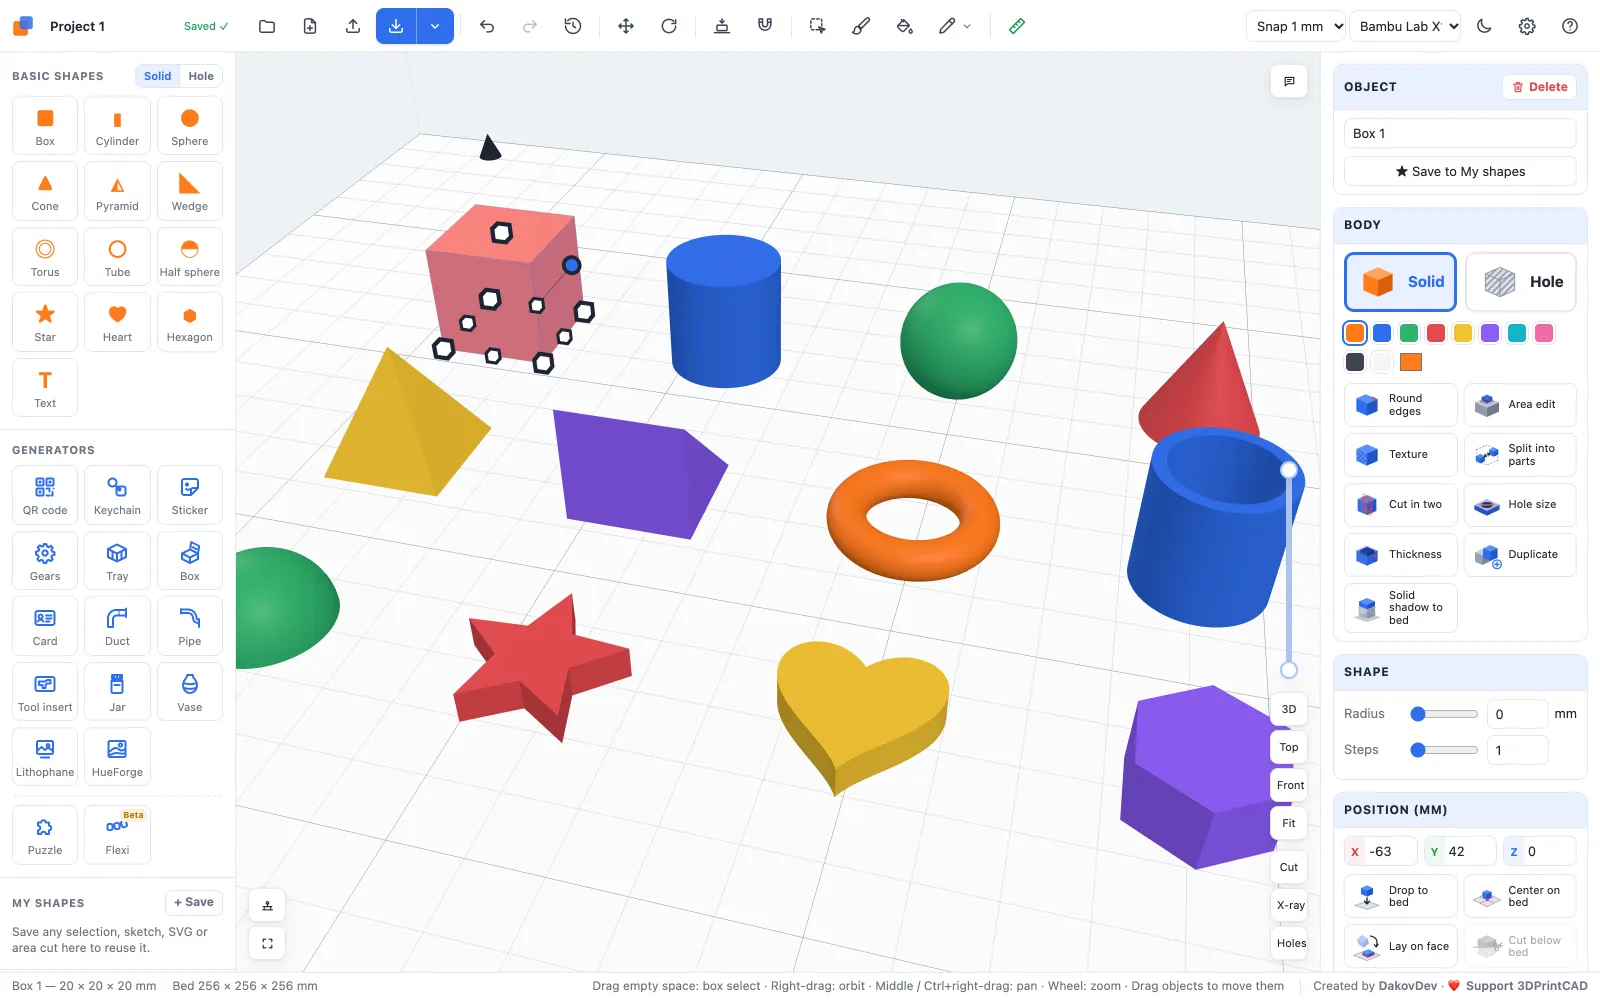
The Basic shapes panel on the left has twelve shapes - Box, Cylinder, Sphere, Cone, Pyramid, Wedge, Torus, Tube, Half sphere, Star, Heart and Hexagon - plus Text. Each one starts 20 mm across, so you always know its size.
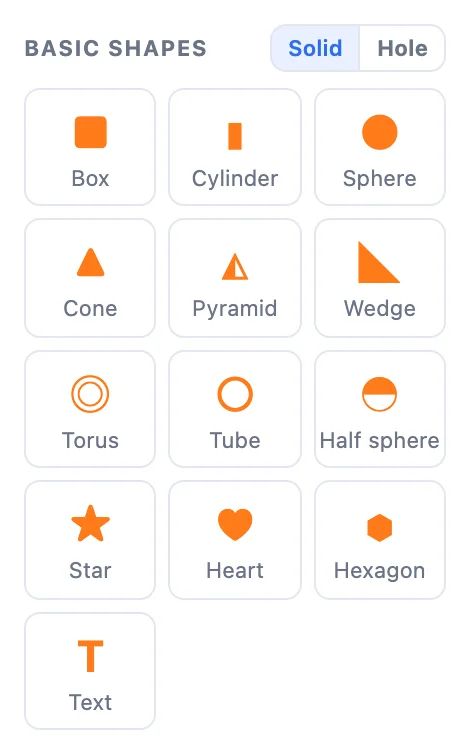
- Click a tile, then click where it should go. A see-through copy follows the mouse: on the bed it snaps to the grid, and over a body it lands on the face under the mouse.
- Drag a tile onto the bed to drop it there straight away.
- Solid / Hole above the tiles decides what the next shape will be. A solid is printed; a hole cuts its shape out of the solids it touches.
2Put a shape on another body
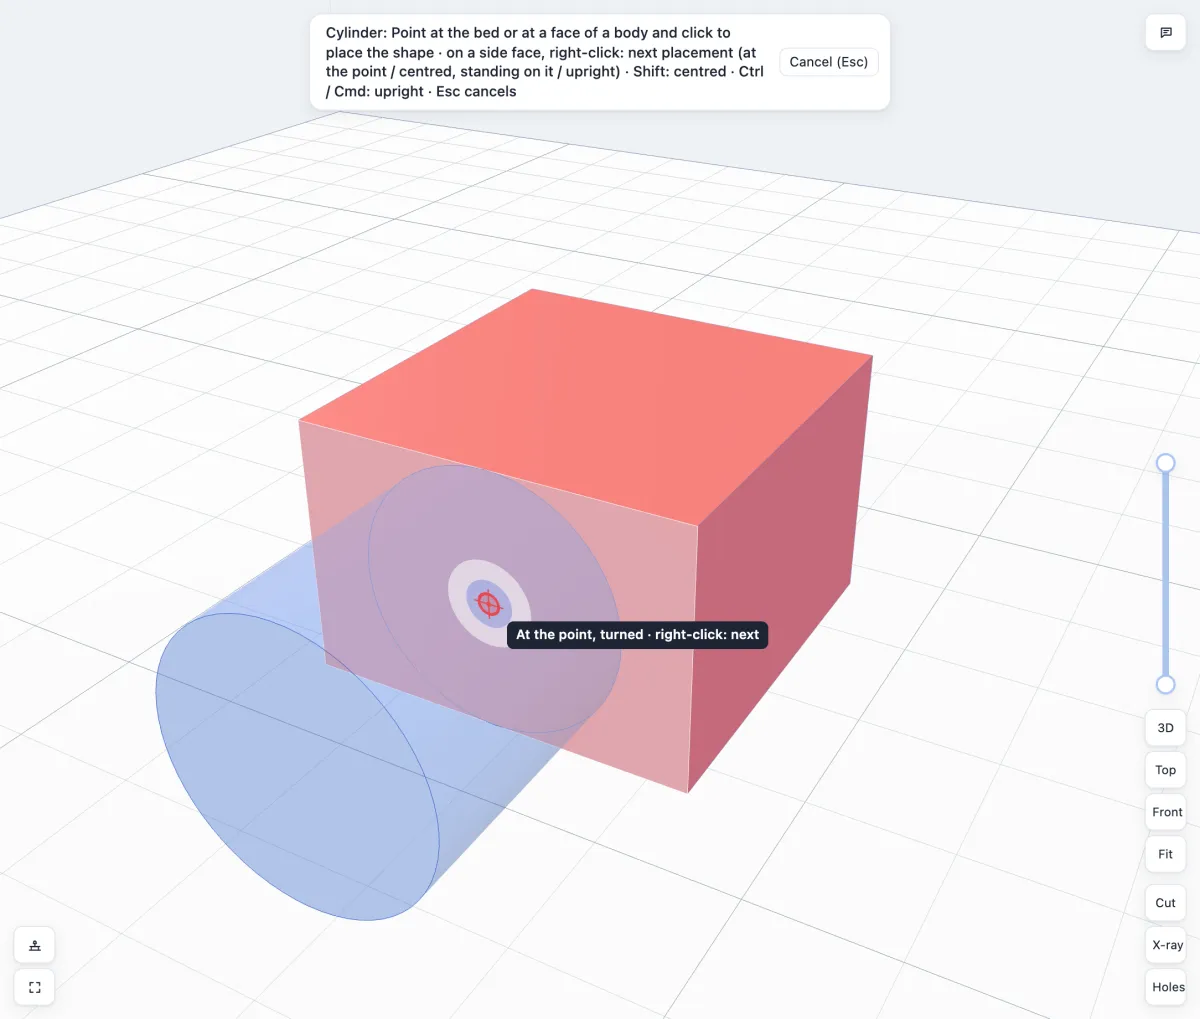
Move a new shape over a body and you see where it will land. A flat face lights up with a white outline, and a red mark shows its centre - come close and the shape snaps to it. On a curved surface a soft white disc follows the surface.
- On a side face the shape stands on that face. Right-click steps through the ways it can sit: at the point, centred, standing on the face, or upright. The label next to the mouse names the current one.
- Hold Shift to centre it on the face. Hold Ctrl / Cmd to keep it upright.
- Esc cancels.
3Text
The Text tile opens a small window. Type your text (up to six lines - Shift+Enter starts a new line). Then pick the font, the letter size and the height, and choose whether the text runs straight or along a curve, bending up or down. Raised letters stand up from whatever they are placed on; Engraved letters are cut into it. Click Add text (or press Enter) to put it on the bed. On surface… lets you click a face, flat or curved, and wraps the text onto it.
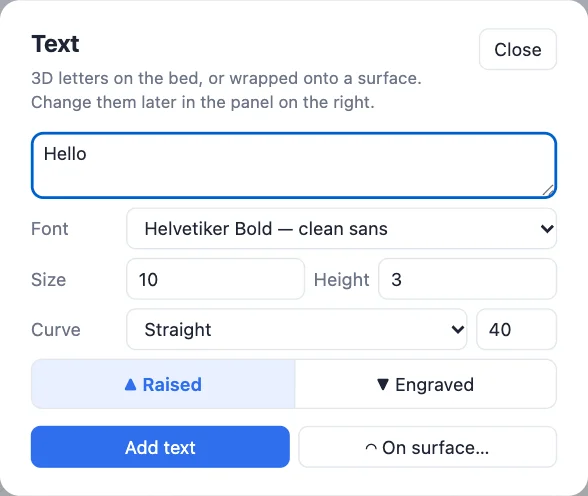
You can change the text later in the panel on the right, and you can upload your own fonts from the bottom of any font list.
4The body panel
Click a body to select it. The panel on the right then shows everything you can do with it, in cards. Shift-click or Ctrl / Cmd-click adds more bodies, and dragging on empty space selects with a box. The cards are explained below, from the top down.
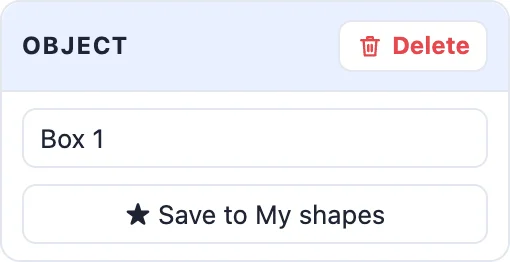
Object - the body's name (click to rename it), Delete (or the Del key) and ★ Save to My shapes. Saved shapes appear in My shapes on the left, so you can reuse them in any project in this browser.
5Body: solid or hole, colour and tools
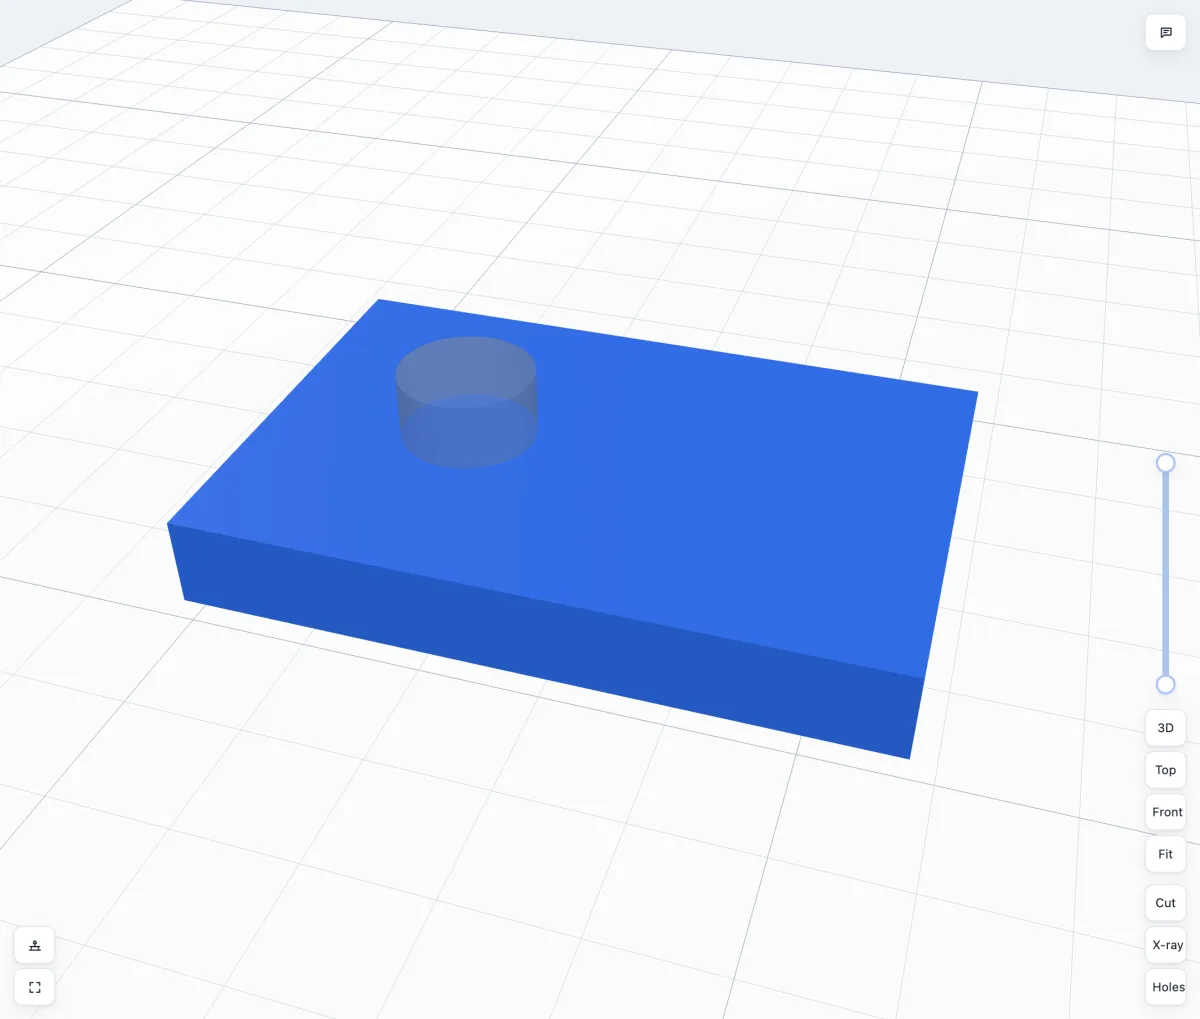
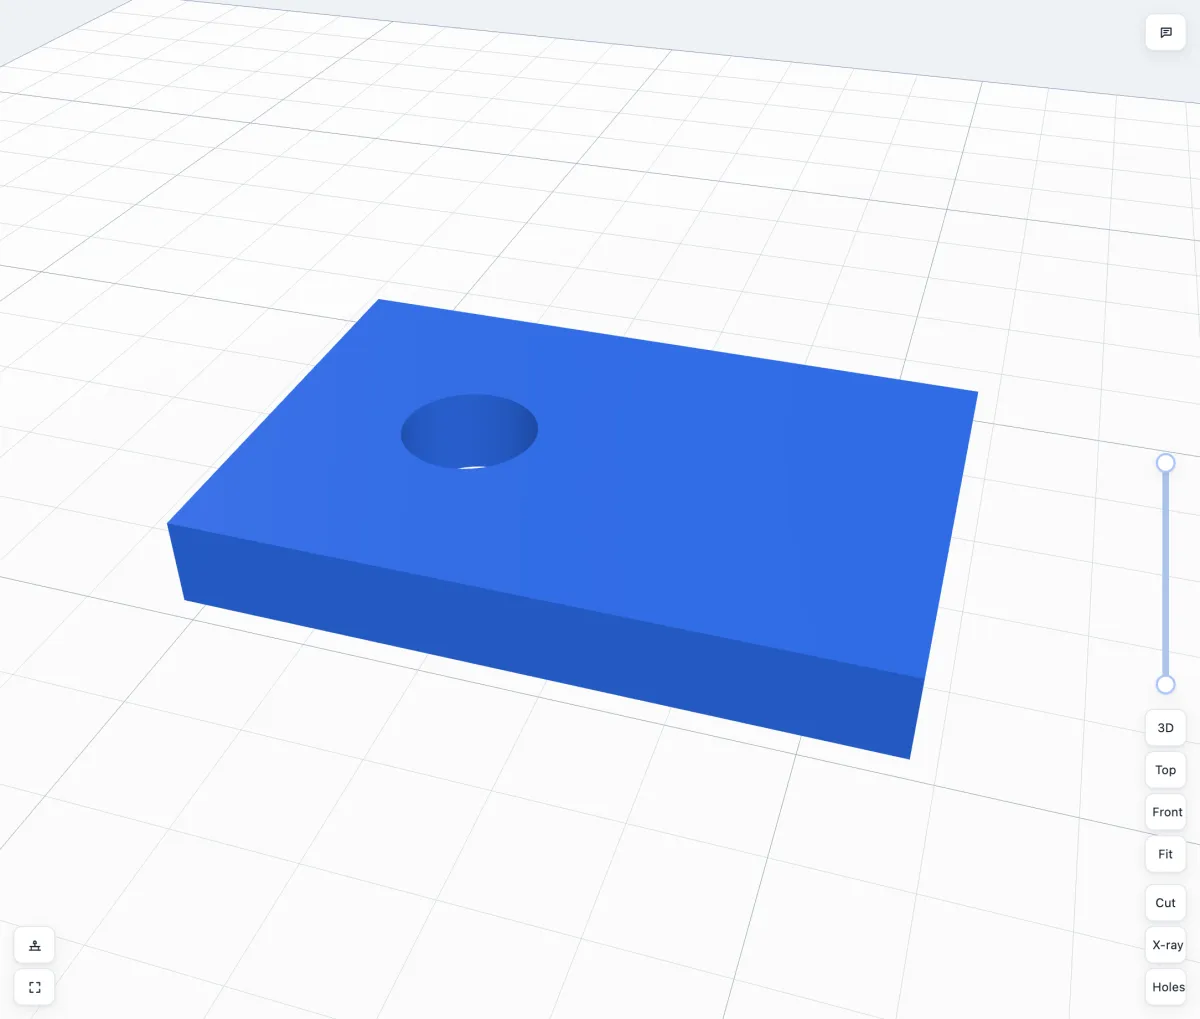
Solid or Hole switches what the body is. A hole is drawn see-through grey. It cuts out of the solids it overlaps when you click Union, and when you export.
- Clearance (holes only) makes the hole bigger on every side when it cuts: 0.1 is tight, 0.2 snug, 0.3 loose. Then the part that goes into the hole still fits after printing.
- Colours - click a swatch or the colour picker. Each colour can be its own filament in a multi-colour 3MF.
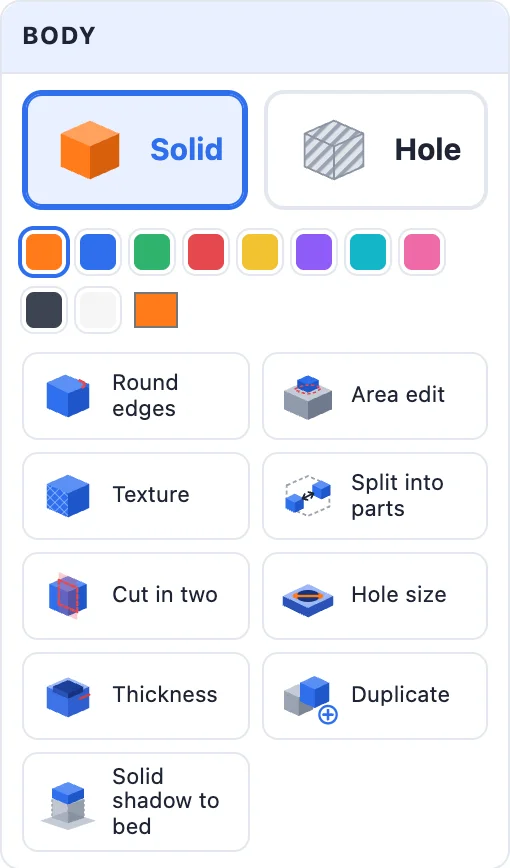
The tiles under the colours open the body tools:
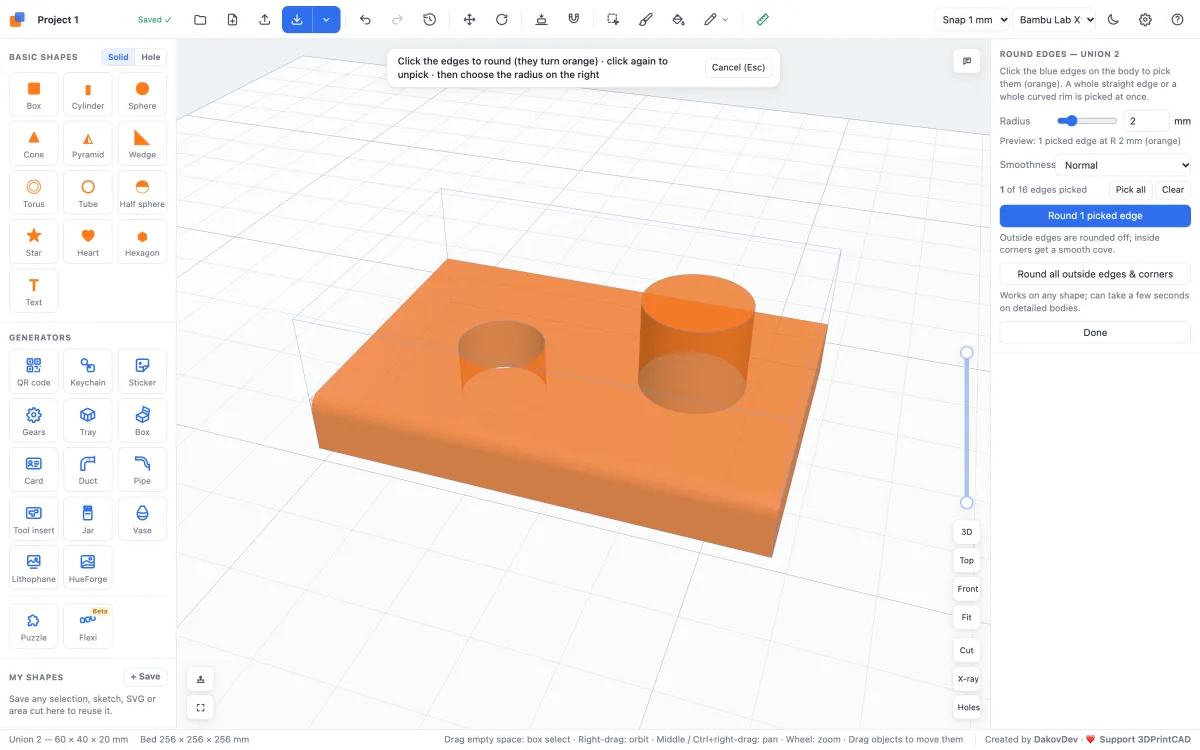
- Round edges - click the edges you want rounded (they turn orange), set the radius and see a live preview. Round all outside edges & corners does the whole body at once. Colours are kept.
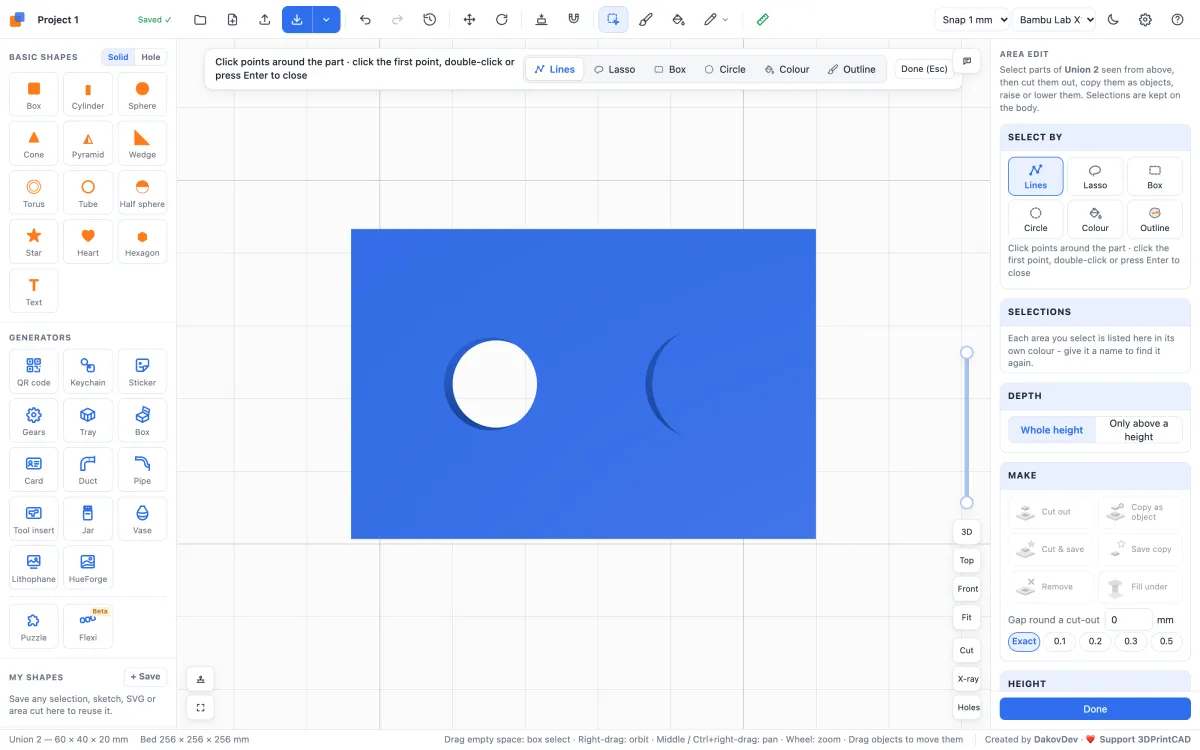
- Area edit - select part of the body from above: draw it with Lines, Lasso, Box or Circle, click a Colour, or stroke over an Outline. Then cut it out, copy it as a new object, remove it, fill under it, or raise or lower it. You can keep several named selections. Colours are kept with every action.
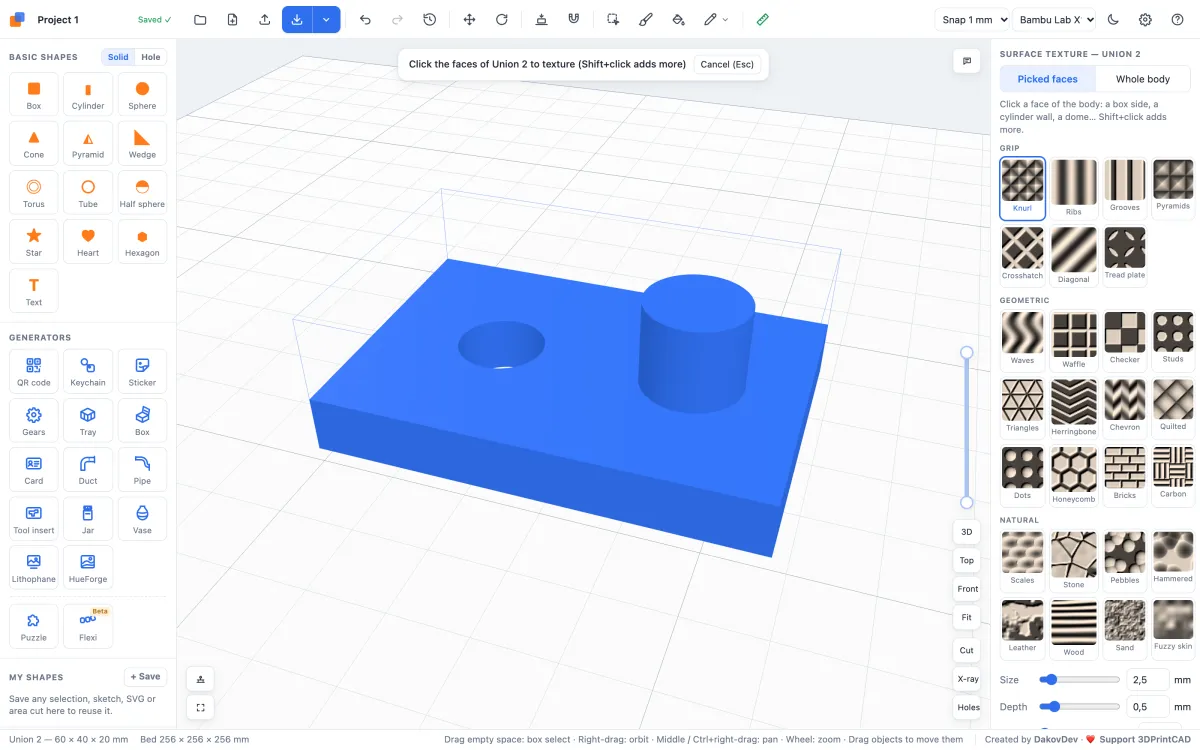
- Texture - put knurl, ribs, waves, honeycomb, leather, wood and more on the faces you click, or on the whole body. Size and depth are set in the panel.
- Split into parts - turns every separate piece of the body into a body of its own.
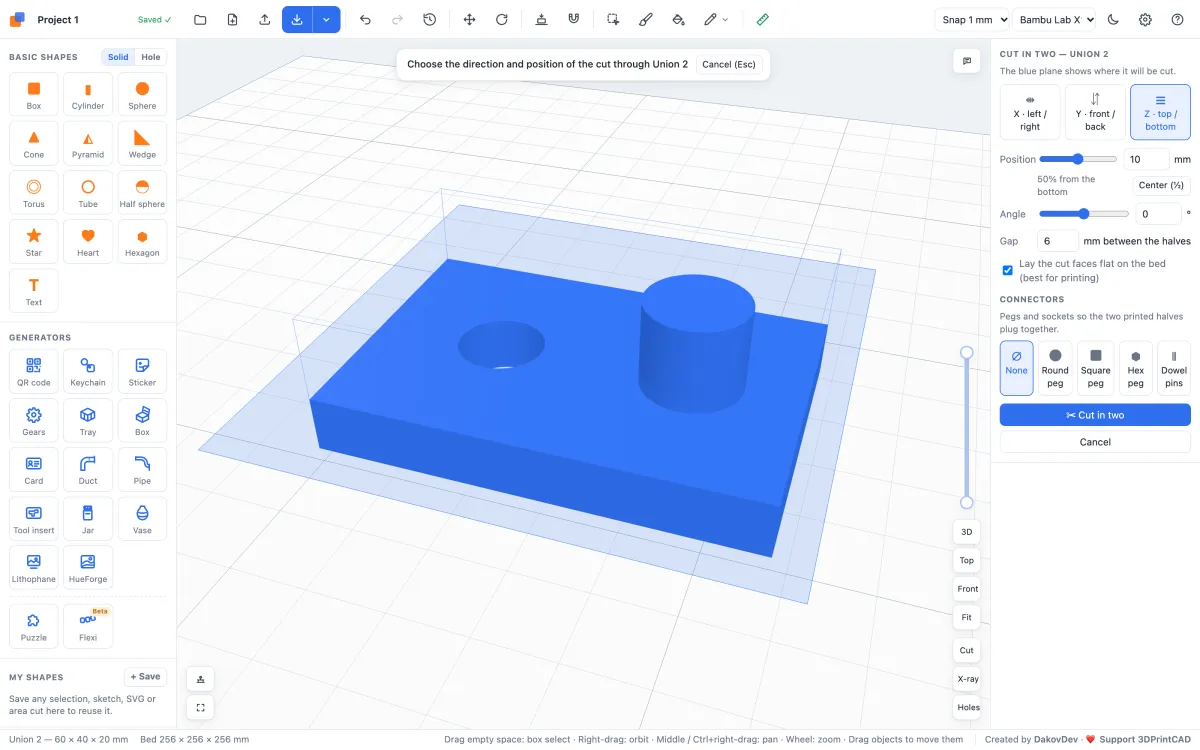
- Cut in two - cut along X, Y or Z at any position and angle. You can add a gap, lay the cut faces on the bed, and add pegs, sockets or dowel pins so the two halves plug back together.
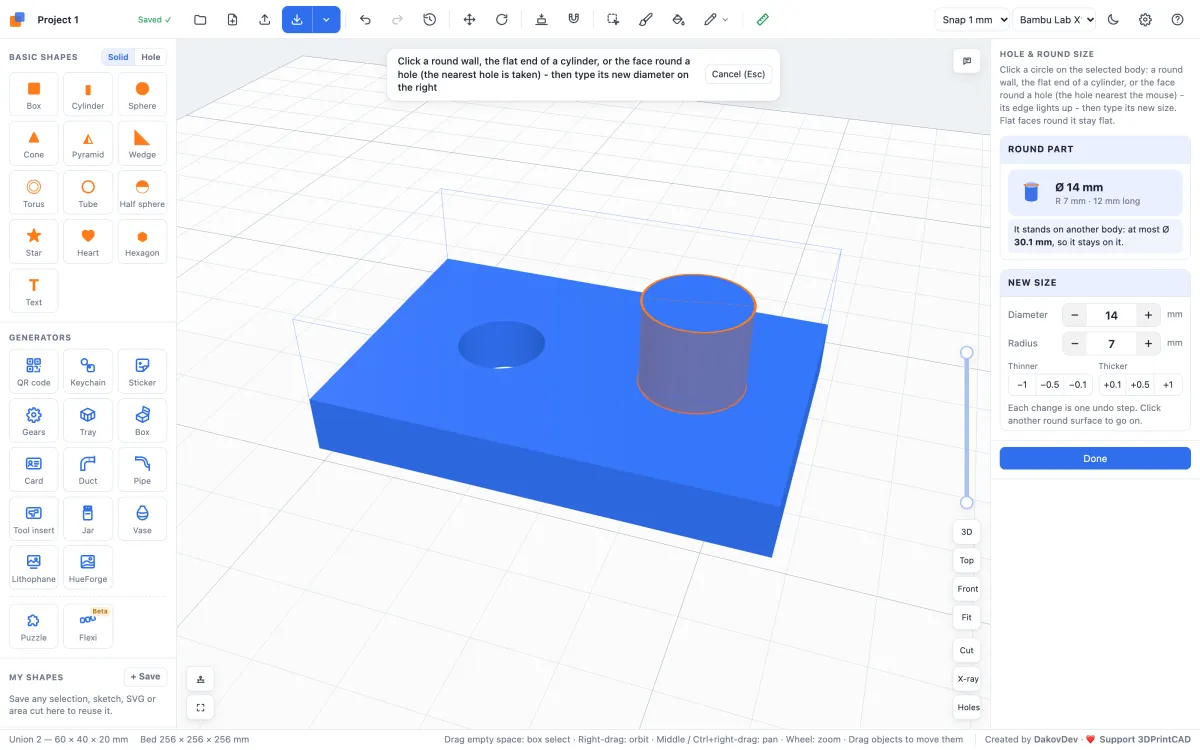
- Hole size - click a round wall, the end of a cylinder or the face around a hole, then type its new diameter or radius, or pick a screw size (M2-M10). The rest of the body stays as it was. A part standing on another body cannot grow past that body's edge.
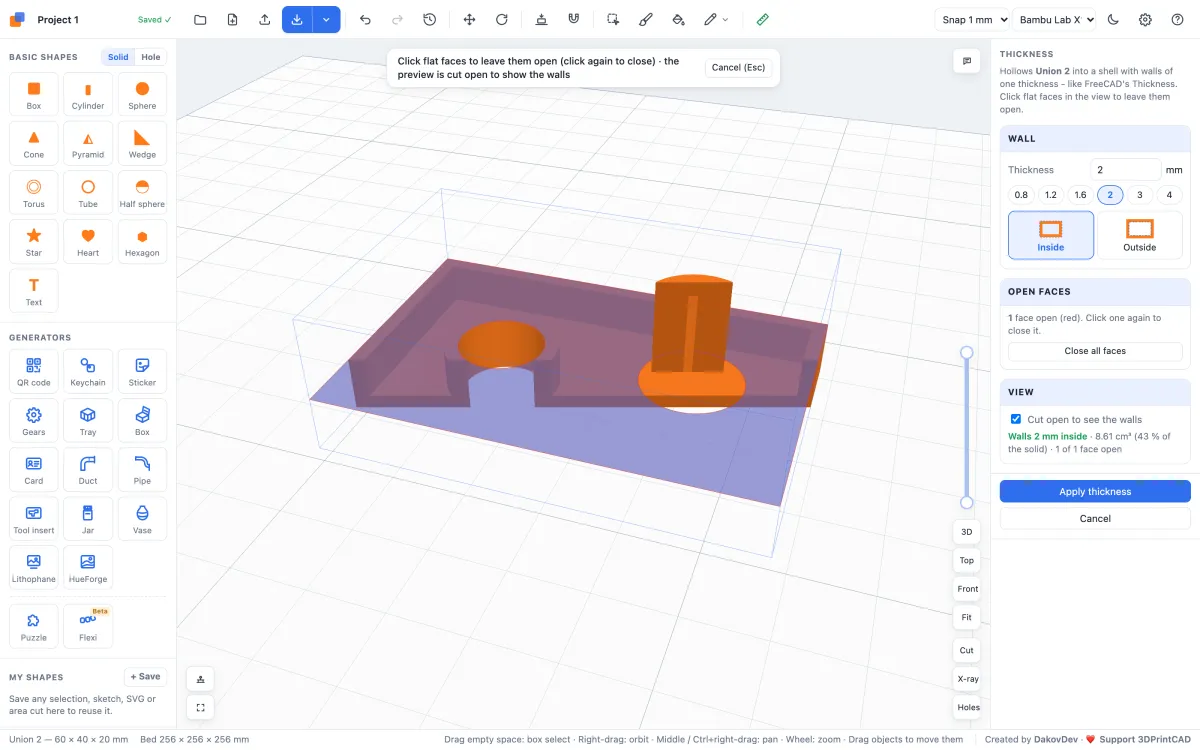
- Thickness - hollows the body into a shell with walls of one thickness, inside or outside its surface, like FreeCAD's Thickness tool. Click flat faces to leave them open, for example the top of a cup.
- Duplicate (Ctrl / Cmd + D) - a copy right beside it.
- Solid shadow to bed - a solid block under the body straight down to the bed, under all of it or only under its overhangs, with a live green preview. Use it as a stand, or merge it with the body.
The toolbar at the top has more: Paint, Sculpt and Sketch & CAD have guides of their own.
6Shape: rounded boxes
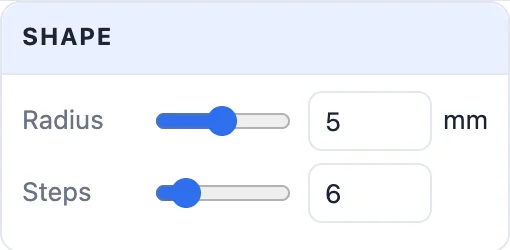
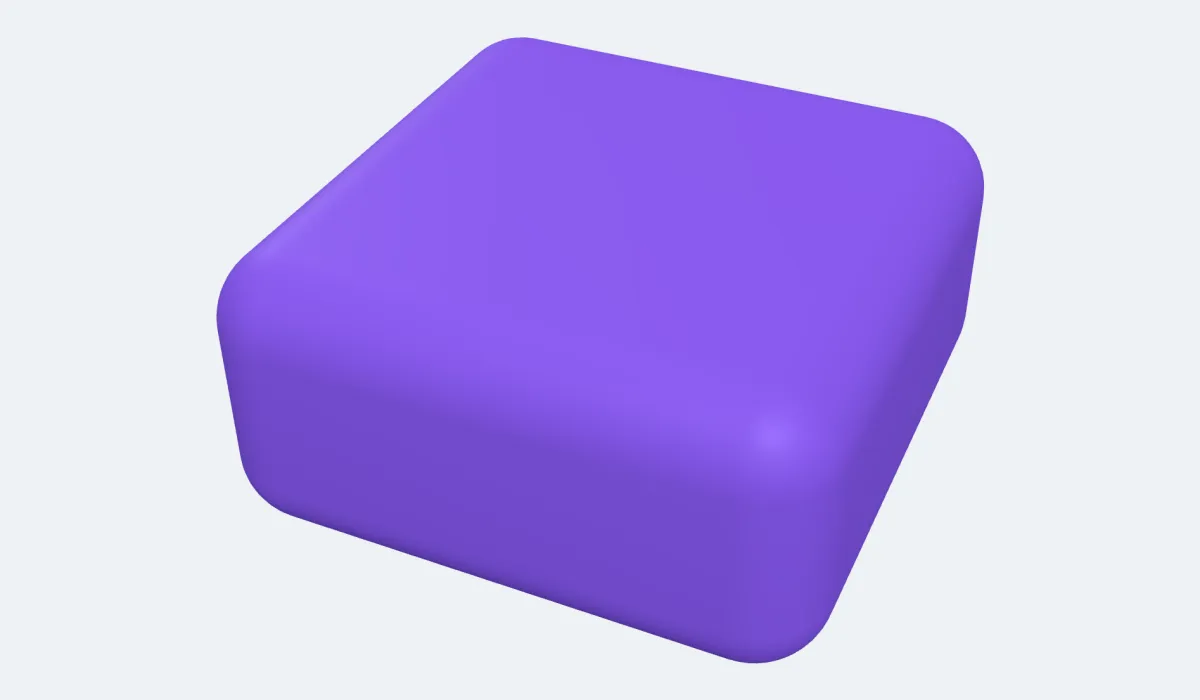
A Box from Basic shapes has a Shape card with two sliders. Radius rounds every edge and corner. Steps sets how smooth the rounding is: 1 gives a chamfer, and 6 or more give a smooth curve. Push the radius up to half the smallest side and the box turns into a pebble. The sliders work live while you drag, and the whole drag is one undo step.
7Position: on the bed and on other bodies
X, Y and Z are the printer's axes: X left / right, Y front / back, Z the height above the bed. Type a number and press Enter. Below them are the placement tiles:
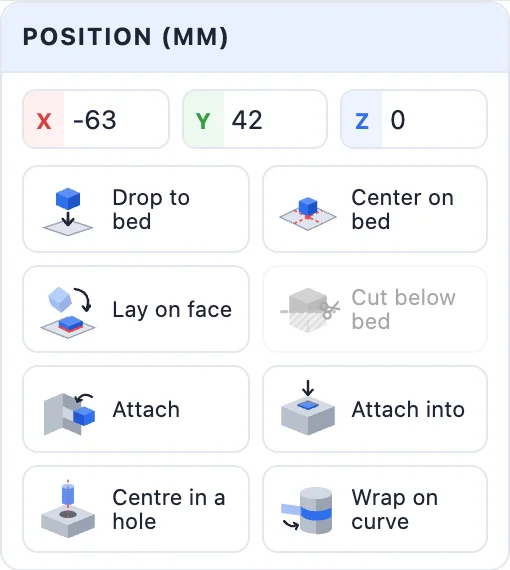
- Drop to bed - sets it down on the bed. Center on bed - moves it to the middle of the bed.
- Lay on face - click a face and the body turns so that face lies on the bed. This is the quickest way to find a good print orientation.
- Cut below bed - anything that sticks out under the bed is cut off. The tile and a red note show up when something does.
- Attach - click a face of another body and the selection is placed there, touching it. Attach into sets it into the face, level with the surface. A solid gets a pocket of its shape for an inlay; a hole cuts from the surface in. Right-click steps through the placements; Shift centres and Ctrl / Cmd stands it on the face.
- Centre in a hole - click the inside of a hole or the side of a pin, and the selection moves onto its axis. Use it for a screw, a peg or a shaft.
- Wrap on curve - bends the body to follow a curved surface, such as text round a cylinder.
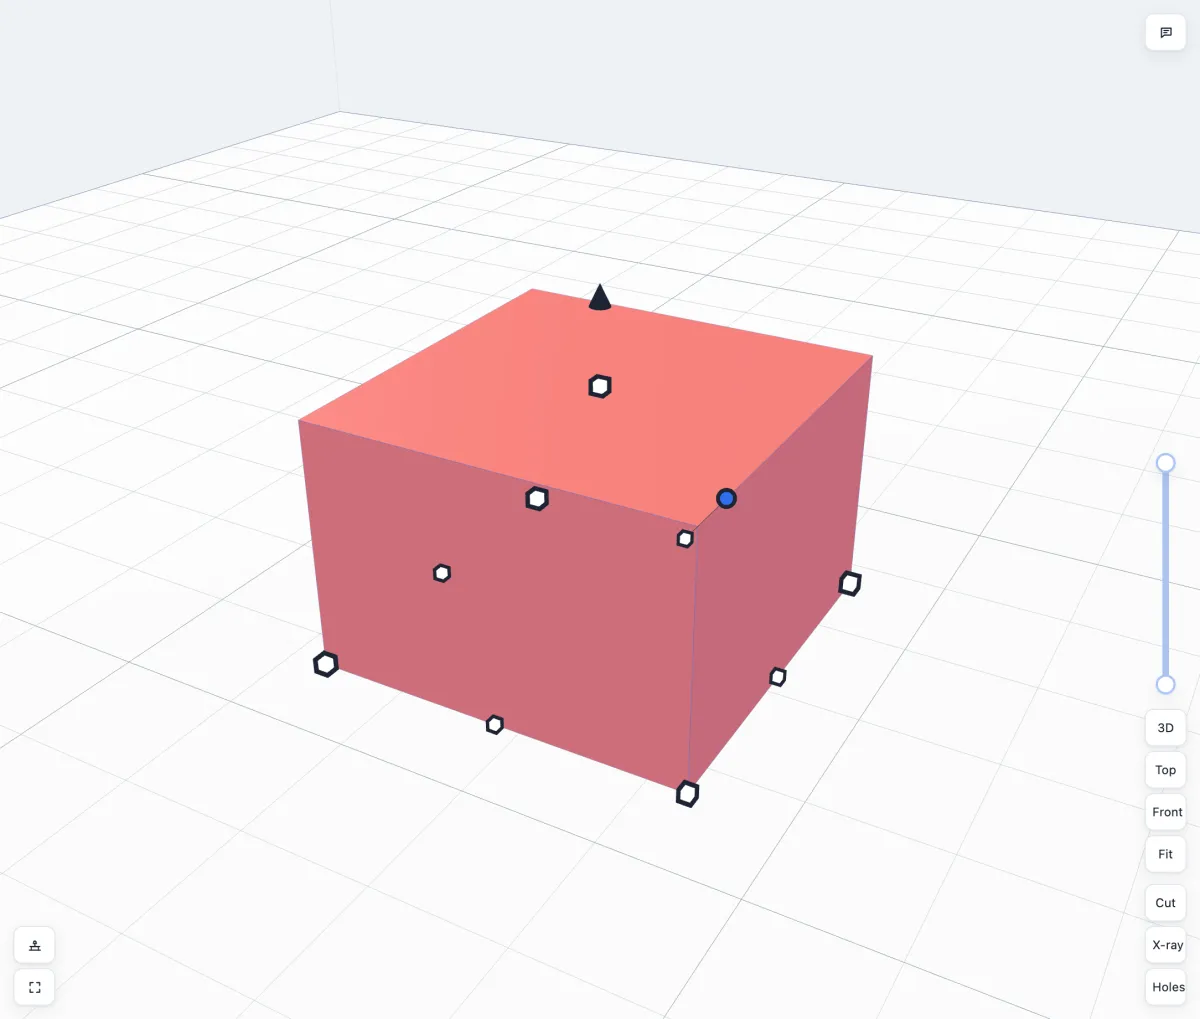
In the view, the dark cone above a selected body lifts it straight up or down. While you drag, it shows the height from the bed, and afterwards you can type an exact height into the label. The blue ball behind the body turns it round the vertical axis (Shift: 15° steps).
8Size, rotate and mirror
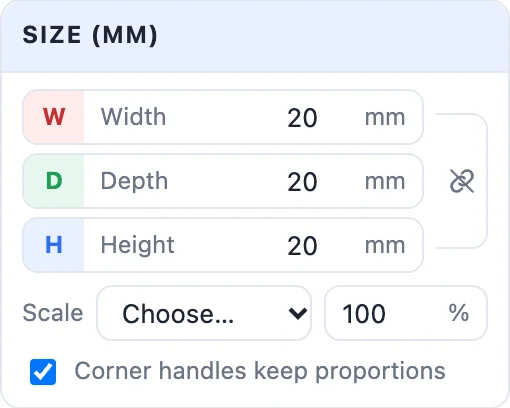
Size - type the width, depth and height in mm. Click the chain to keep the proportions, so that changing one side changes all three. Scale resizes by a percentage, and Corner handles keep proportions does the same for the corner handles in the view. Dragging a handle with Ctrl / Cmd held resizes from the centre, so the body stays in place. A body never grows bigger than your printer's bed.
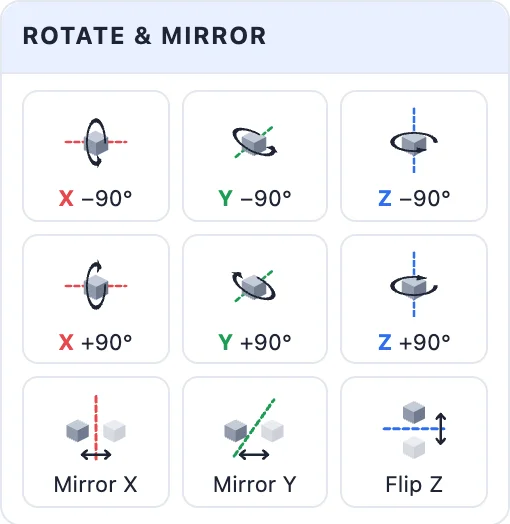
Rotate & mirror - six tiles turn the body 90° around X, Y or Z, either way, and three tiles mirror it. For any other angle, use Rotate in the toolbar (key R) to get rotation rings.
9Combine several bodies
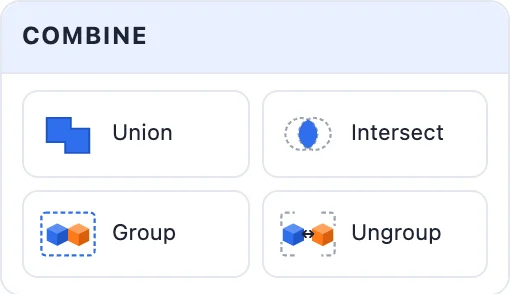
Select two or more bodies to get the Combine card:
- Union - joins the solids into one body and cuts the holes out of them. Colours are kept: a body made of different colours keeps each colour where it was.
- Intersect - keeps only the part where the bodies overlap.
- Group - keeps the bodies as they are, but they move and export together. Ungroup splits them again.
10Mesh health
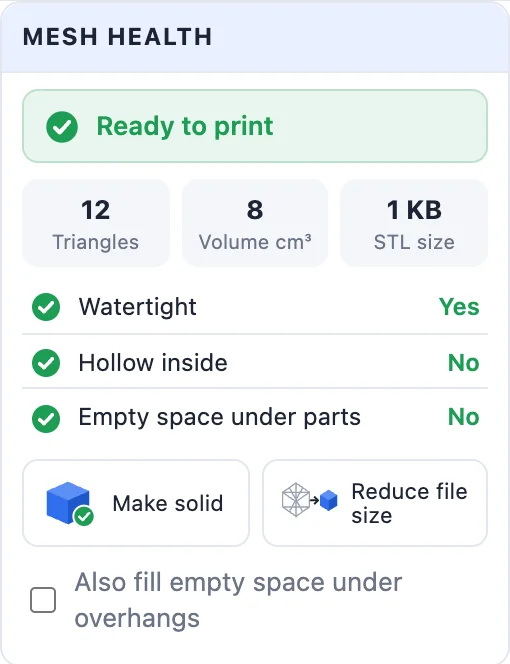
The Mesh health card checks whether the body will print: whether it is watertight, whether it is hollow inside, whether any normals are inverted, and whether there is empty space under parts. It also shows the triangles, the volume and the STL file size. If something is wrong, Make solid repairs it. Tick Also fill empty space under overhangs to fill those gaps at the same time. Reduce file size keeps the shape with fewer triangles - see Reduce STL file size.
11The right-click menu
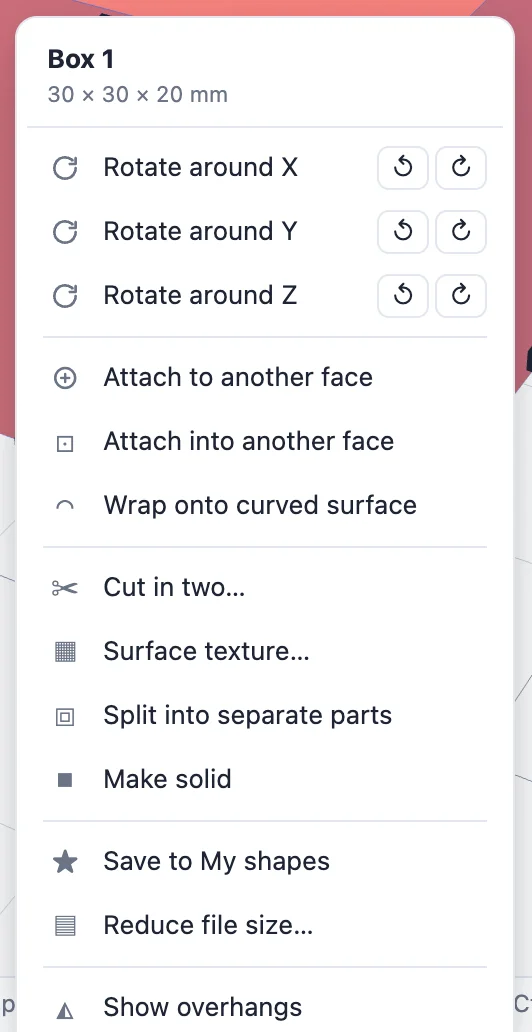
Right-click a body without dragging to open a short menu with the most used actions. You can rotate it ±90° around X, Y or Z, attach it to or into another face, wrap it onto a curved surface, cut it in two, texture it, split it, make it solid, save it to My shapes, reduce its file size, or show its overhangs (surfaces that need supports, in red). Each item does the same as its button in the panel. Right-dragging still turns the view.
Questions
How do I make a hole in a shape?
Add a shape and click Hole (or switch Solid / Hole above the shape tiles before adding it). Place it where the hole goes, select both bodies and click Union. Set a Clearance on the hole if a part has to fit into it.
How do I put one shape exactly on top of another?
Click the shape tile and move the mouse over the body: the face under the mouse lights up and the shape lands there; near the red centre mark it snaps to the middle. For a body you already have, use Attach and click the face.
How do I change the size of a hole or a cylinder?
Select the body, click Hole size and click the round wall or the face around the hole. Type the new diameter or radius, or pick a screw size. The rest of the body stays as it was.
How do I make a hollow part?
Select it and click Thickness. Set the wall thickness and choose Inside or Outside. Click the faces that should be open, such as the top of a cup, then click Apply thickness.
Which side should face down when I print?
Use Lay on face and click the face that should lie on the bed - usually the largest flat one. Show overhangs in the right-click menu marks in red what would need supports.
Start building
Open the app, drop a few shapes on the bed and try the tools.
Open the appAlso see: Sketch & CAD, Paint tool, Resize an STL file and all guides.