3DPrintCAD › Guides › Sketch & CAD
Sketch & CAD: draw parts to size and change any STL
Draw a part from the side or from above, give it exact sizes and make it 3D - an iPhone stand in a few minutes. Then the part most people need: open an STL you already have and change it - mounting holes, nut pockets, a text - without the original CAD file. Everything happens in your browser.
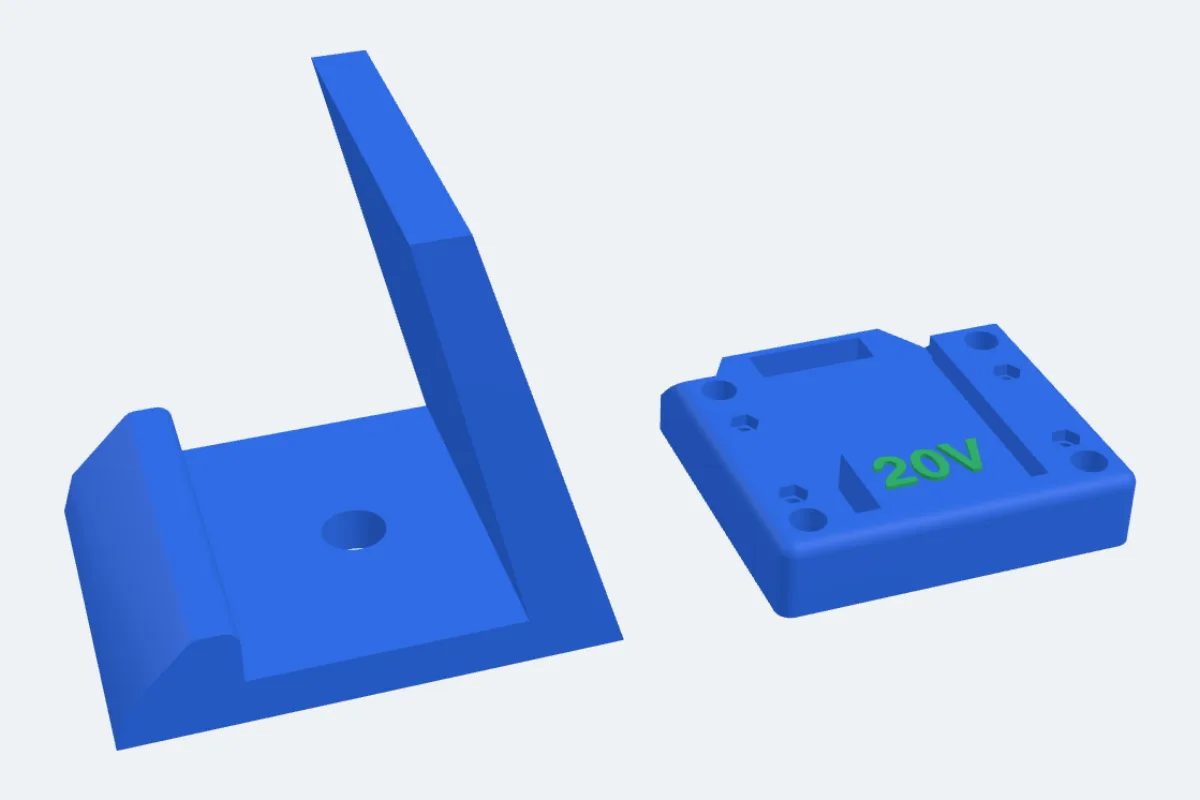
Watch the tutorial
An iPhone stand from a sketch, then an STL changed with holes, nut pockets and text - in just over three minutes, with subtitles. Watch on YouTube ↗
1Open Sketch and choose where to draw
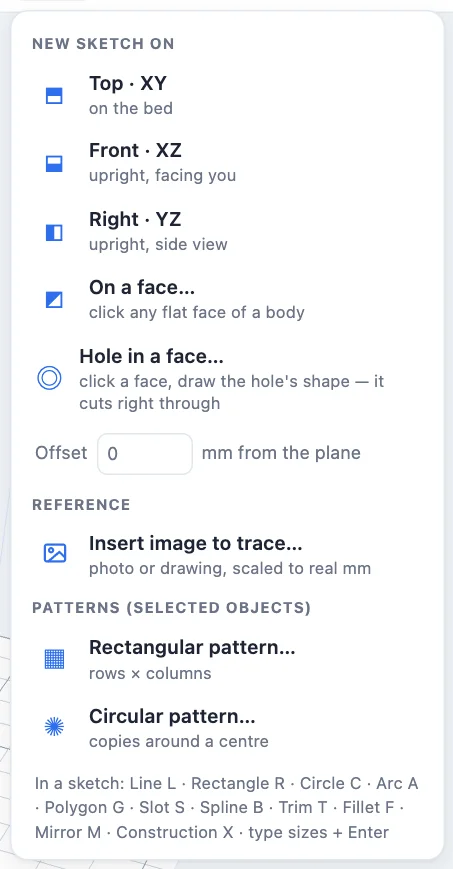
Click Sketch (the pencil) in the toolbar, or press P. The menu asks where to draw:
- Top · XY - flat on the bed. Front · XZ - upright, facing you. Right · YZ - upright, seen from the side. Offset moves the plane that many mm away.
- On a face… - click any flat face of a body and draw on it: to add to the body or cut into it.
- Hole in a face… - click a face, draw the hole's shape; it cuts right through.
- Insert image to trace… puts a photo or drawing behind the sketch, scaled to real mm. Rectangular / Circular pattern copy the selected bodies in rows or round a centre.
2Draw: the iPhone stand
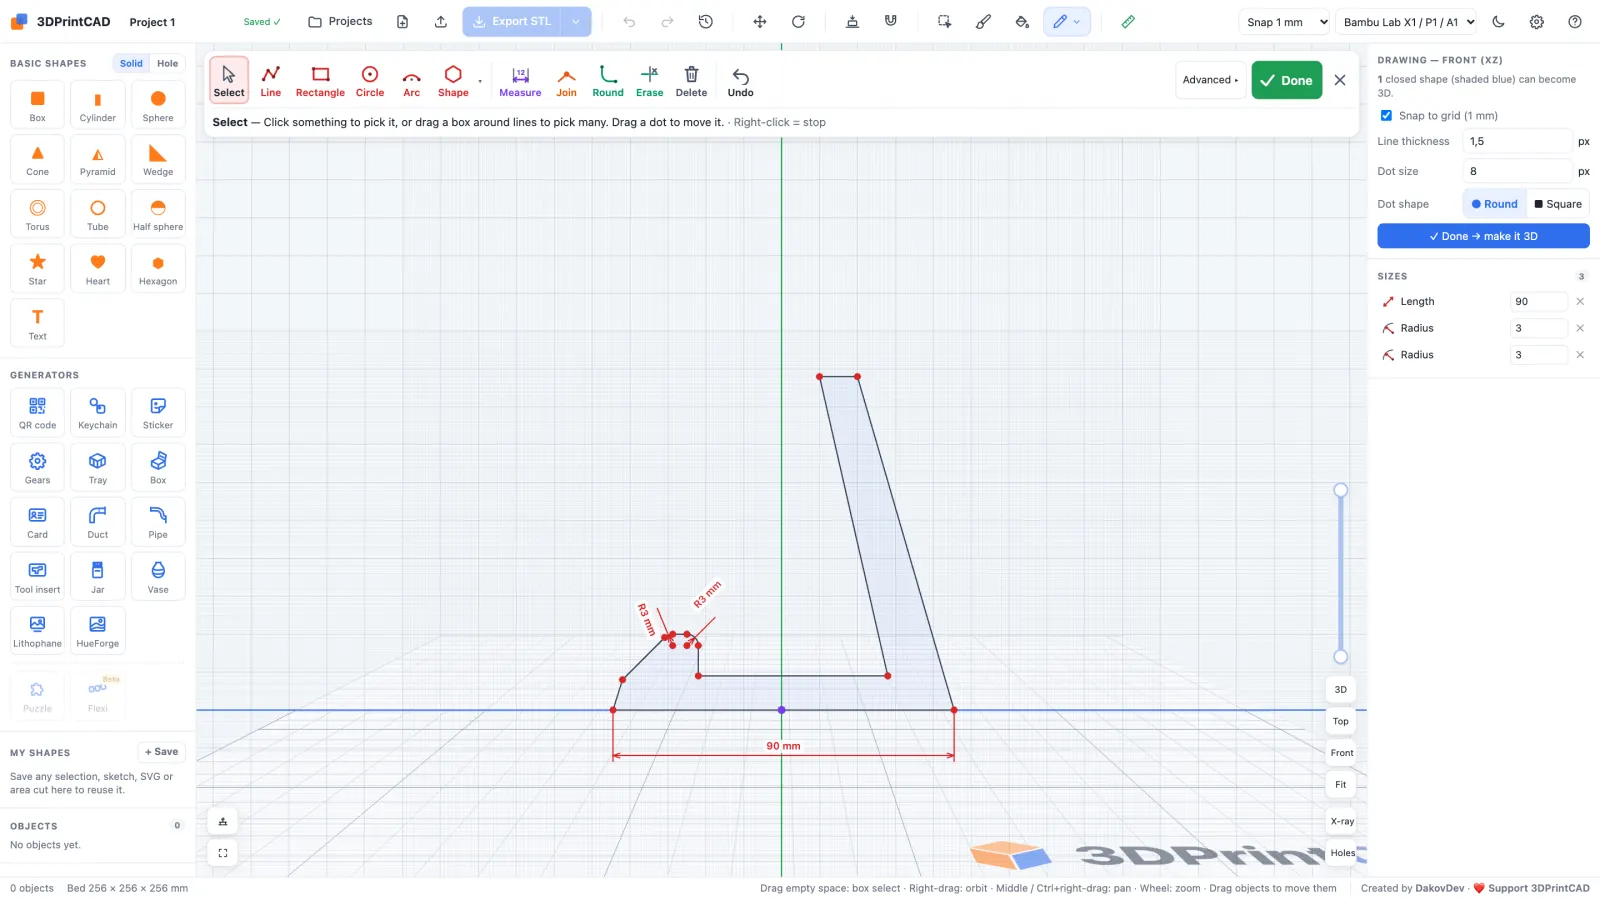
A phone stand is a side profile pushed sideways, so it starts as a Front sketch. The view turns face-on to the plane, with a grid in mm; scroll to zoom, middle-drag to pan. Tick Snap to grid to land on whole millimetres (off, points go exactly where you click).
- Line - click point after point; click the first point again to close the shape, right-click to stop. M switches to arcs that carry on from the line.
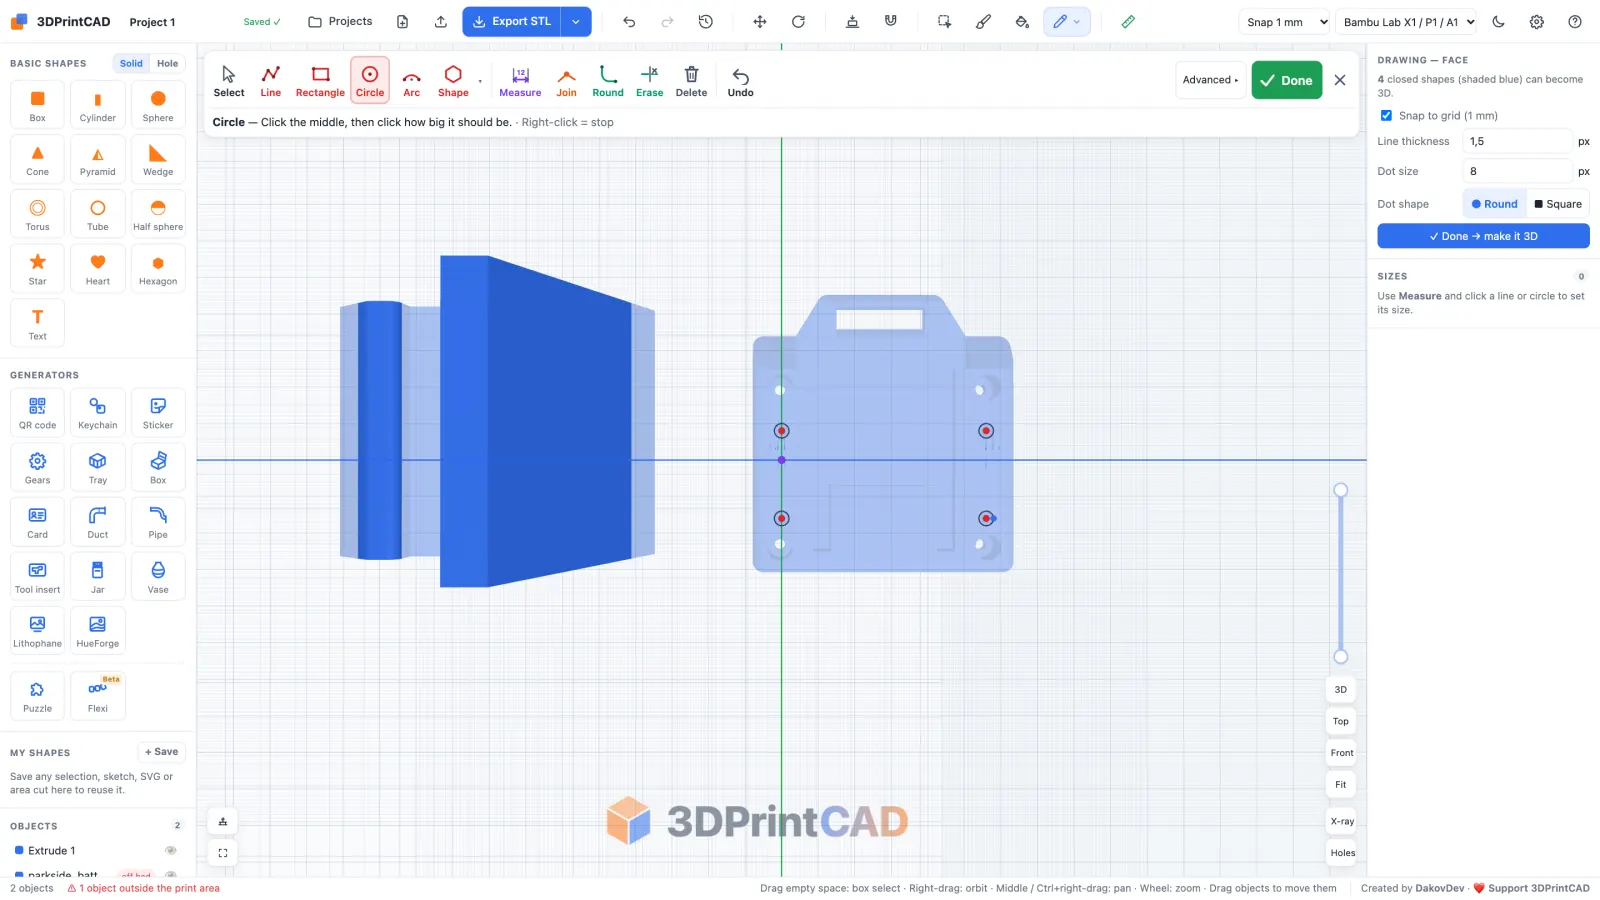
- Rectangle (two corners), Circle (centre, then size), Arc (centre, start, end) and Shape (▾: triangle, square, pentagon, hexagon, octagon).
- Round - click a corner to round it; set the Roundness in the panel. Erase - click a piece of a line to trim it away. Join - snap two dots together, or a dot onto a line. Delete and Undo.
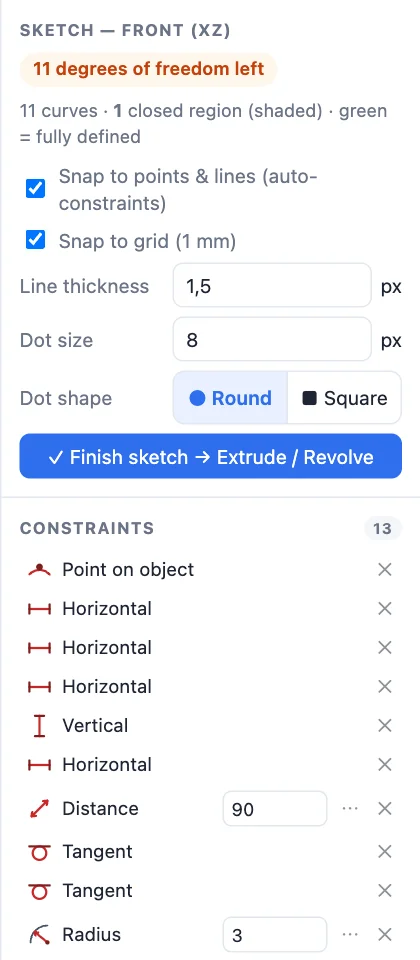
Every closed shape is shaded blue - those are the shapes that can become 3D. For the stand: the base, a lip at the front to hold the phone, and the leaning back.

3Sizes and constraints
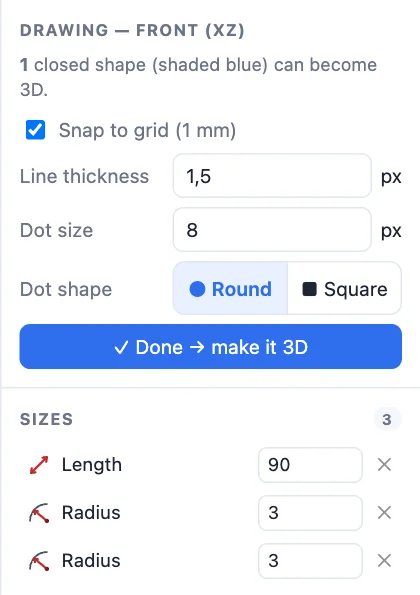
Measure: click a line (or a circle, or two things) and click where the size should go, then type the size - the shape follows. Here the base becomes exactly 90 mm. Every size is listed under Sizes; type a new value there at any time, or drag a size label to move it.
Advanced ▸ opens the full CAD toolbar: polylines, slots, splines, construction lines, mirror, offset, constraints (horizontal, vertical, parallel, perpendicular, tangent, equal, symmetric, lock) and dimensions with names and formulas. The panel then lists every constraint and how much of the sketch can still move - it turns green when the sketch is fully defined. ◂ Simple goes back.

4Make it 3D: extrude or revolve
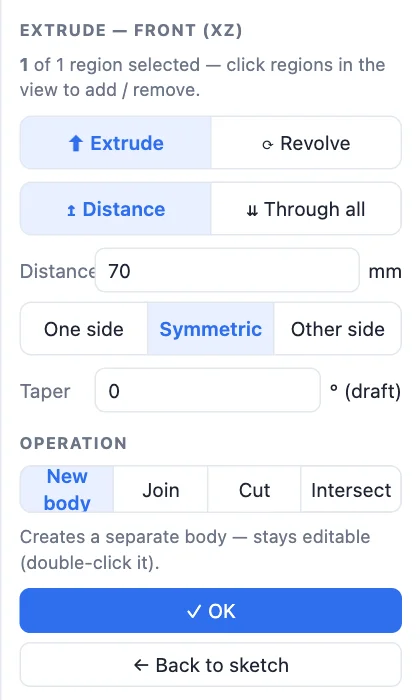
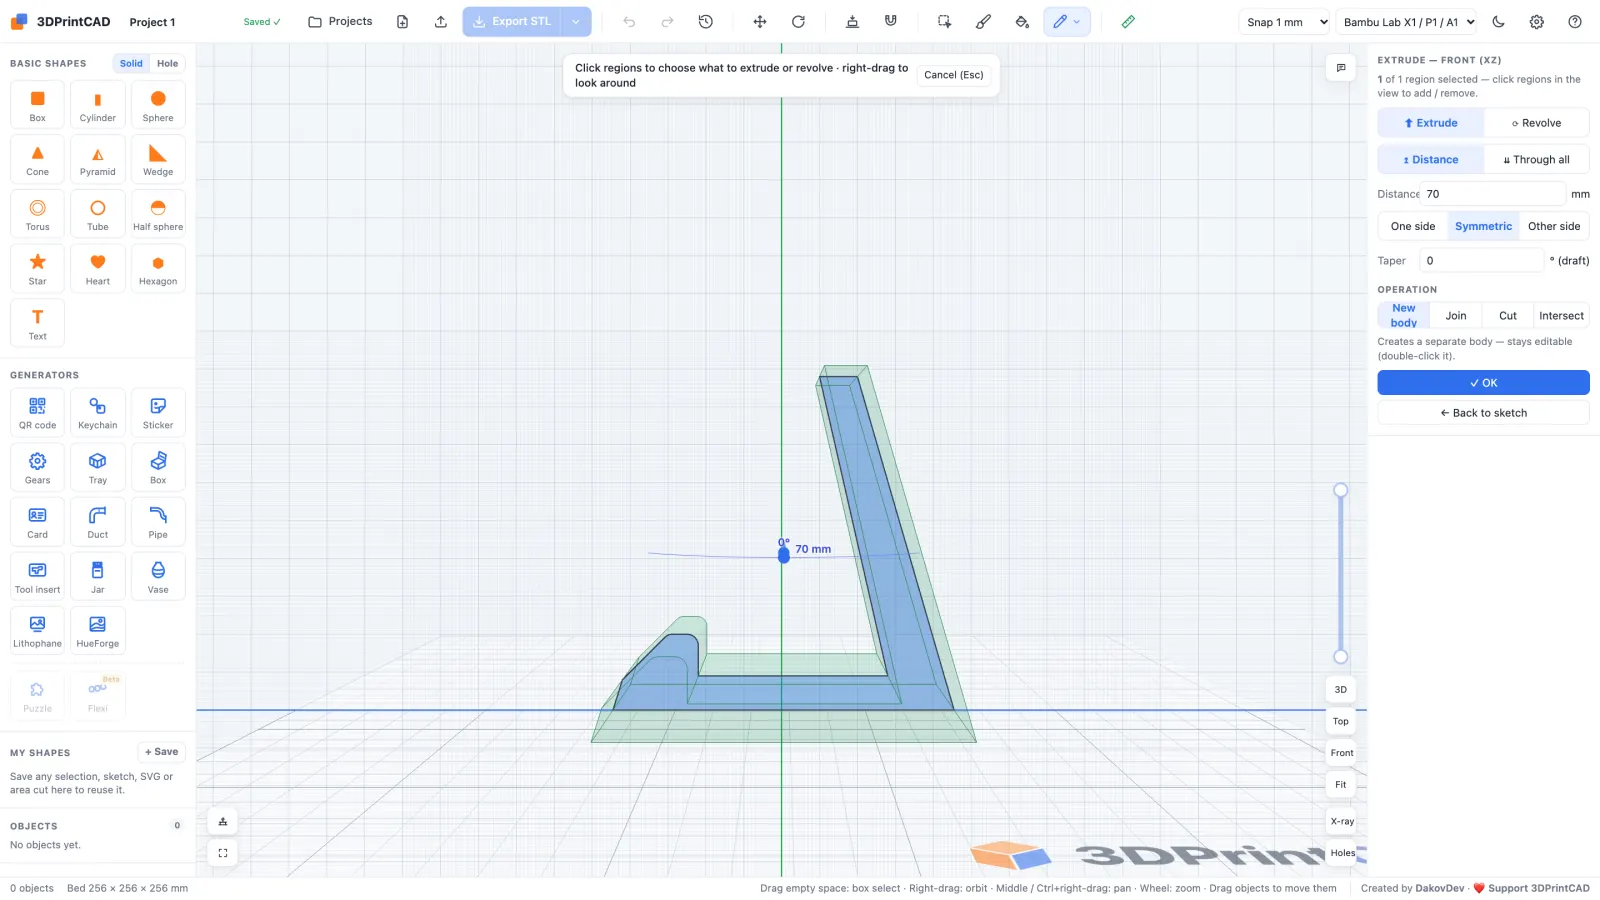
Click Done → make it 3D. Click shaded regions to pick which ones become 3D, then:
- Extrude pushes the shape out: a Distance (drag the arrow in the view or type it) or Through all; One side, Symmetric (half each way - 70 mm for the stand) or Other side; a Taper in degrees (drag the round knob).
- Revolve turns the shape round an axis (sketch X, sketch Y or a line you click), any angle up to 360° - for round parts like knobs and cups.
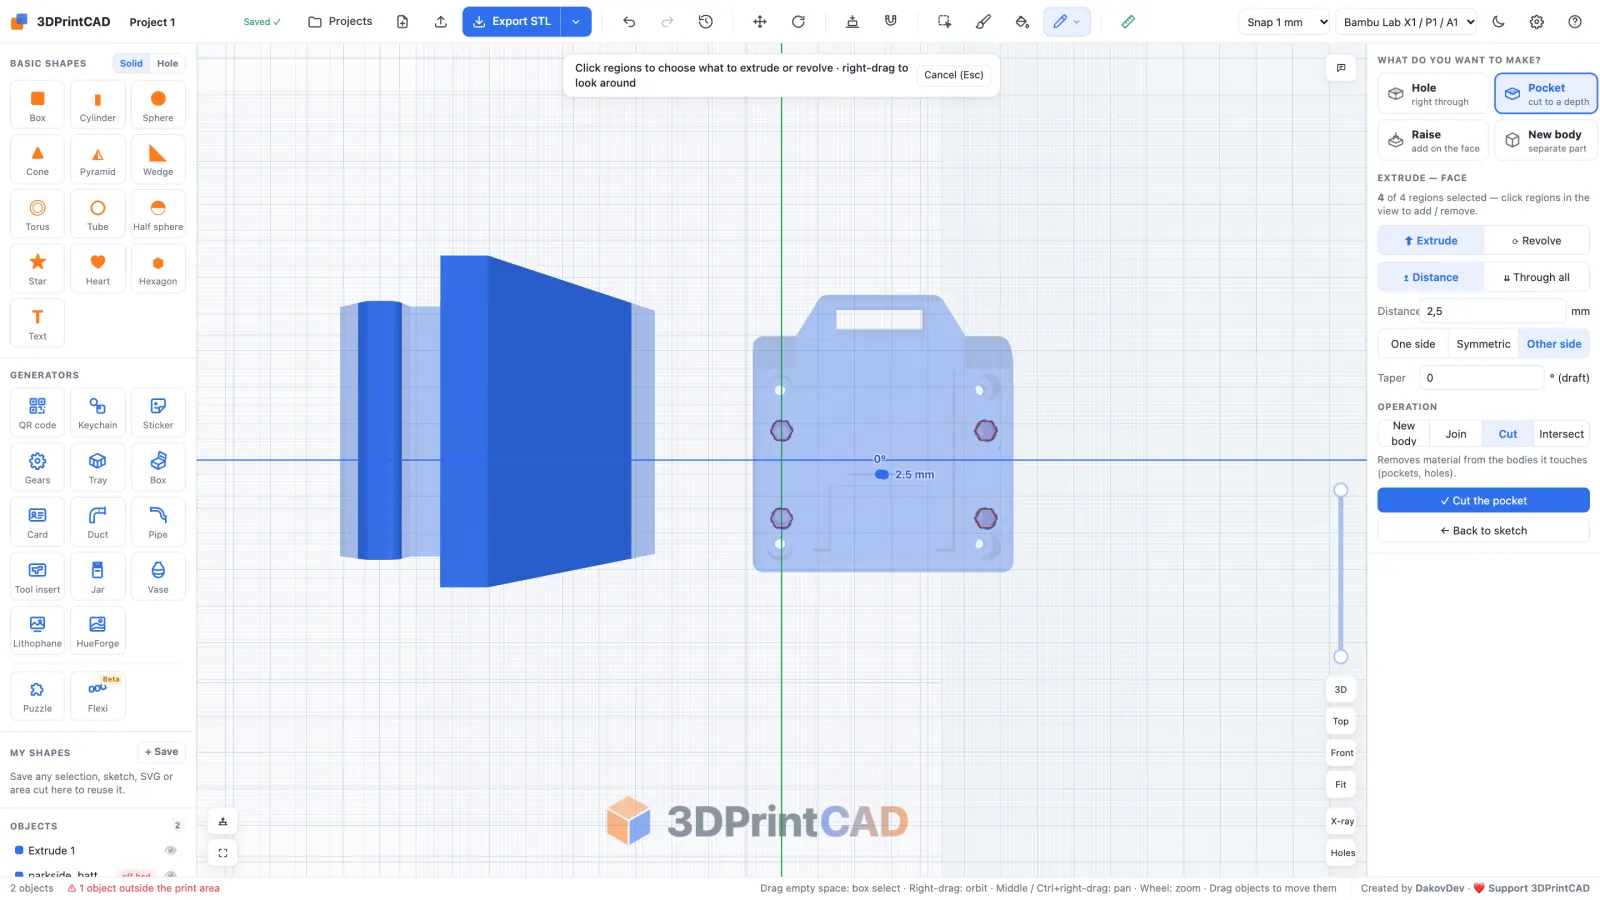
- Operation: New body, Join (merge with the body it touches), Cut (take it away - pockets and holes) or Intersect (keep only the overlap).
5Holes and pockets in a face
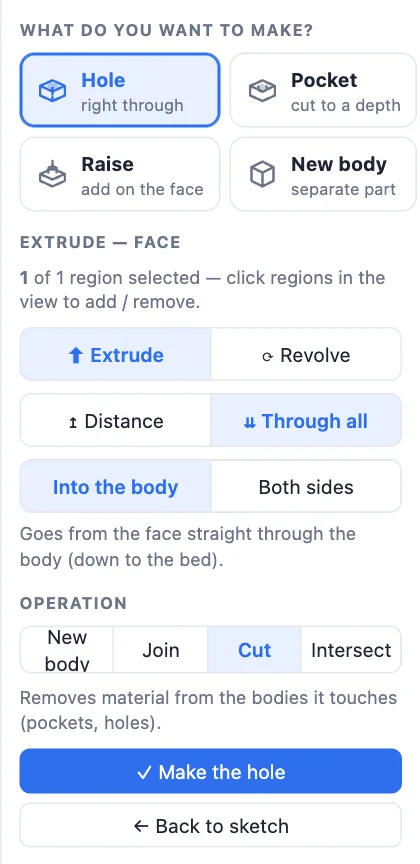
The stand needs a hole for the charging cable. Sketch ▸ Hole in a face…, click the top of the base, draw a Circle and click Done: the presets are ready - Hole (right through), Pocket (cut to a depth), Raise (add on the face) or New body. Click Make the hole.
A body made by a sketch stays editable: double-click it (or Edit sketch & feature) to change its sketch or its sizes.
6Change an STL you already have
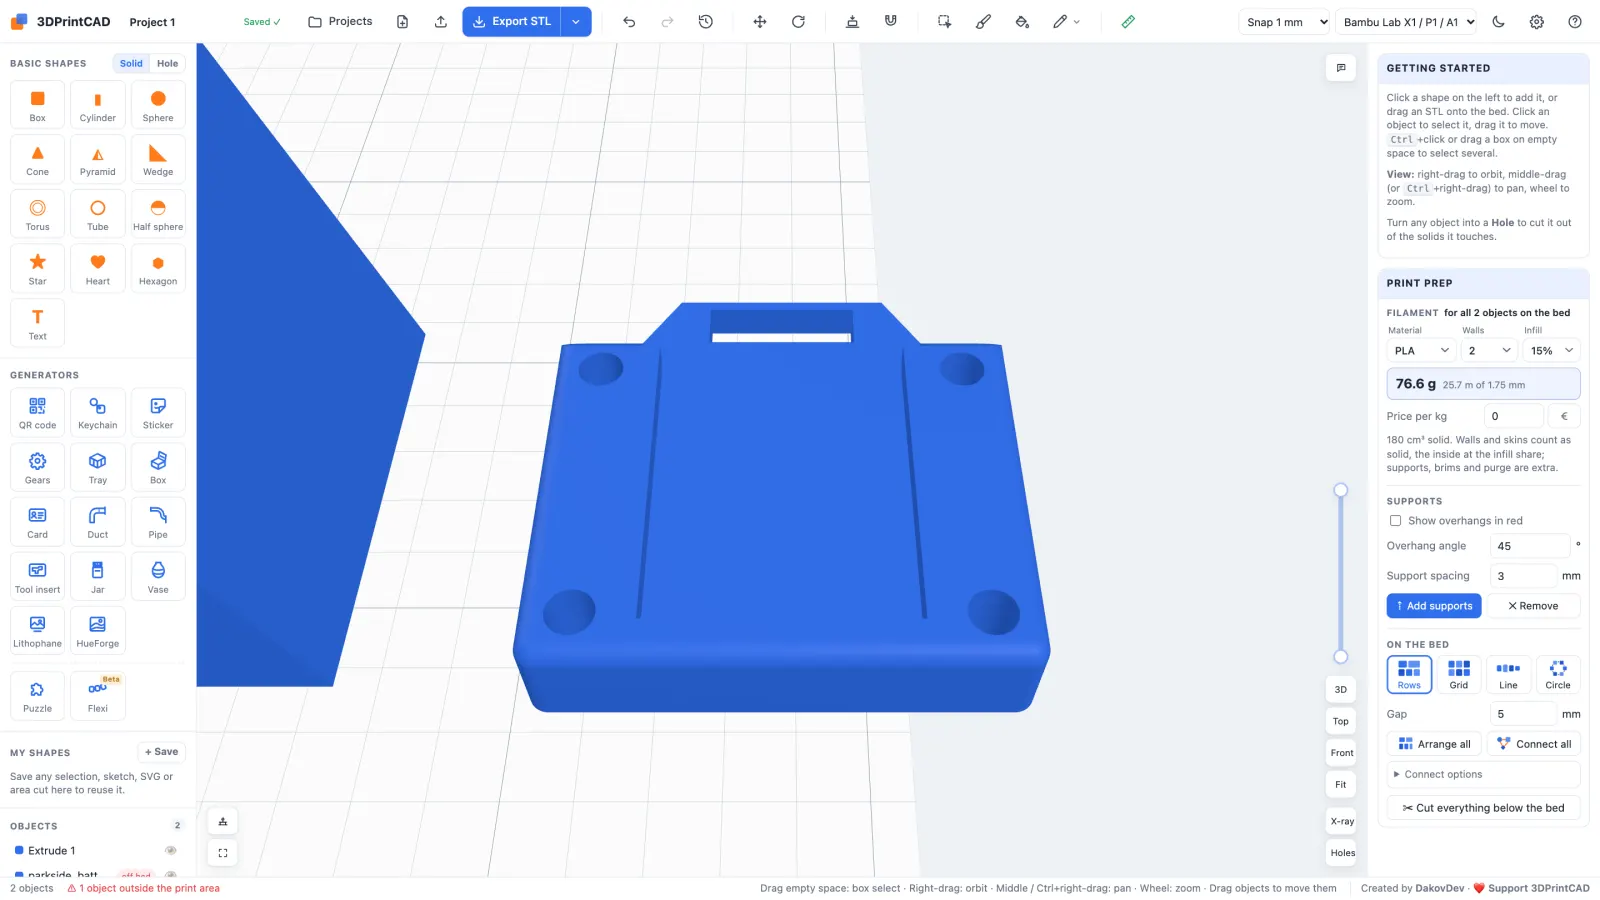
This is where sketching saves the most time: you don't need the original CAD file. Click Import (or drop the file on the bed) and pick an STL or 3MF - here a Parkside battery adapter.
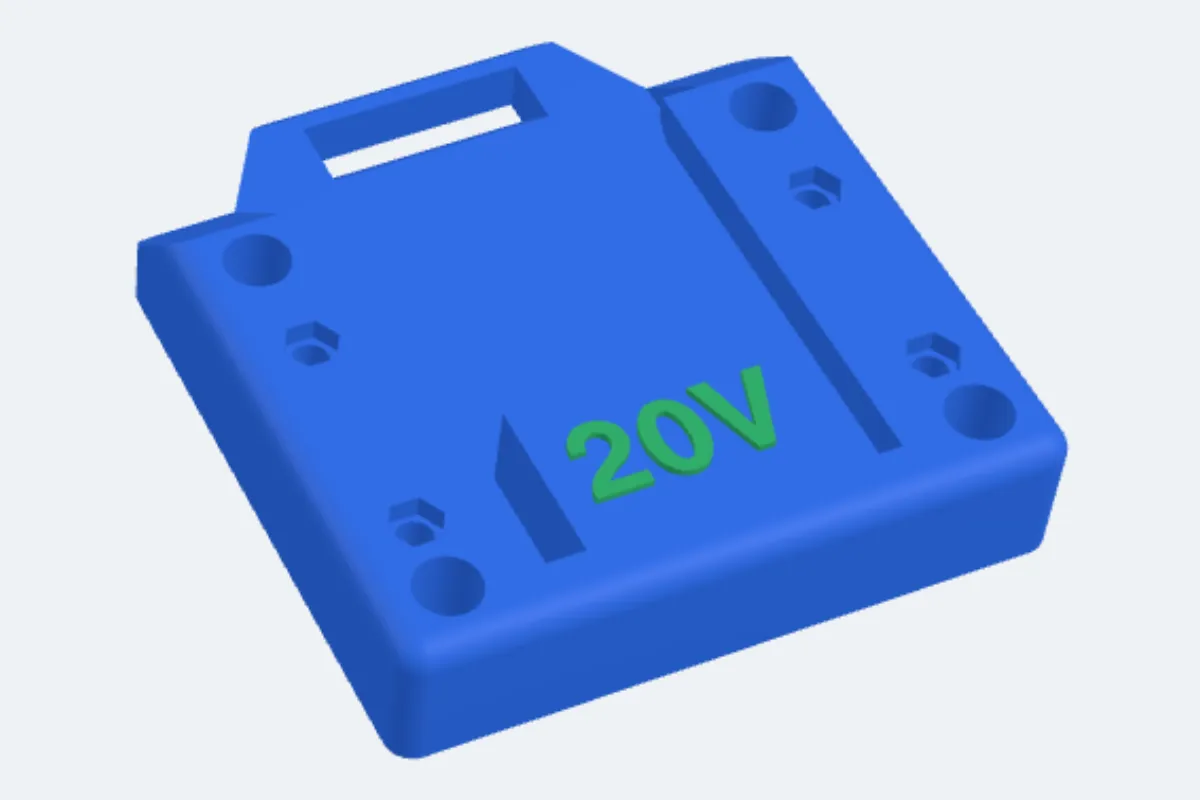
- Mounting holes: Sketch ▸ Hole in a face…, click the top, draw four circles (3.4 mm for M3 screws), Make the hole.
- Nut pockets: Sketch ▸ On a face…, draw a Shape ▸ hexagon round each hole, choose Pocket, 2.5 mm deep - M3 nuts sit flush.
- Snapping and sizes work on imported meshes too: a hole can be measured from an edge of the model (Advanced ▸ dimension, click the projected edge).
7Add text to the STL
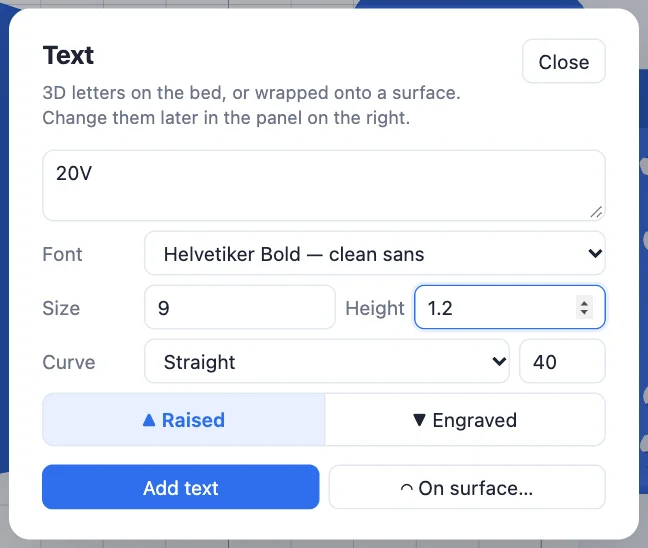
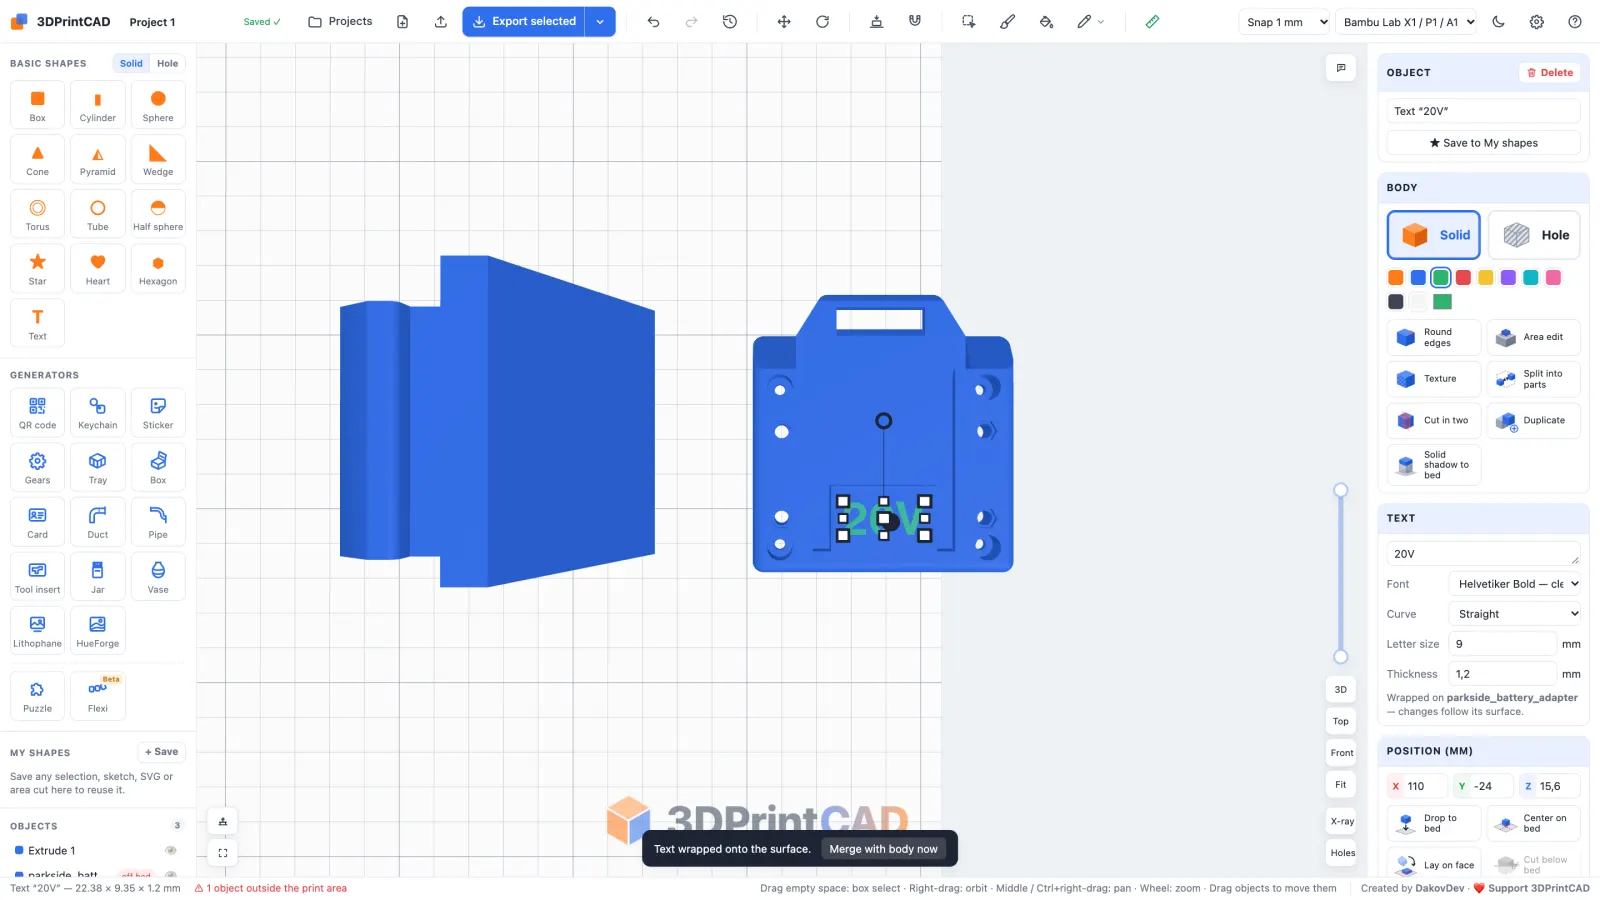
Click Text in Basic shapes, type the text (here 20V), its font, letter size and thickness, then On surface… and click the model: the text is placed on that face - and wraps round a curved one. Click Merge with body now in the message to join it, or keep it separate to print it in another colour (Export ▸ Multi-colour 3MF).
8Export and print
Select the bodies and Export an STL - or a multi-colour 3MF when the text has its own colour. Everything you made stays in the project, saved in your browser, so you can come back and change any size.
Questions
Can I edit an STL file without the original CAD file?
Yes. Import the STL, then sketch on its faces: Hole in a face cuts holes right through, On a face with Pocket cuts to a depth and Raise adds material. Text and basic shapes can be added and merged too.
How do I make a part an exact size?
Use Measure: click a line or a circle, place the size and type the value. The sizes stay in the Sizes list, so you can change them later; Snap to grid puts points on whole millimetres.
What is the difference between Simple and Advanced?
Simple has the tools most parts need, with plain hints. Advanced adds the full CAD toolbar: constraints, named dimensions with formulas, slots, splines, construction lines, mirror and offset, and shows when the sketch is fully defined.
Can I change a sketched part later?
Yes. Double-click a body made by a sketch (or click Edit sketch & feature) to change its sketch, its sizes or the extrusion.
How do I put text on a curved surface?
Add a Text, click On surface… and click the curved face: the text wraps round it. See the paint guide for colouring it letter by letter.
Sketch your part now
Open the app, click Sketch, draw your shape and make it 3D - or import an STL and change it.
Open the appAlso see: Paint tool, Resize an STL file, Reduce STL file size, Box generator and all guides.