3DPrintCAD › Guides › Stamp roller generator
Stamp roller generator: 3D print a roller stamp for a marker
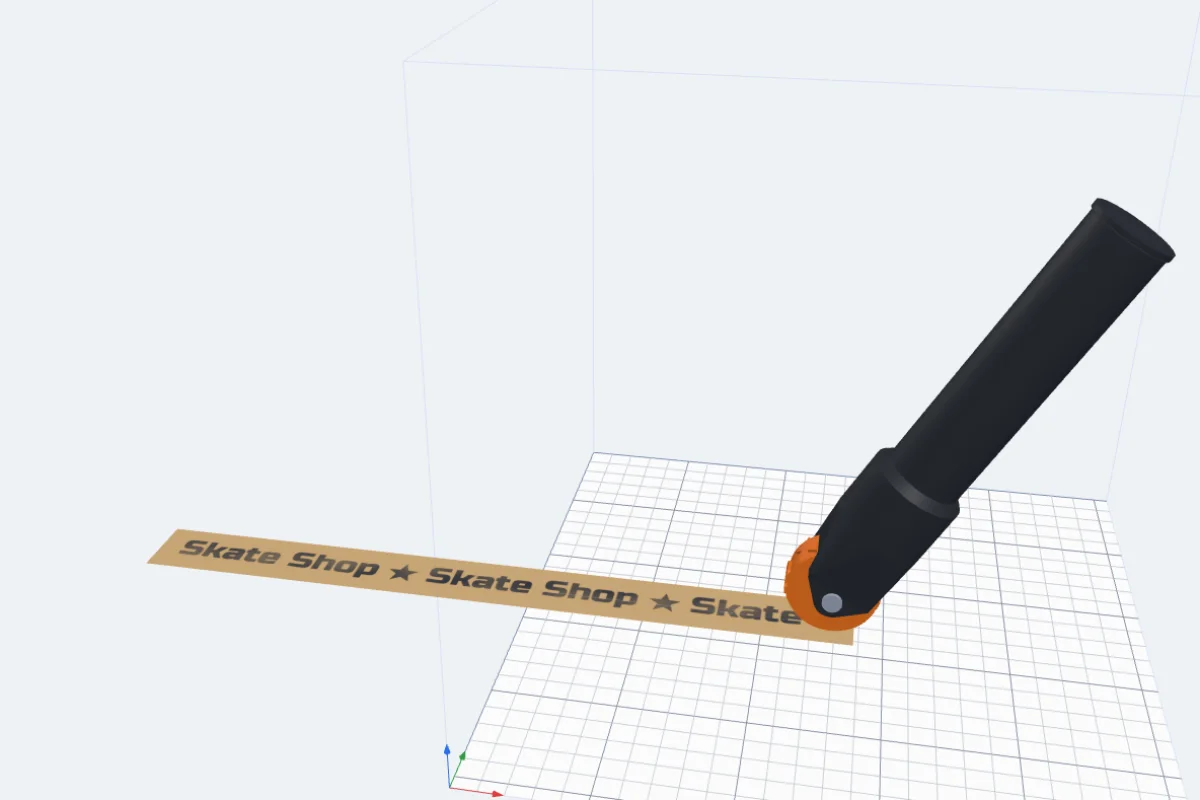
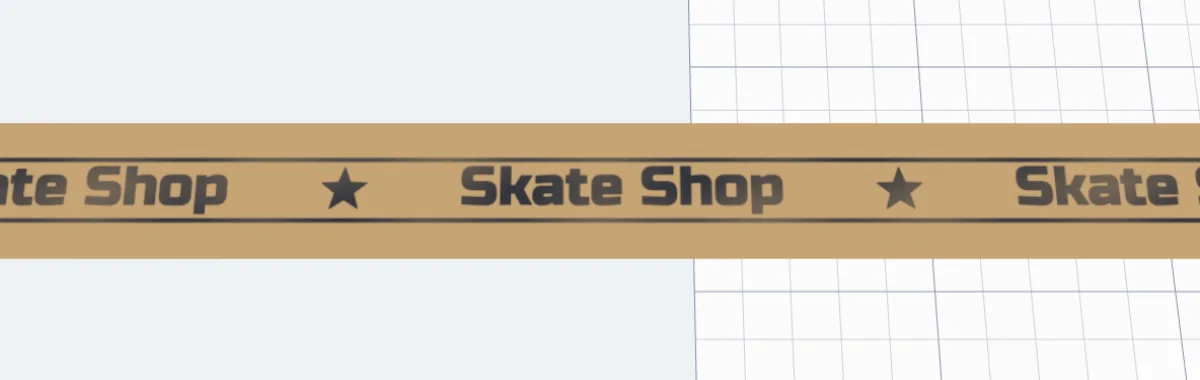
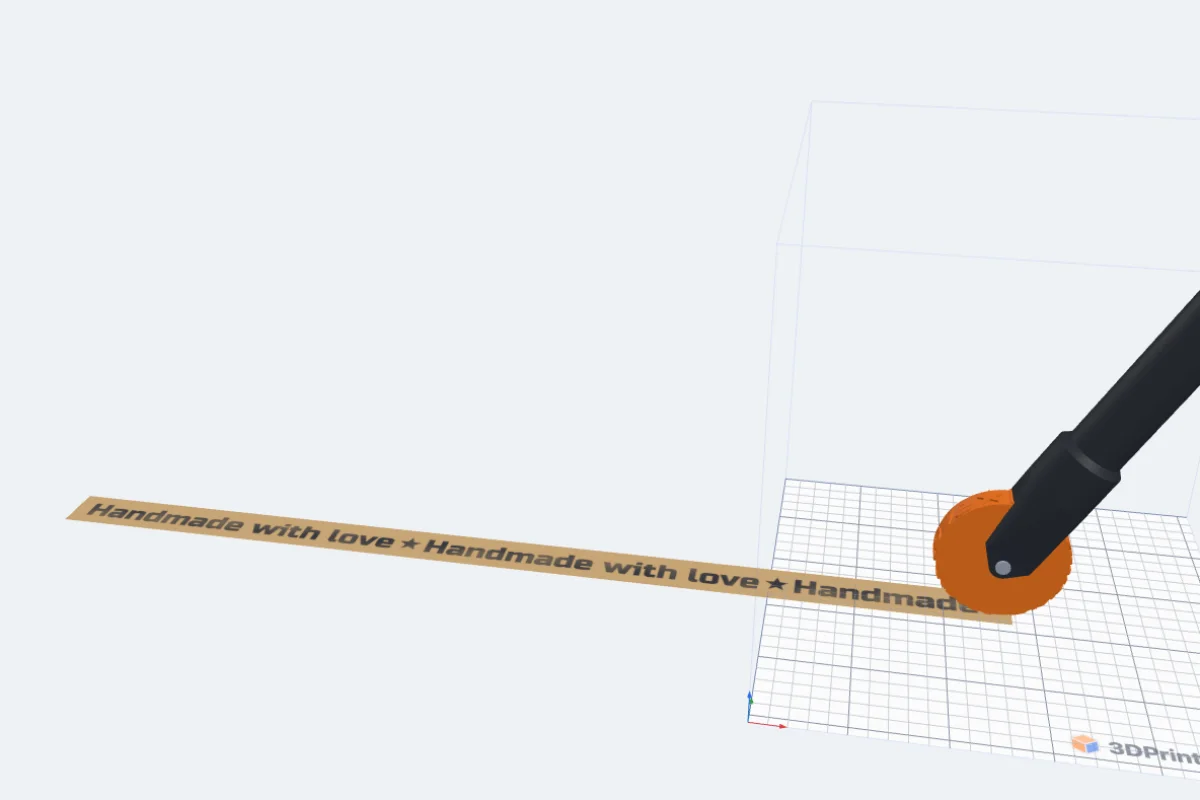
A roller stamp prints the same design again and again as you roll it - your shop's name along a shipping box, a row of hearts on a card, stitches round a paper bag. The Stamp roller generator makes the whole tool: a wheel with your text, a pattern or your SVG icons standing out round it, and a holder that a broad chisel marker slides into. The marker's nib touches the wheel, so it inks itself as it turns - no ink pad. You see the stamp rolled on cardboard before you print.
Watch the tutorial
Every option in about four minutes, narrated with subtitles: text, patterns, the marker, the wheel, the axle, the handle and printing. Watch on YouTube ↗
1Start from a design
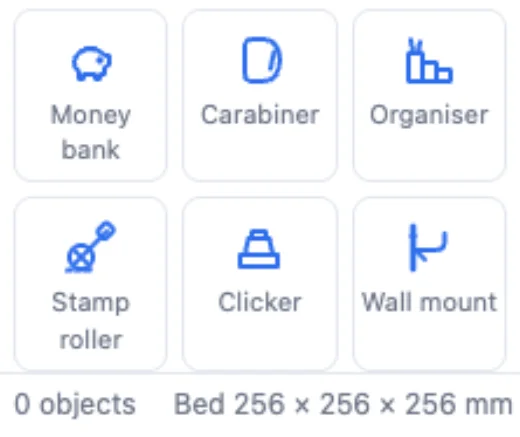
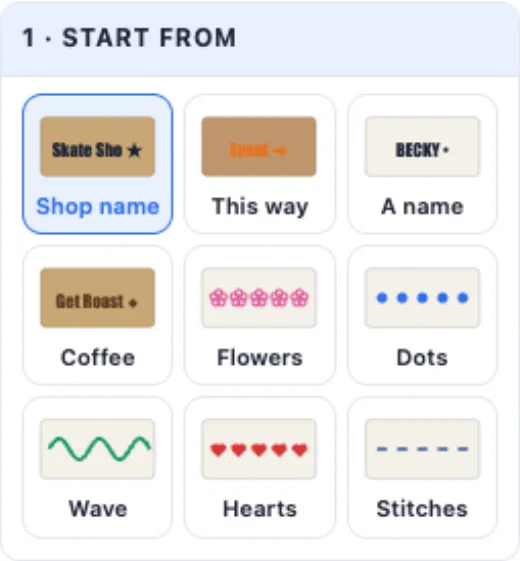
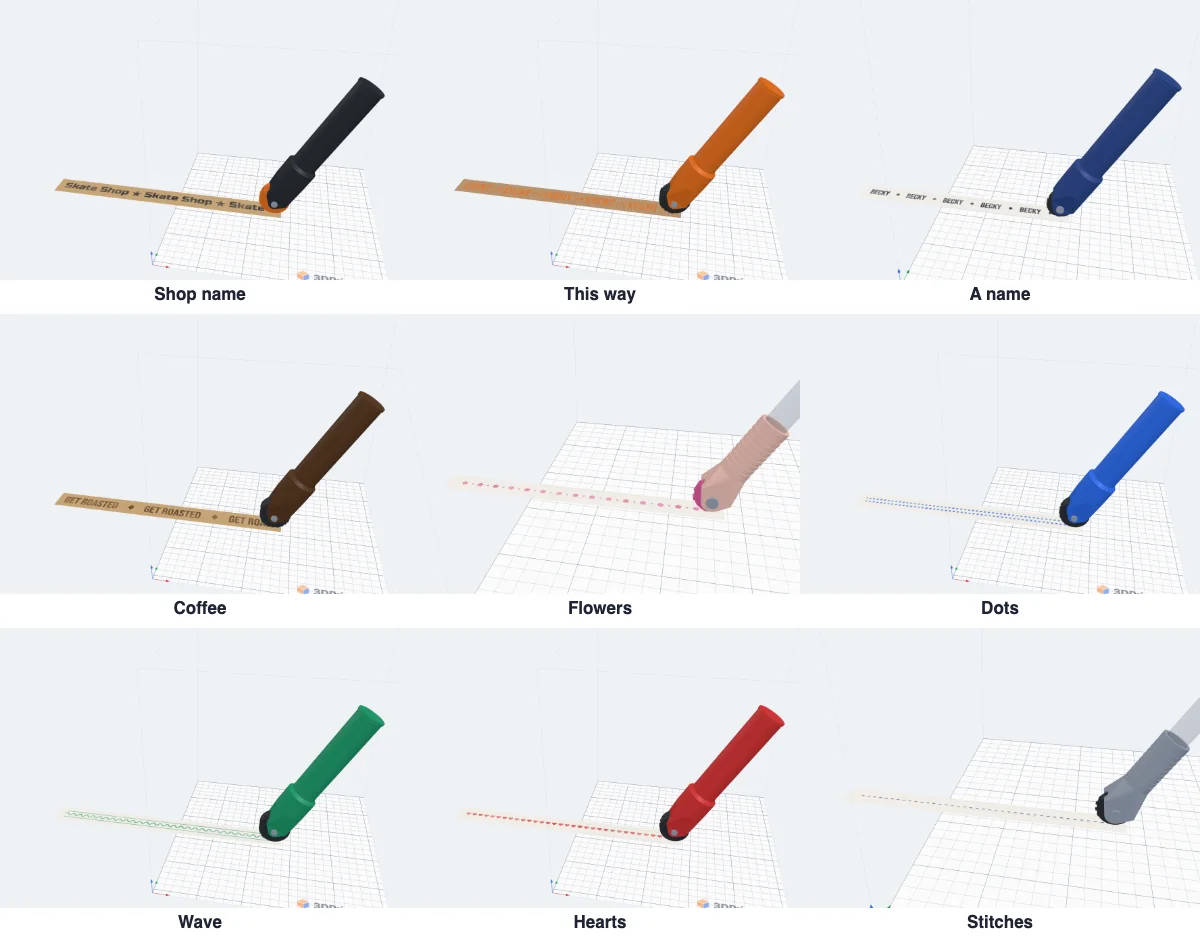
Click Stamp roller in Generators. Nine designs to start from: Shop name (your name with stars), This way (words and arrows), A name, Coffee, Flowers, Dots, Wave, Hearts and Stitches - each with its marker, colours and ink. Change anything after.
2The stamp: text, pattern or SVG icons
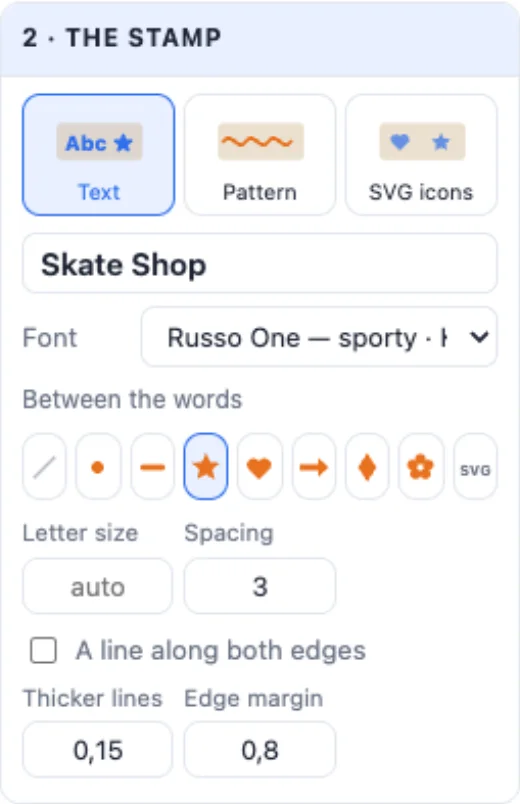
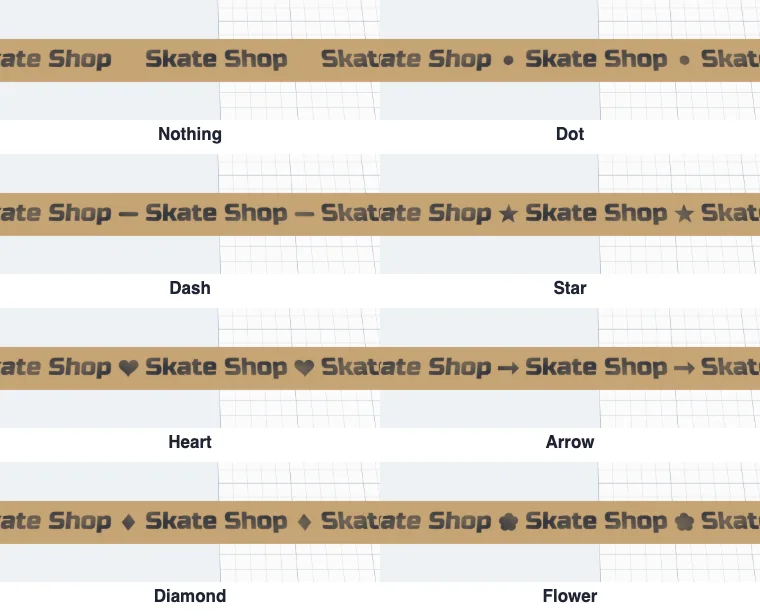
Text - your words repeat round the wheel. Pick the font and a sign between the words: nothing, a dot, a dash, a star, a heart, an arrow, a diamond, a flower or your own SVG. Spacing is the room between the words and the signs - it grows a little so the design goes round the wheel exactly, with no gap at the seam.
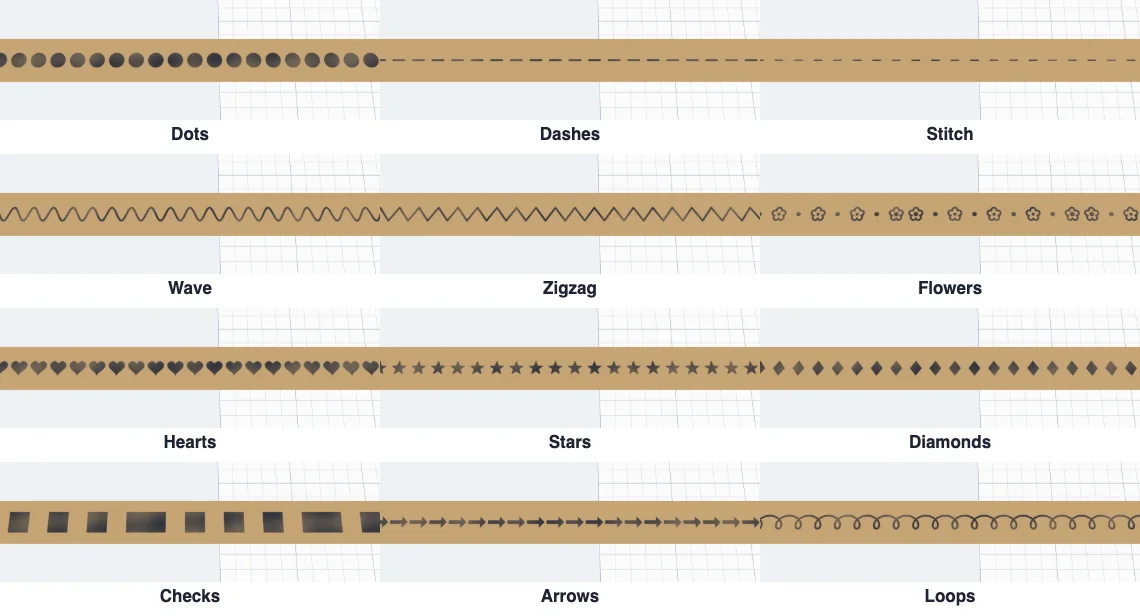
Pattern - twelve: Dots, Dashes, Stitches, Wave, Zigzag, Flowers, Hearts, Stars, Diamonds, Checks, Arrows and Loops, in one, two or three rows (every other row shifted half a step), with their size, spacing and line thickness. SVG icons - up to eight of your own SVG pictures in a row.
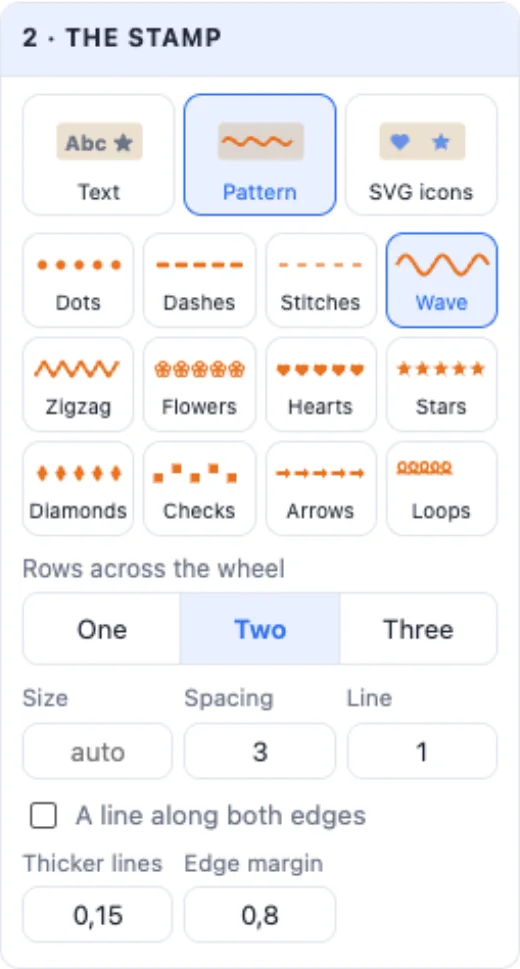
A line along both edges frames the stamp - set its thickness and the gap to the letters. Thicker lines grows every line a little (thin strokes stamp poorly), Edge margin keeps the wheel's sides clear.
3Your marker
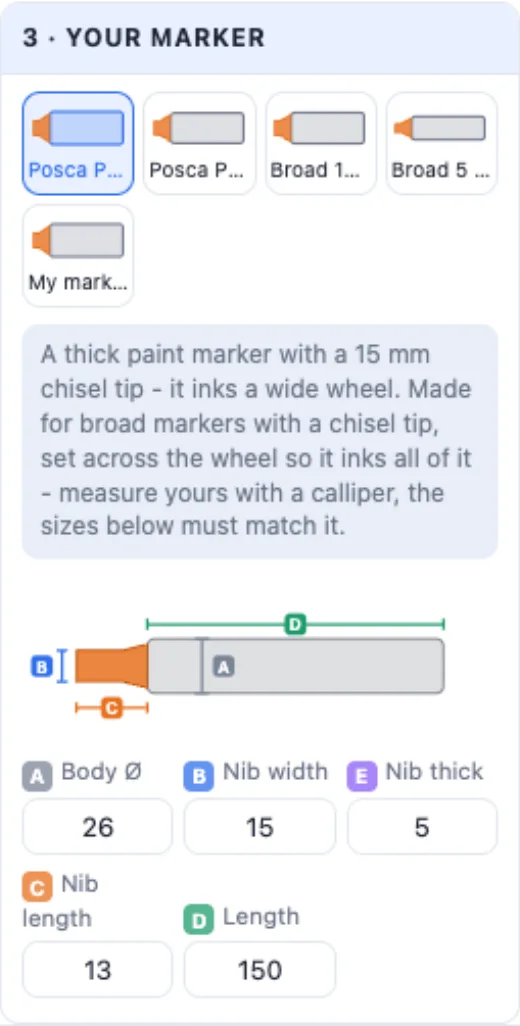
Pick your marker: Posca PC-17K (a 15 mm chisel tip, the default), Posca PC-8K (8 mm), Broad 10 mm, Broad 5 mm - or My marker and type its sizes: A the body Ø, B the tip's width, E its thickness, C how far it sticks out and D the whole length. The drawing shows which is which. The wheel is made as wide as the tip inks.
4The wheel
A the diameter (a bigger wheel prints a longer design each turn), B the width, C how far the design stands out (1-1.5 mm stamps cleanly) and D how far the marker leans back. Grows with the text makes the wheel bigger when the text needs more room - Fixed size keeps it and makes the text smaller. Spokes make a lighter wheel.
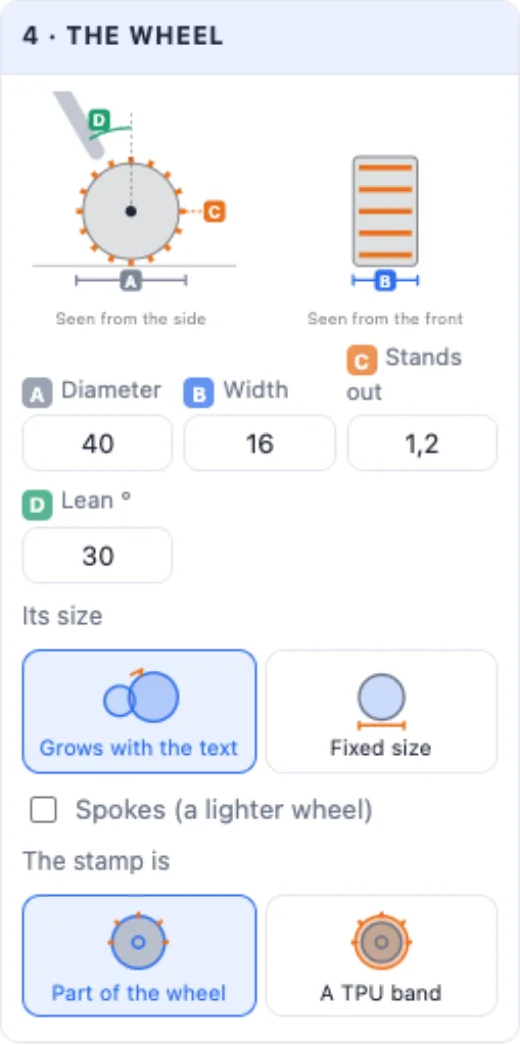
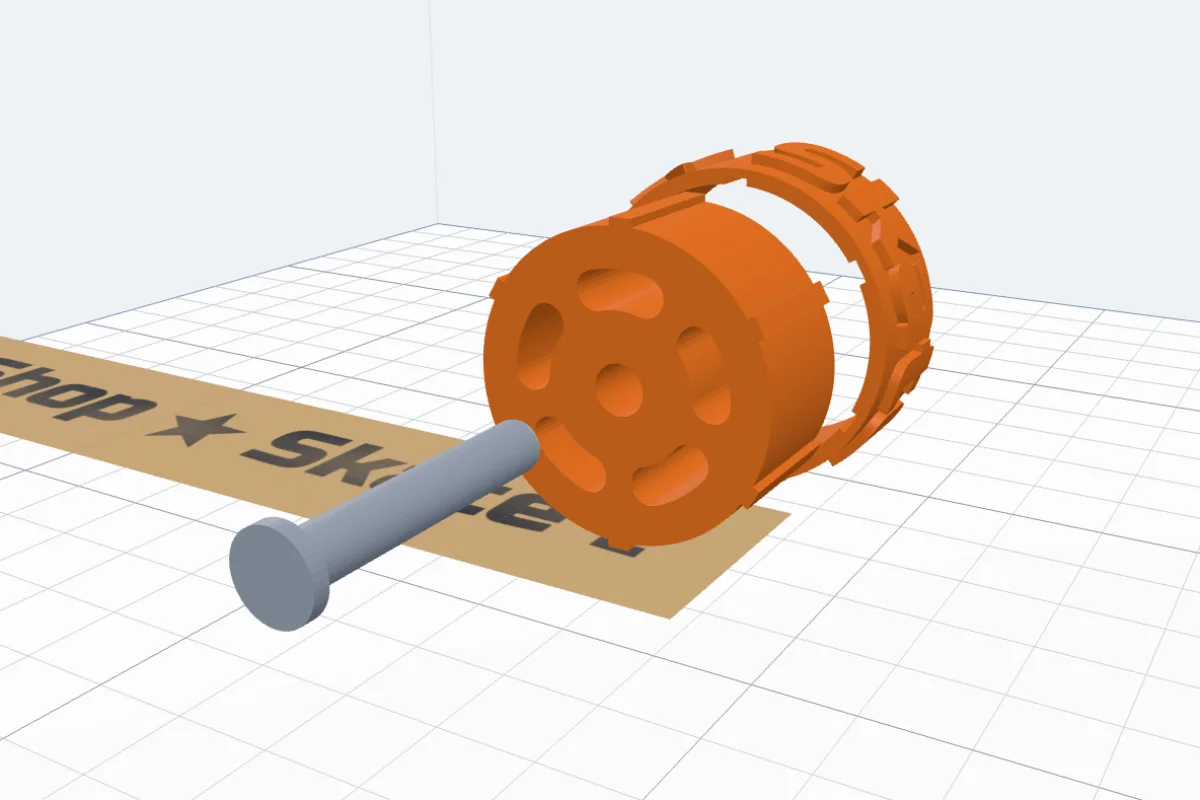
The stamp is part of the wheel (one print), or A TPU band: a separate band in soft TPU on a hard core with keys - it grips the surface and takes the ink evenly, and you can change bands for other designs. Set its thickness and its fit on the core.
5The axle
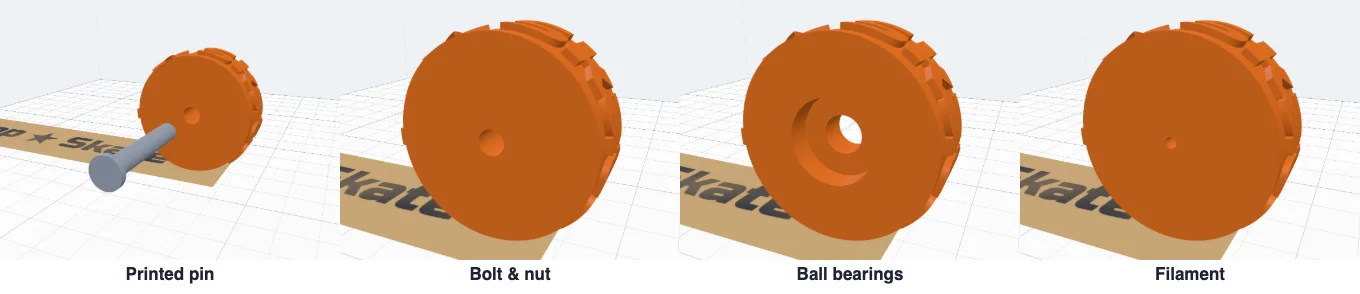
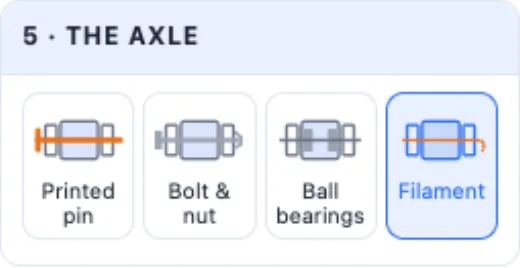
What the wheel turns on: a Printed pin (printed with it, pushed through the fork - set its Ø and the play), a Bolt & nut (M3, M4, M5 or M8, the nut in a pocket in the fork), Ball bearings (623, MR105, 625, 688 or 608 pressed into the wheel, on a bolt or a printed pin) or a piece of Filament (1.75 mm - the simplest).
6The holder and the handle
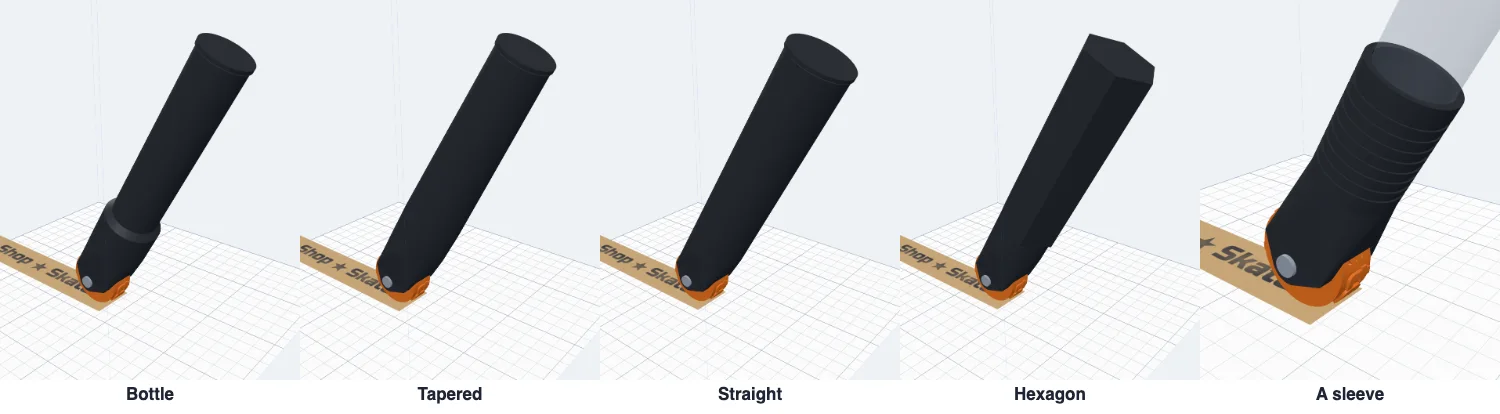
A sleeve - one piece: the fork and a sleeve round the front of the marker, which pushes in snugly, is gripped by slits, held by an M3 screw or pressed on by a spring with an end cap. Head + handle - a head with the fork and a handle the whole marker sits in, screwed onto the head: Bottle, Tapered, Straight or Hexagon (it does not roll off the table), with a closed or open end, a rim and grip rings.
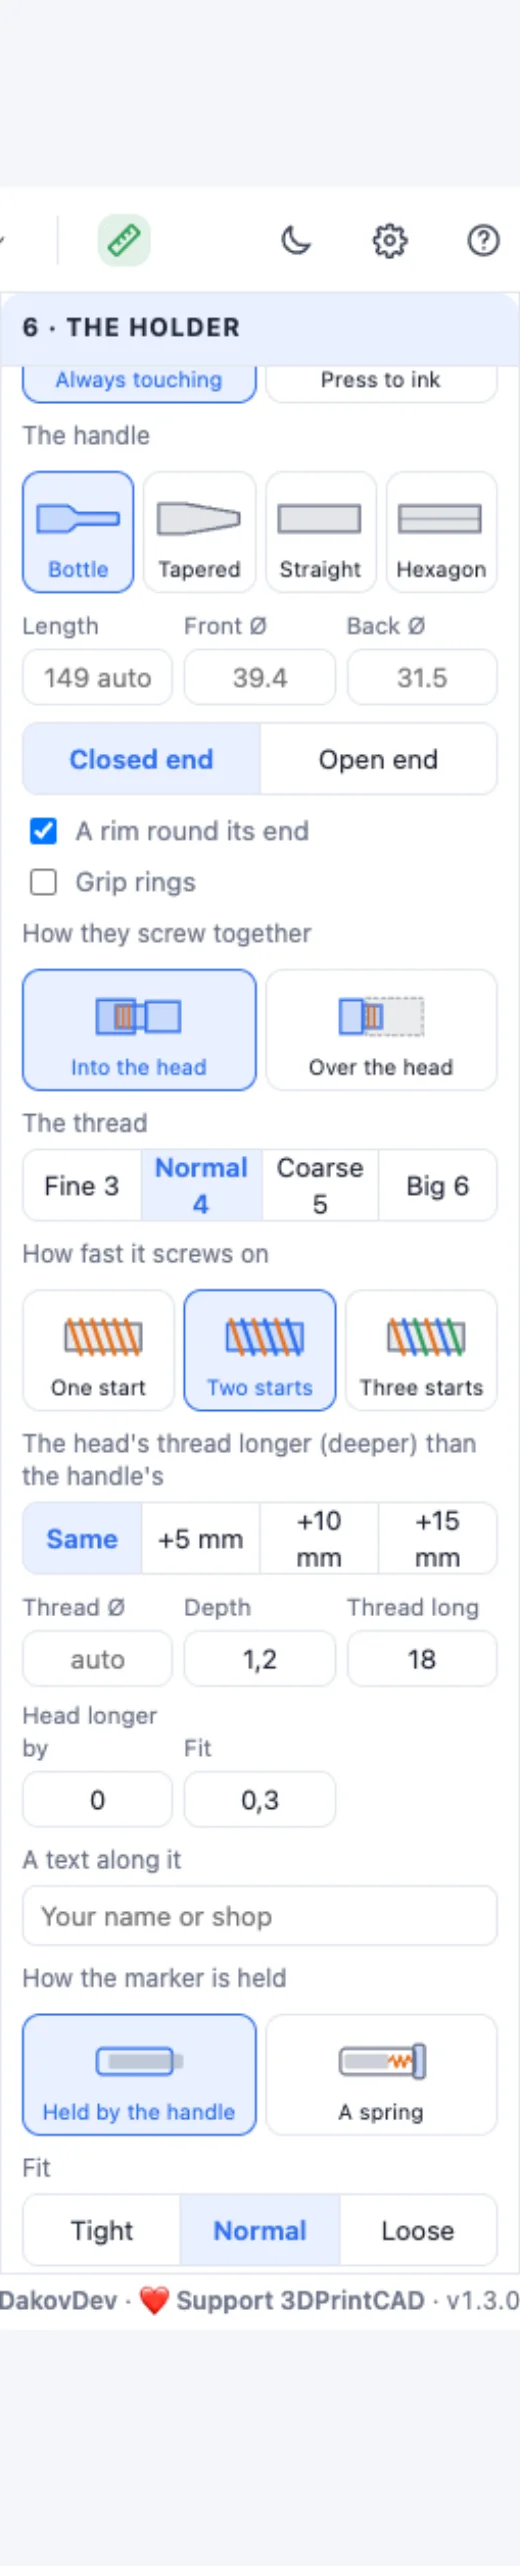
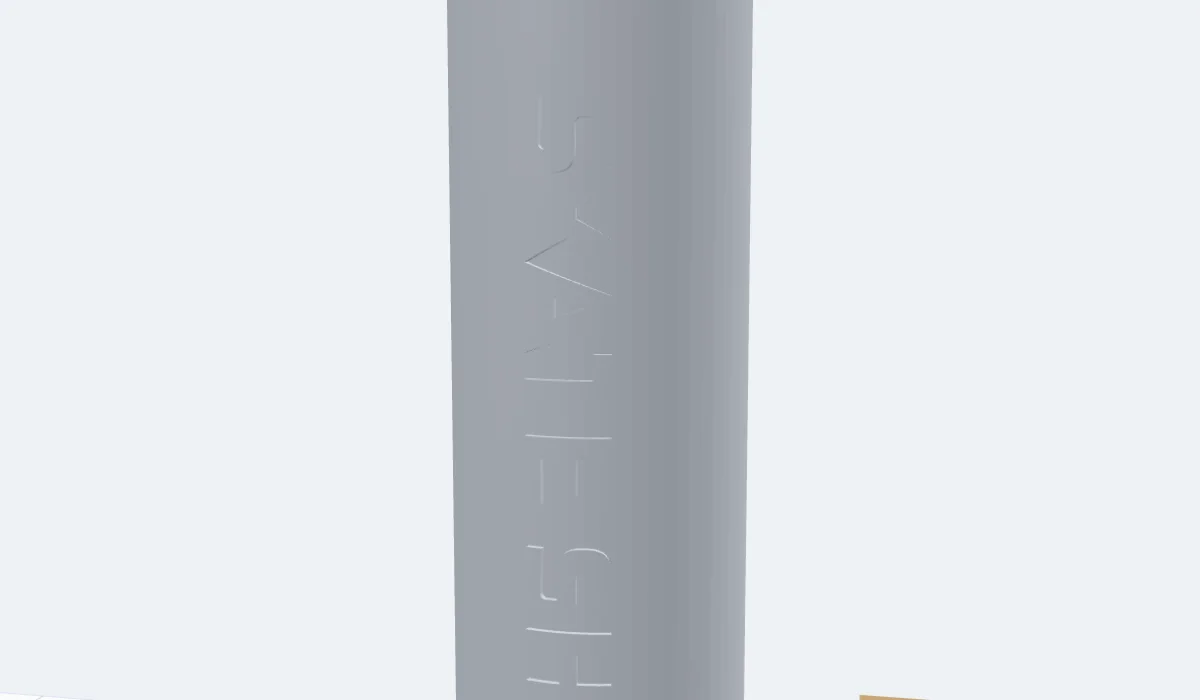
The handle screws Into the head (the head is a cap with the thread inside) or Over the head. The thread is coarse and quick: pitch 3-6 mm, and one, two or three starts - two starts screw on in half the turns. Make the head's thread longer (+5 to +15 mm) to screw the handle on part way, for a longer marker or less pressure on the nib. Add a text along the handle, engraved or raised.

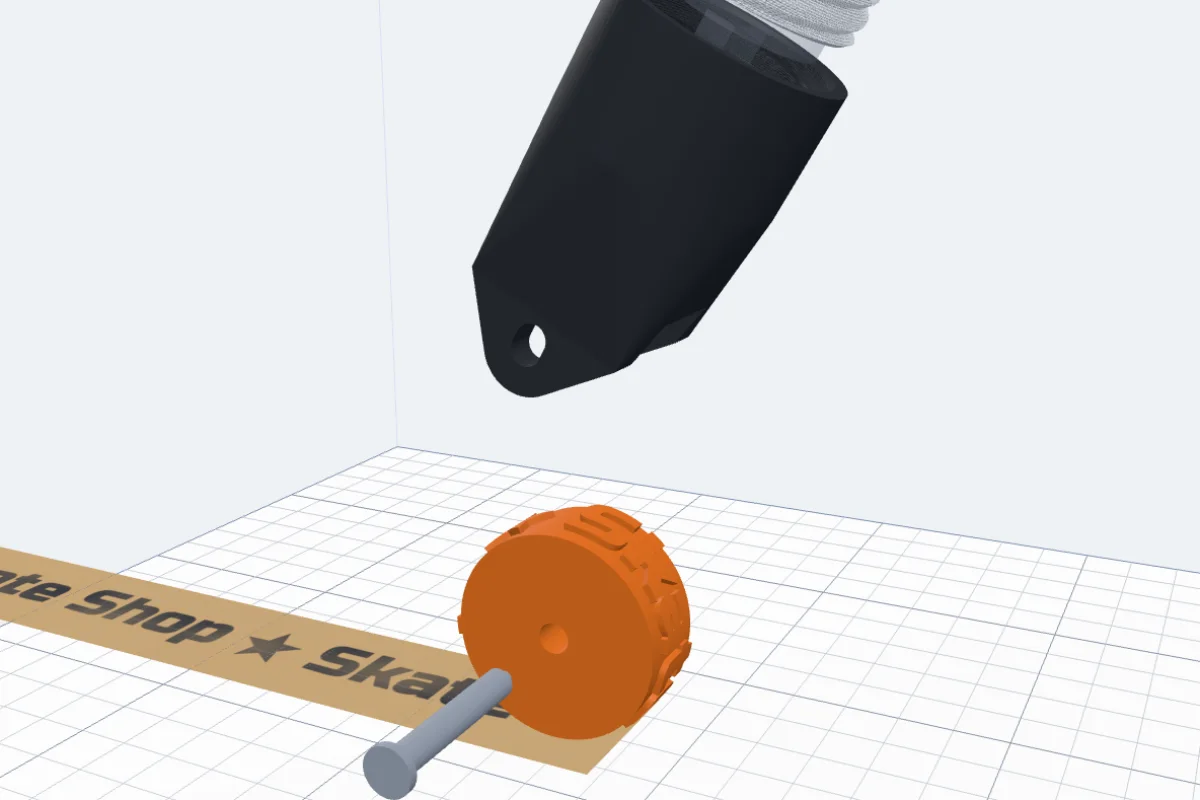
Inking: Always touching, or Press to ink - the axle runs in slots, so the wheel touches the nib only while you press the roller on the paper. A cover over the wheel slides on over the wheel and the nib so the marker does not dry out. Below them: the fit round the marker (Tight / Normal / Loose), how far the nib presses into the design, the gap beside the wheel, the fork's thickness.
7Preview on cardboard
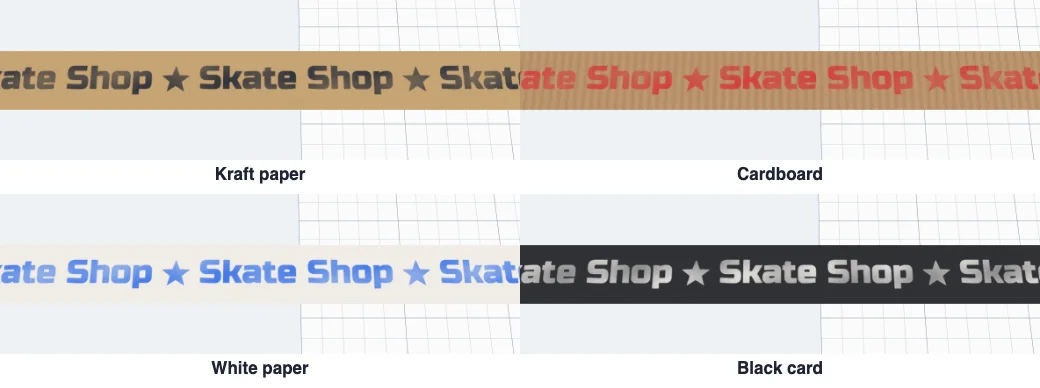
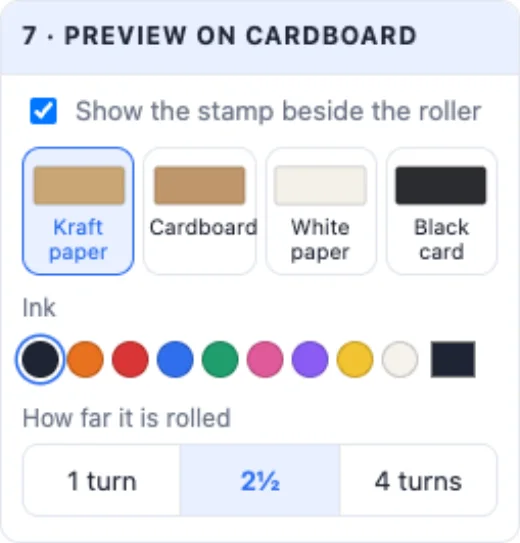
The view shows the stamp as it prints, rolled beside the roller: on Kraft paper, Cardboard, White paper or Black card, in the ink colour you pick, 1, 2½ or 4 turns of the wheel long. It is only a preview - it is never part of the print.
8Views and printing
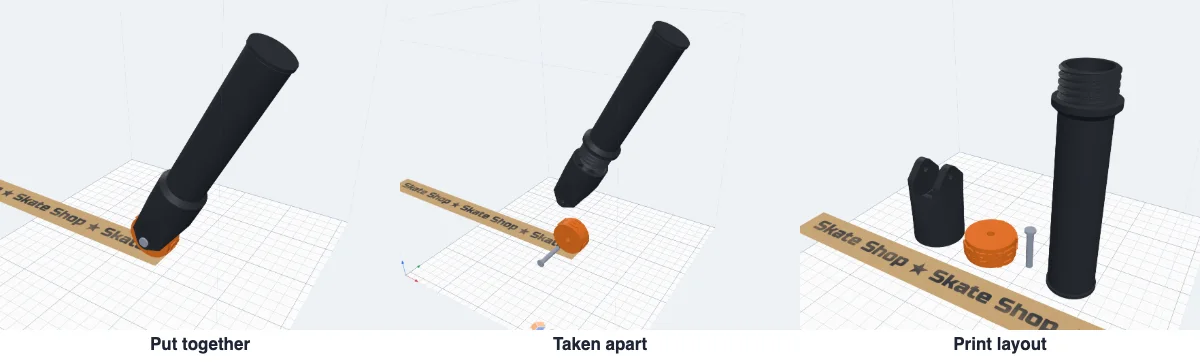
Put together shows the roller as you use it, Taken apart pulls out the axle, the wheel and the band, Print layout lays out the parts as they print. Create stamp roller always builds the print layout: the head (or the holder) stands on its back, the fork up; the handle on its end; the wheel lies on a side; the pin on its head - no supports. Push the wheel into the fork and the axle through both, slide the marker in until its tip touches the wheel, and roll with light, even pressure - the first turns soak up ink.
Questions
Which marker do I need?
A broad marker with a chisel tip - its flat tip inks the wheel's whole width. The presets are a Posca PC-17K (15 mm tip), a Posca PC-8K (8 mm) and broad 10 mm and 5 mm markers; for any other pick My marker and type its body Ø, the tip's width, thickness and length and the marker's length. Check them with a calliper - the presets are the usual sizes. A paint marker (Posca and similar) gives the cleanest prints.
Why did my wheel get bigger?
With Grows with the text (the default) the diameter you type is the smallest it may be: a longer text needs a longer round, so the wheel grows until the text and its sign fit once round. The panel says from what to what. Choose Fixed size to keep the diameter - then a long text is made smaller instead.
How tall can the letters be?
As tall as the band the marker's tip inks. Leave Letter size empty and the letters fill that band exactly (between the edge lines, if you have them); the panel says how tall they came out. A size too big is made smaller with a warning. Keep letters bold - lines under about 0.8 mm print and stamp poorly; Thicker lines grows every line a little.
What does Press to ink do?
The axle sits in slots: the wheel hangs a little below the nib and slides up to it only while you press the roller on the paper. When you lift it, the nib no longer touches the wheel, so the ink does not run on and blot the design. With a printed pin a small cap is pressed onto its thin end so it cannot slide out.
Which axle should I use?
A printed pin needs nothing to buy. A bolt and nut (M3-M8) is stronger. Ball bearings (623, MR105, 625, 688 or 608) turn the smoothest and last longest. A piece of 1.75 mm filament is the simplest of all - cut it a hair longer than the fork is wide.
Which filament is best?
PLA or PETG for the holder and the wheel. For the cleanest stamp choose A TPU band: the design is a separate soft band on a hard core - it grips the paper and takes the ink evenly, and you can print several bands for one roller.
Make your own stamp roller
Your name, a pattern or your logo - a stamp that rolls it out again and again.
Open 3DPrintCADAlso see: Sticker generator, Business card generator, Brackets generator and SVG to 3D model.