3DPrintCAD › Guides › Sticker generator
Image to 3D sticker and keychain: a multi-colour relief from a PNG
Upload a sticker-style image and get a 3D printable relief: every colour becomes its own part on a flat back, ready for a badge reel, a magnet or a keychain. Raise colours for a 3D effect, add a key ring, a name and logos, and export a multi-colour 3MF that opens in your slicer with every colour on its own filament.
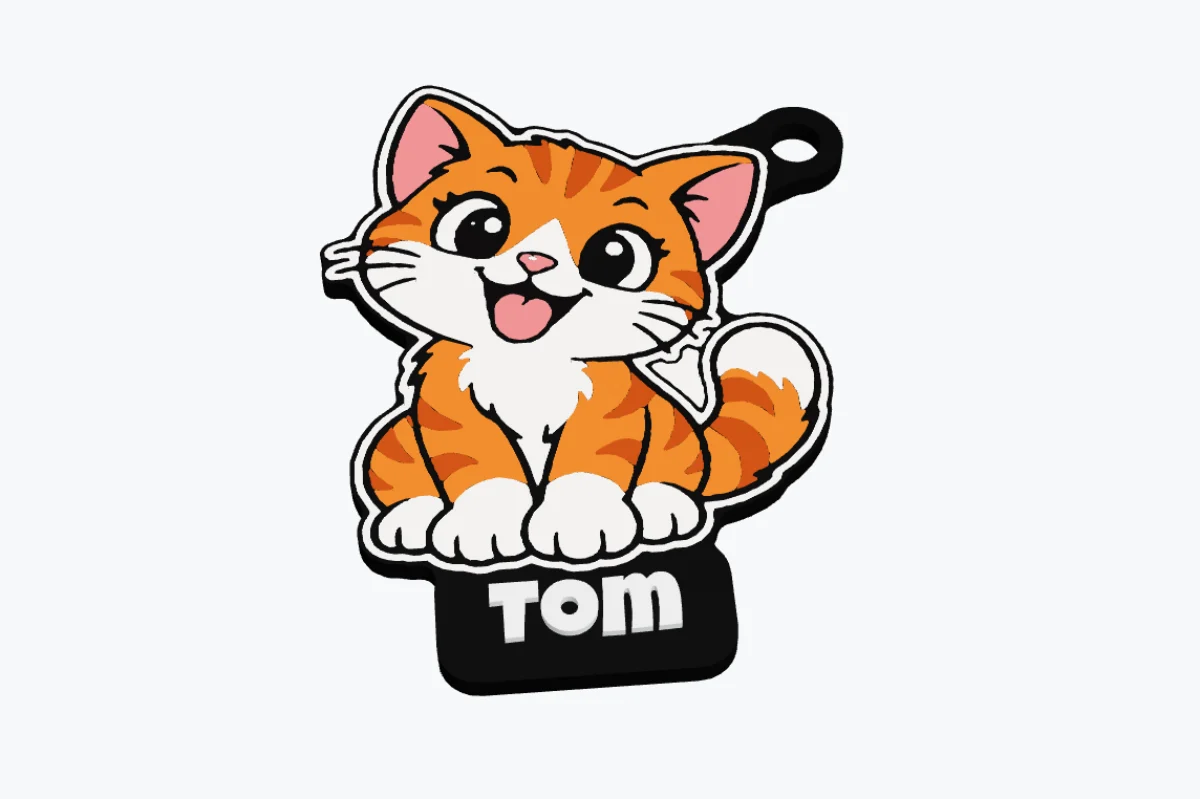
What you can make
- Multi-colour stickers and badges with a flat back, for badge reels, magnets, pins and fridge art.
- Keychains from any sticker image, with one or more key rings, a name label and extra logos.
- 3D reliefs: raise the outlines, the light colours, or each colour a step higher.
The image is processed on your computer: nothing is uploaded to a server.
1Open the sticker generator
Open the sticker generator with the sample cat, or click Sticker… under Generators in the left panel of the app. The cat example comes ready as a keychain, with a key ring and the name "Tom".
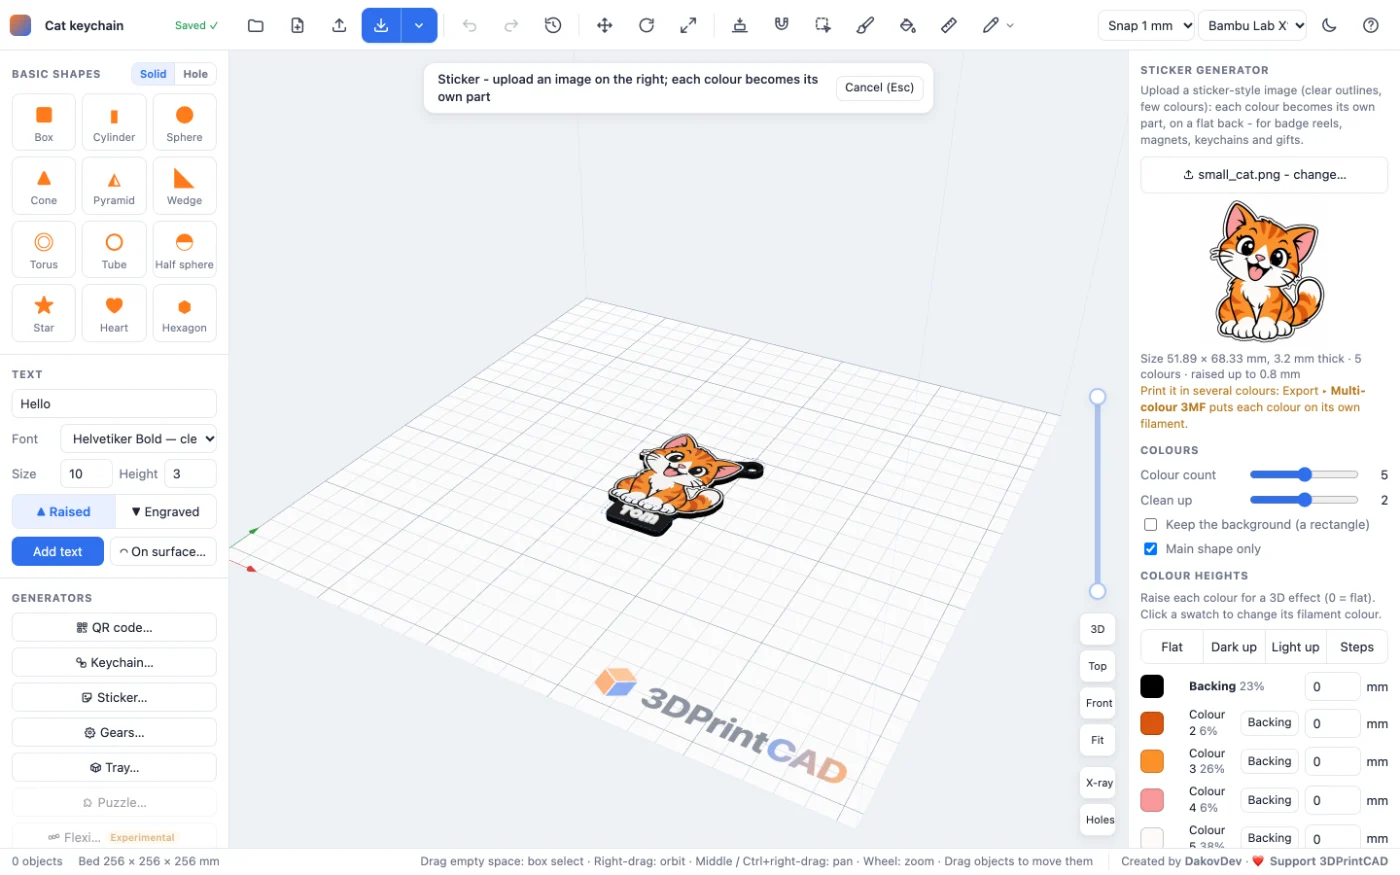
2Upload the image
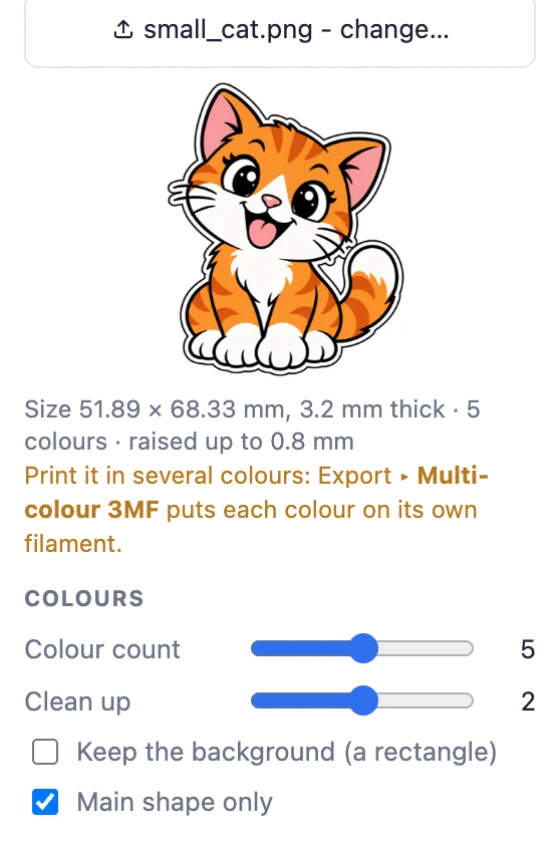
Click Upload sticker image and choose a PNG, JPG or WebP. The best images look like stickers: clear outlines, a few flat colours and a plain or transparent background.
- The background is removed: transparent pixels, or the plain colour around the picture. White areas inside the outline stay.
- Keep the background keeps the whole rectangle instead.
- Main shape only drops loose bits next to the sticker, such as a stray line at the edge of the image.
3Choose the colours
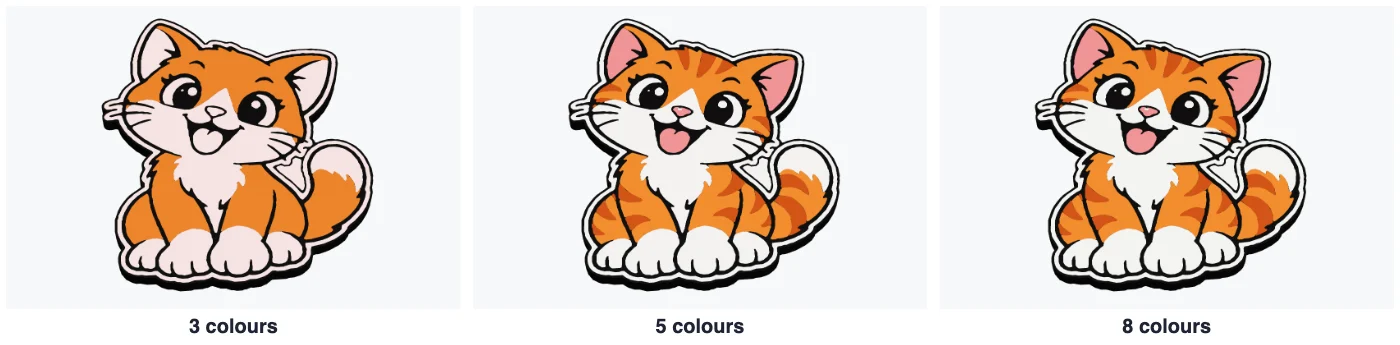
Colour count (2-8) sets how many colours the image is reduced to; each one becomes a part and a filament. The colours are taken from the flat areas of the image, so the soft edges between an outline and a fill do not turn into extra greys. Clean up removes specks and ragged edges.
4Colour heights
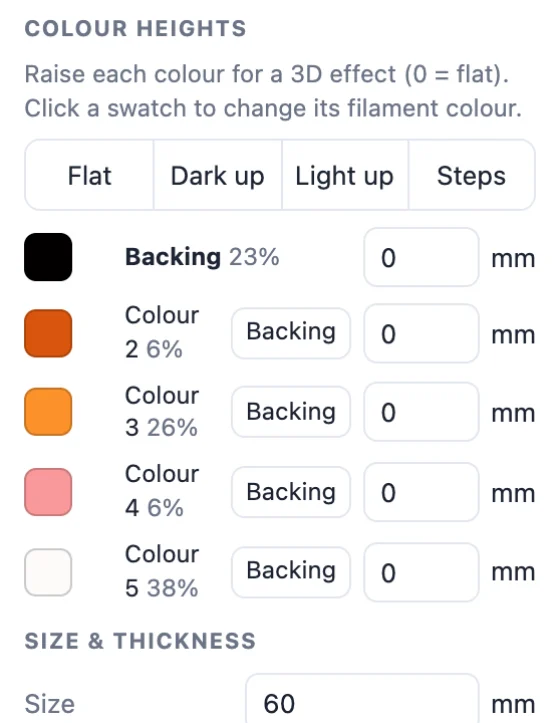
Every colour has a row: its swatch (click it to choose the filament colour), its share of the image, a height in mm and a Backing button. The backing is the body under the other colours; by default it is the colour along the edge, here the black outline.
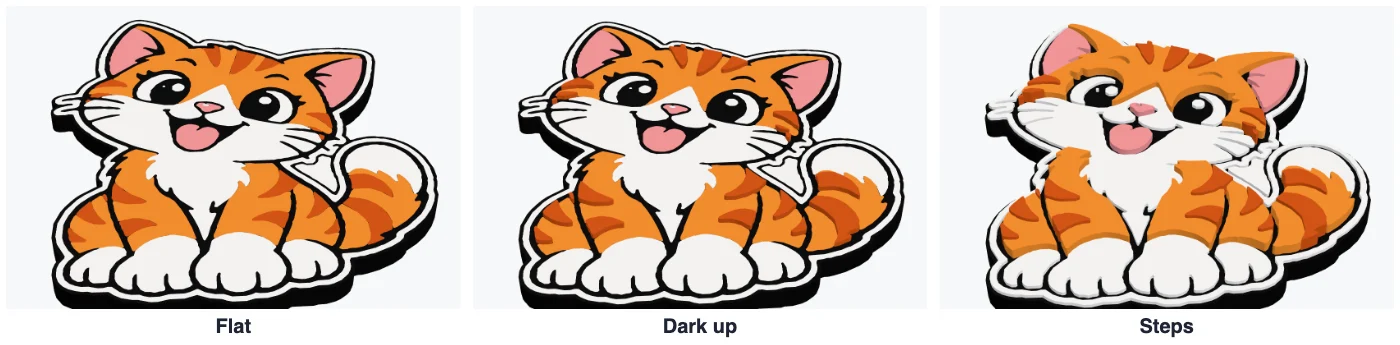
- Flat: every colour level, like a printed sticker.
- Dark up: the outlines and dark details stand out.
- Light up: the light colours stand out.
- Steps: each colour a step higher, for a layered look.
5Size and thickness
- Size: the longest side in mm (60 mm by default); the proportions are kept.
- Thickness: the flat part, back to top (2.4 mm).
- Colour layer: how deep the colours are inlaid into the backing (0.6 mm = 3 layers of 0.2 mm).
- Outline margin: grows the backing around the image, like a die-cut border.
- Thicker lines: thickens the darkest colour so thin outlines still print with a 0.4 mm nozzle.
6Make it a keychain
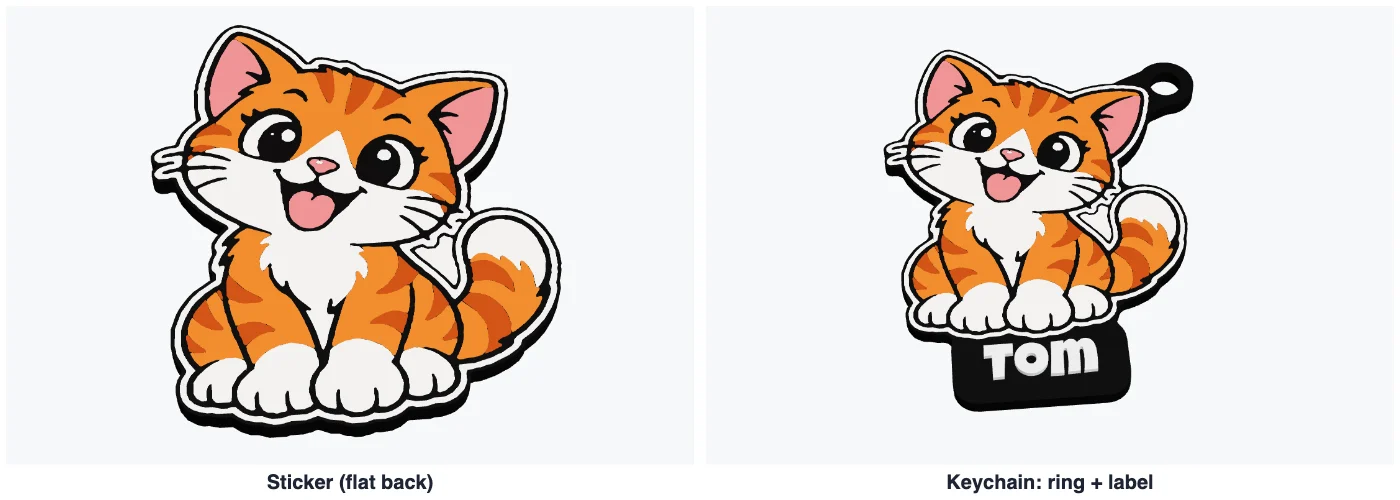
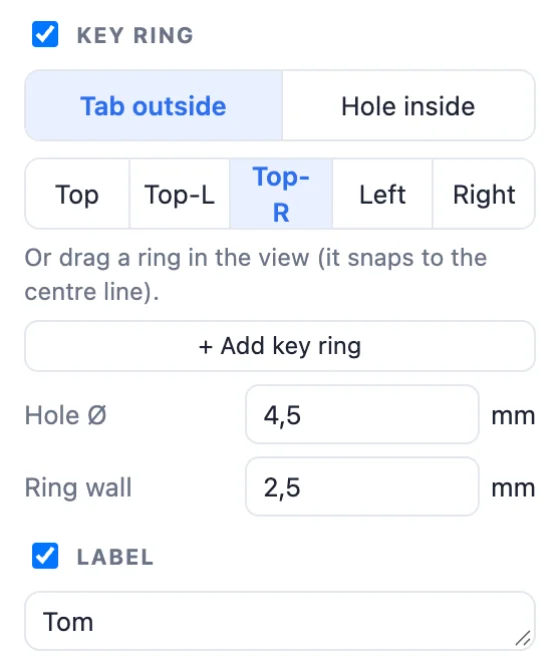
- Key ring: a tab outside the sticker or a hole inside it, at the top, a top corner or a side. Add more rings, set the hole Ø and the ring wall, or drag a ring anywhere in the view (it snaps to the centre line).
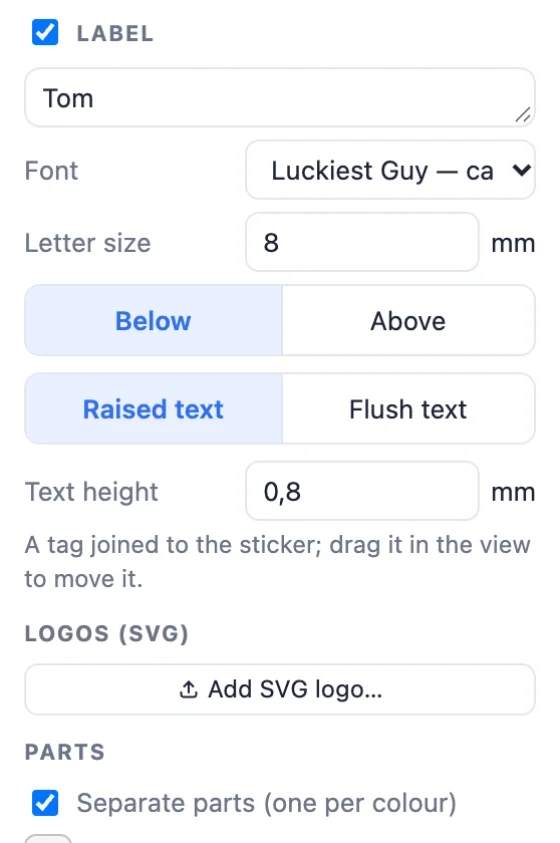
- Label: a name or a short message on a tag below or above the sticker, in any font (or one you upload), raised or flush, in its own colour. Drag the tag to move it.
- Logos: add SVG files with their size and angle, raised in their own colours. Off the sticker the backing grows under them, and one placed away from the sticker is joined to it, so nothing prints loose.
7Export and print
Click Create sticker: it becomes a group with one part per colour. To change it later, double-click it or use Edit….
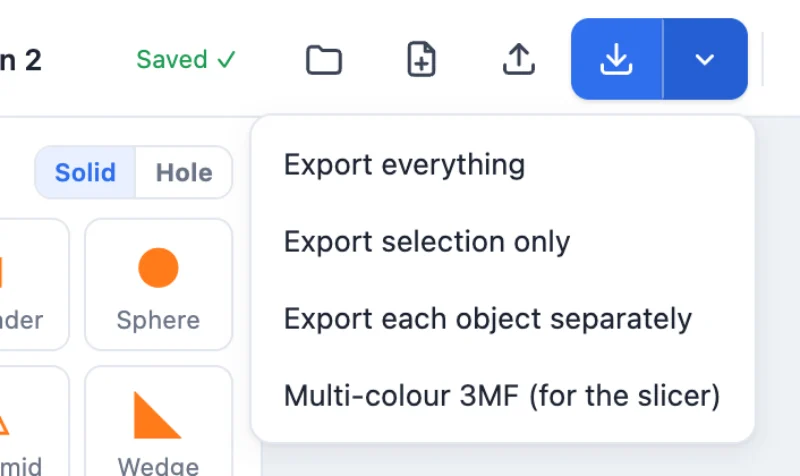
Open the menu next to the Export button and choose Multi-colour 3MF (for the slicer): OrcaSlicer, Bambu Studio and PrusaSlicer open it as one object with every colour already on its own filament. Make sure your slicer has as many filaments as the message after saving lists.
Printing tips
- Print it flat on the bed, as it comes out of the generator, with 0.2 mm layers.
- For a badge reel or a magnet, keep the back flat (no raised backing) and glue it on.
- A keychain you carry every day is tougher in PETG, with a ring wall of 2.5 mm or more.
Questions
What kind of image works best?
Sticker-style art: clear dark outlines, a few flat colours and a plain or transparent background. Photos and soft gradients do not turn into clean colour areas.
How many colours should I choose?
As many as the image really has, usually 4 to 6. If you ask for more, near-identical colours are merged and the panel tells you how many there are.
Can I print it with a single-colour printer?
A flat sticker needs a multi-colour printer, because the colours lie side by side. With raised colour heights you can change the filament at each height, but colours on the same layer stay one colour.
Is my image uploaded to a server?
No. The image is processed on your computer, in your browser, and saved only with your project in this browser.
Make your sticker now
Start with the sample cat, then upload your own image.
Open the sticker generatorAlso see: Keychain generator for name keychains from text and SVG icons, and QR code STL generator.