3DPrintCAD › Guides › NFC tag tool
NFC tag tool: hide an NFC chip inside any 3D print
An NFC tag inside a print - a coaster that shares your Wi-Fi, a keychain that opens your website, a sign that shows your contact - is a small chip in a pocket. The NFC tag tool cuts that pocket inside any body you already have: pick the chip, drag the pocket into place and choose its height. It turns red wherever the pocket would break through, and tells you exactly when to pause the print to drop the chip in.
Watch the tutorial
The whole tool in just over two minutes, with subtitles: the chip, moving the pocket, its height, sealed or open underneath, and when to pause the print. Watch on YouTube ↗
1Open the tool
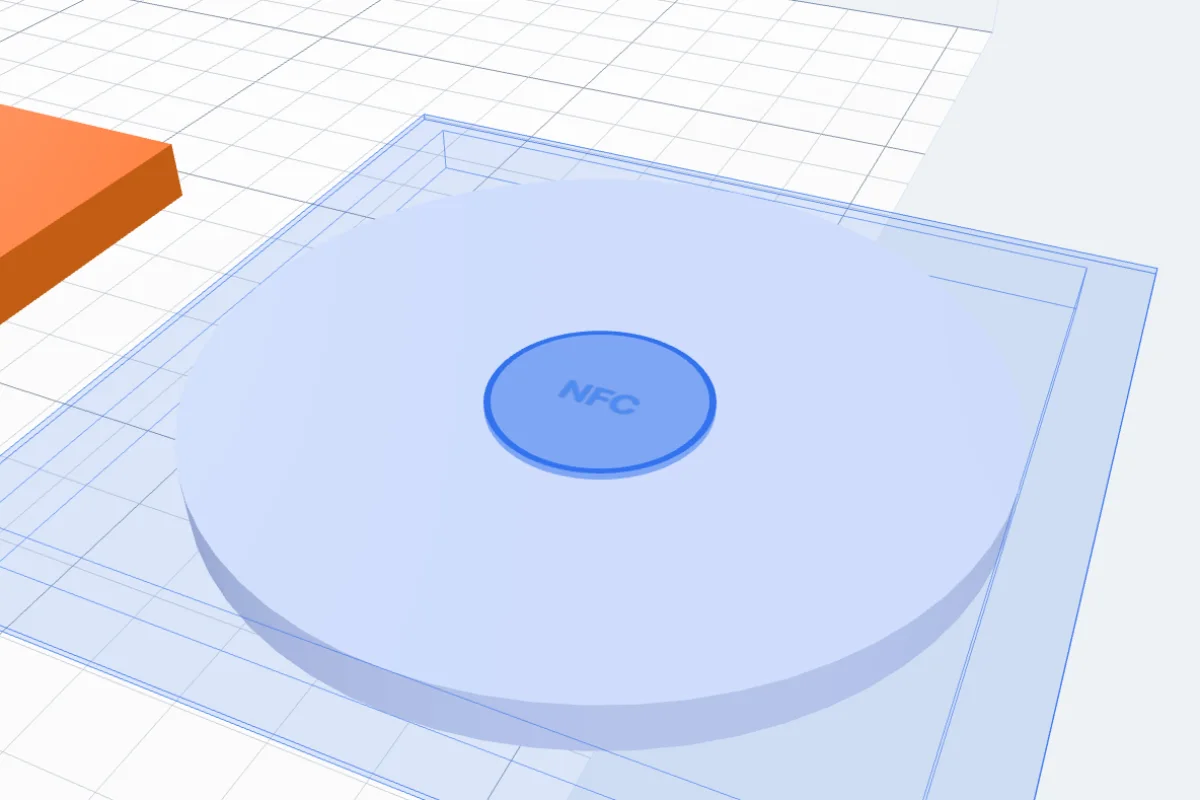
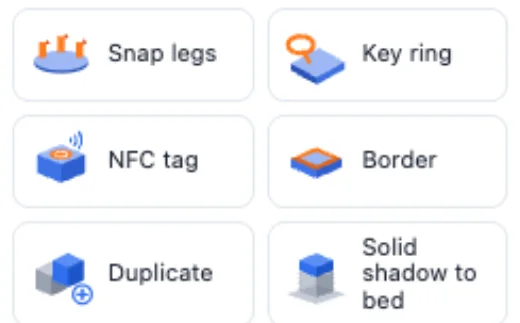
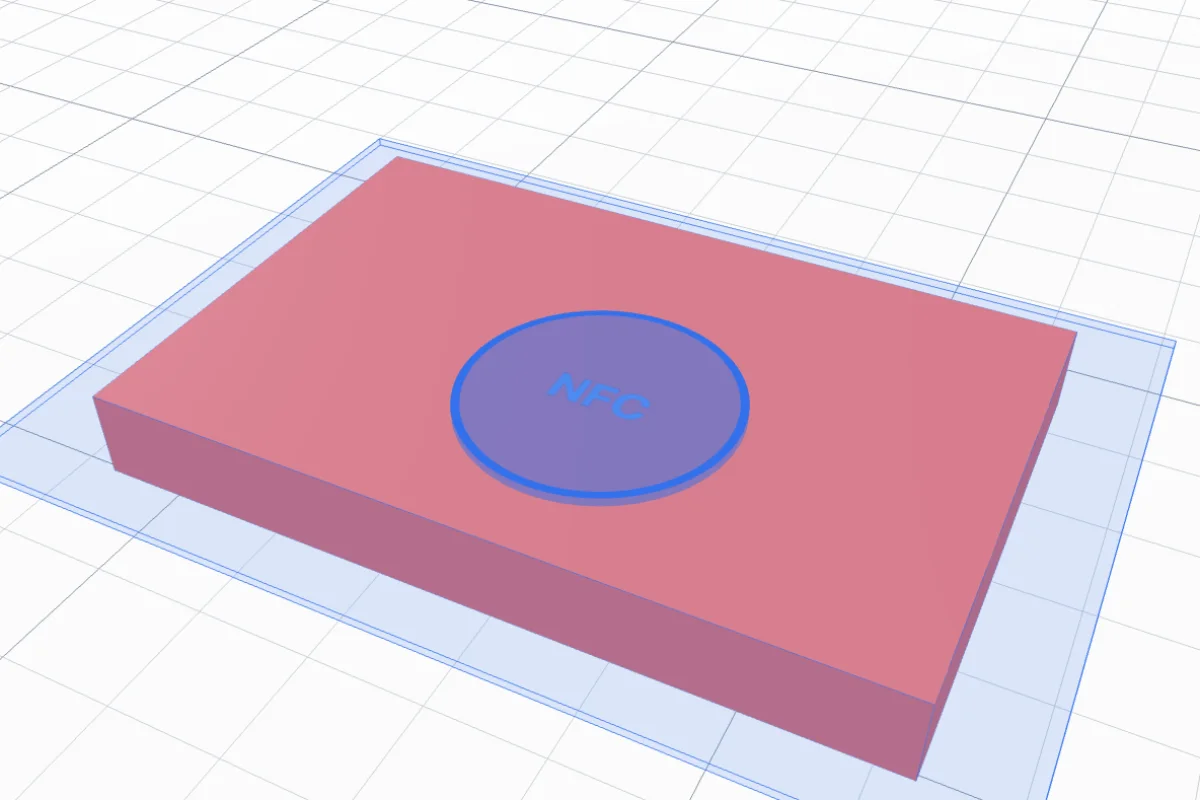
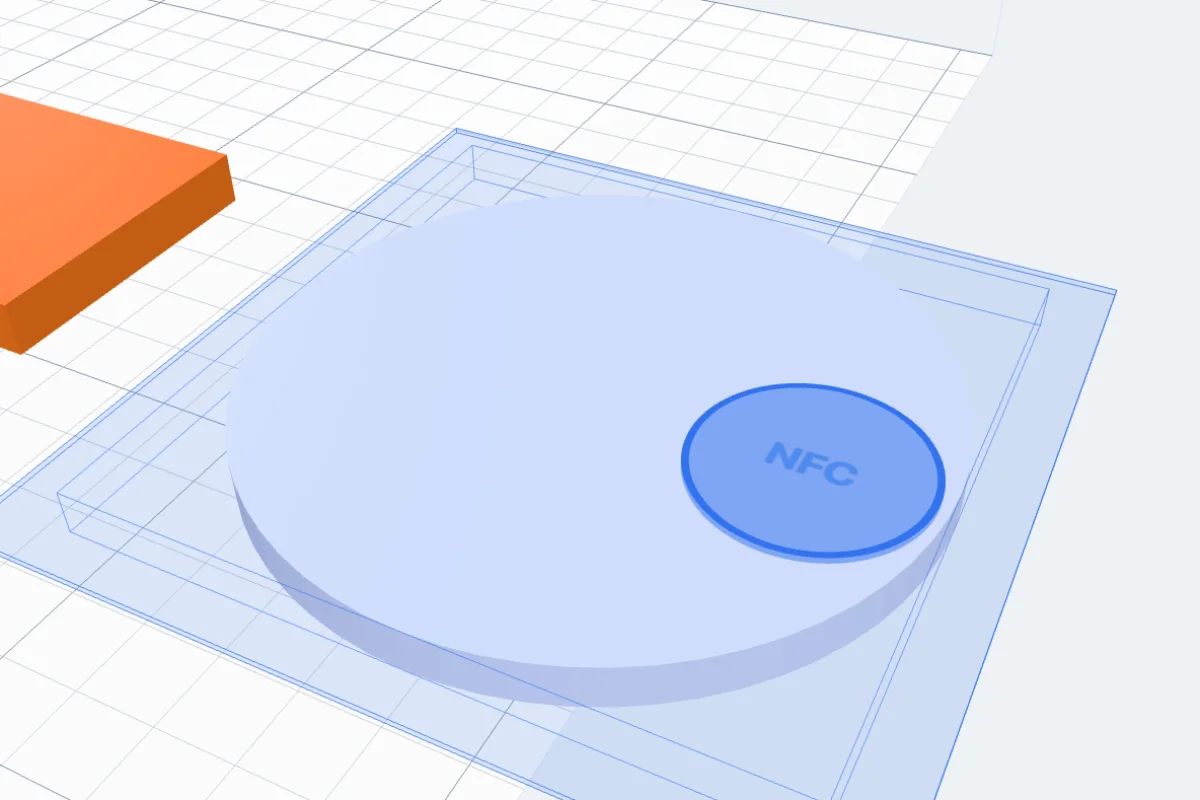
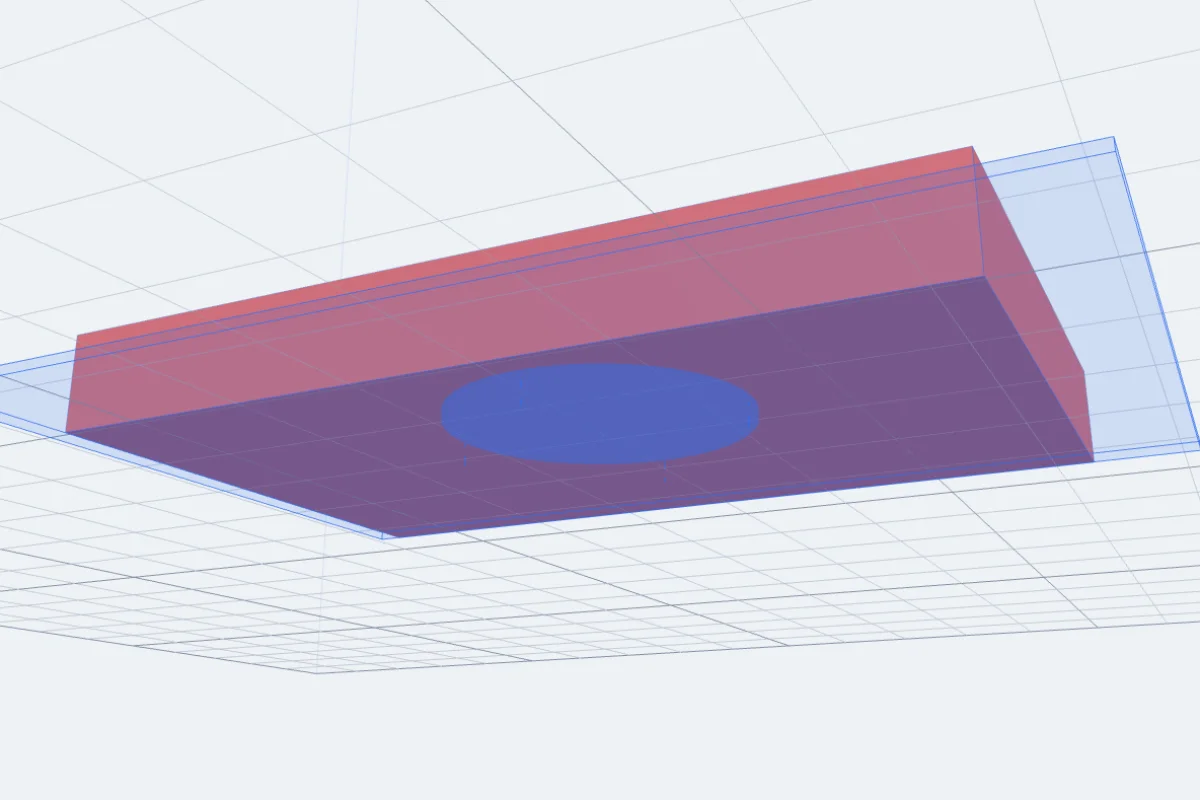
Select the body that gets the chip - a box, a coaster, a keychain, anything solid - and click NFC tag in the Body card on the right. The body turns see-through, and a blue plate goes across it at the pocket's height, as thick as the pocket. On it lies the blue NFC marker: that is the pocket, seen from above.
2Pick the chip
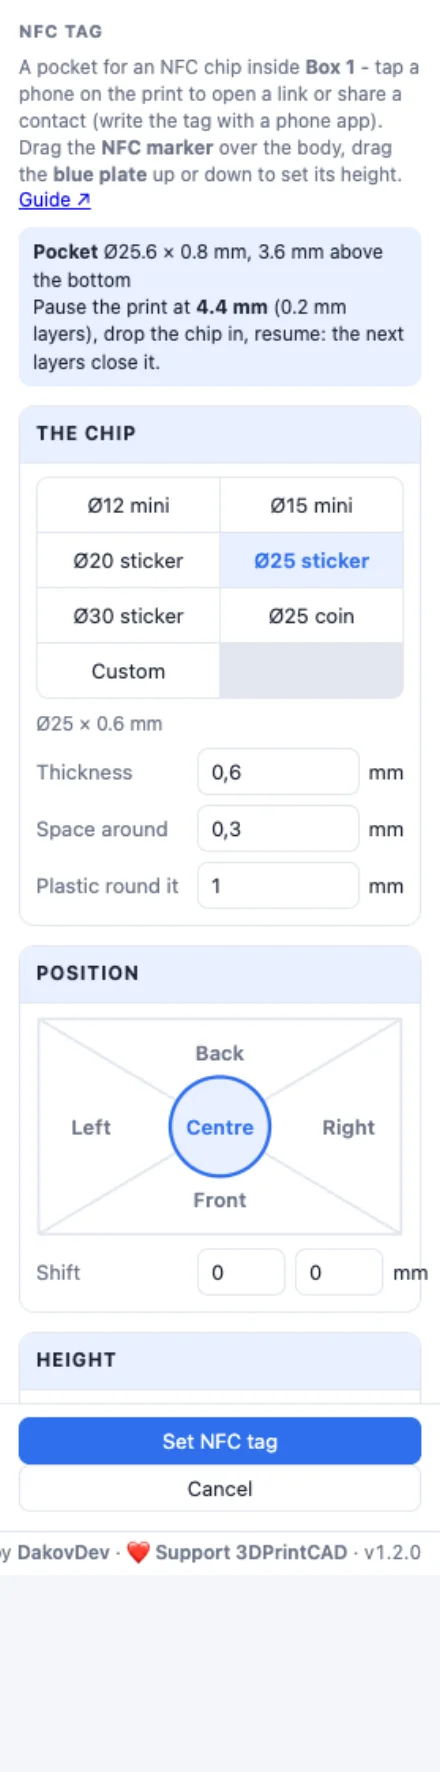
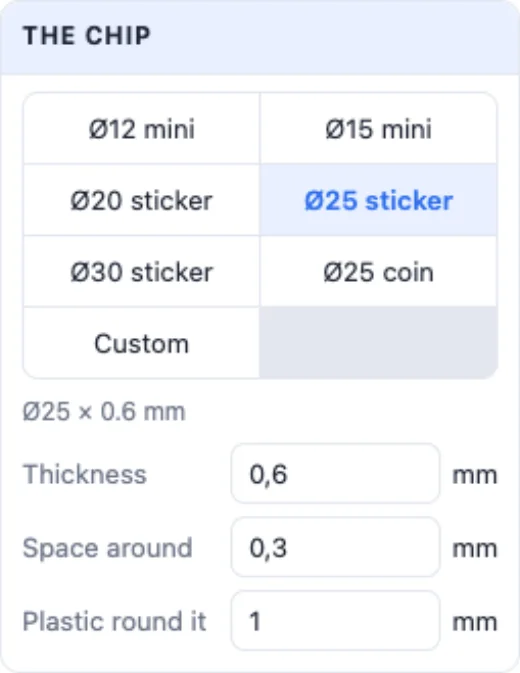
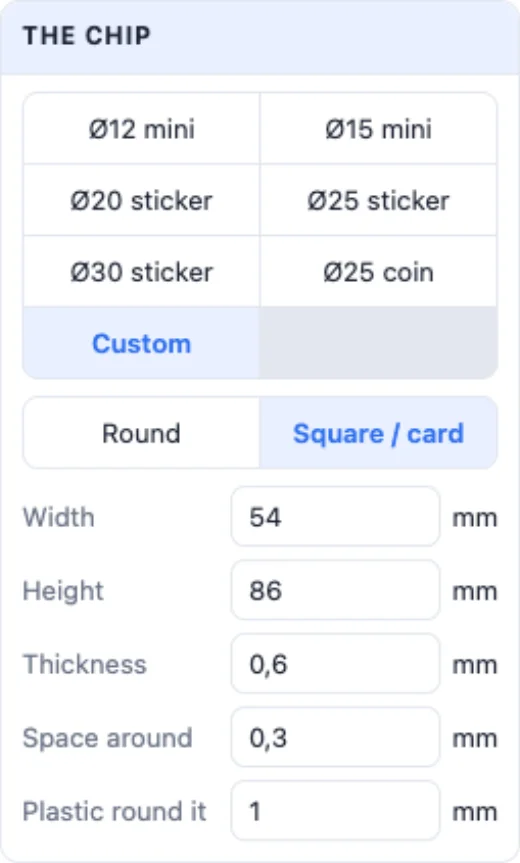
The chip - the usual sizes: Ø12 mini, Ø15 mini, Ø20 sticker, Ø25 sticker, Ø30 sticker and the thicker Ø25 coin, or Custom (round with its diameter, or Square / card with its width and height). Thickness is the chip's own. Space around is the room round it (0.3 mm per side lets it drop in), and Plastic round it is how much plastic the pocket keeps to the outside of the body (1 mm).
3Move it over the body
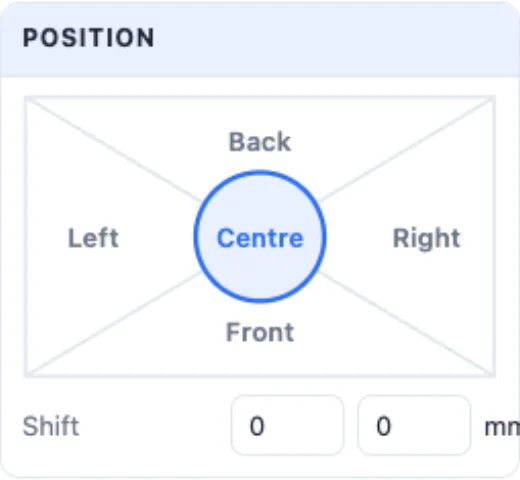
Drag the NFC marker to move the pocket - 0.1 mm steps, or whole millimetres with Shift; a label by the mouse tells how far it is from the body's middle. Or pick a place in Position (Centre, Back, Front, Left, Right - near that edge) and fine-tune it with Shift (mm right and back).
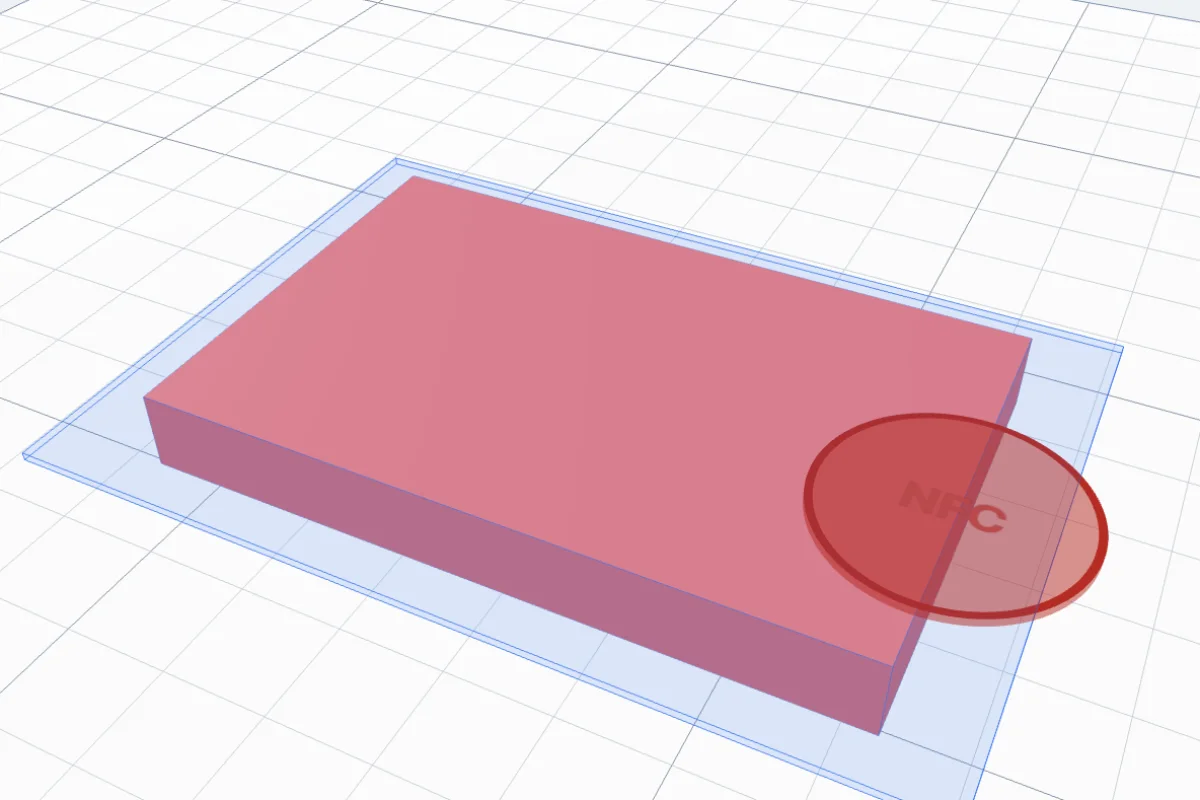
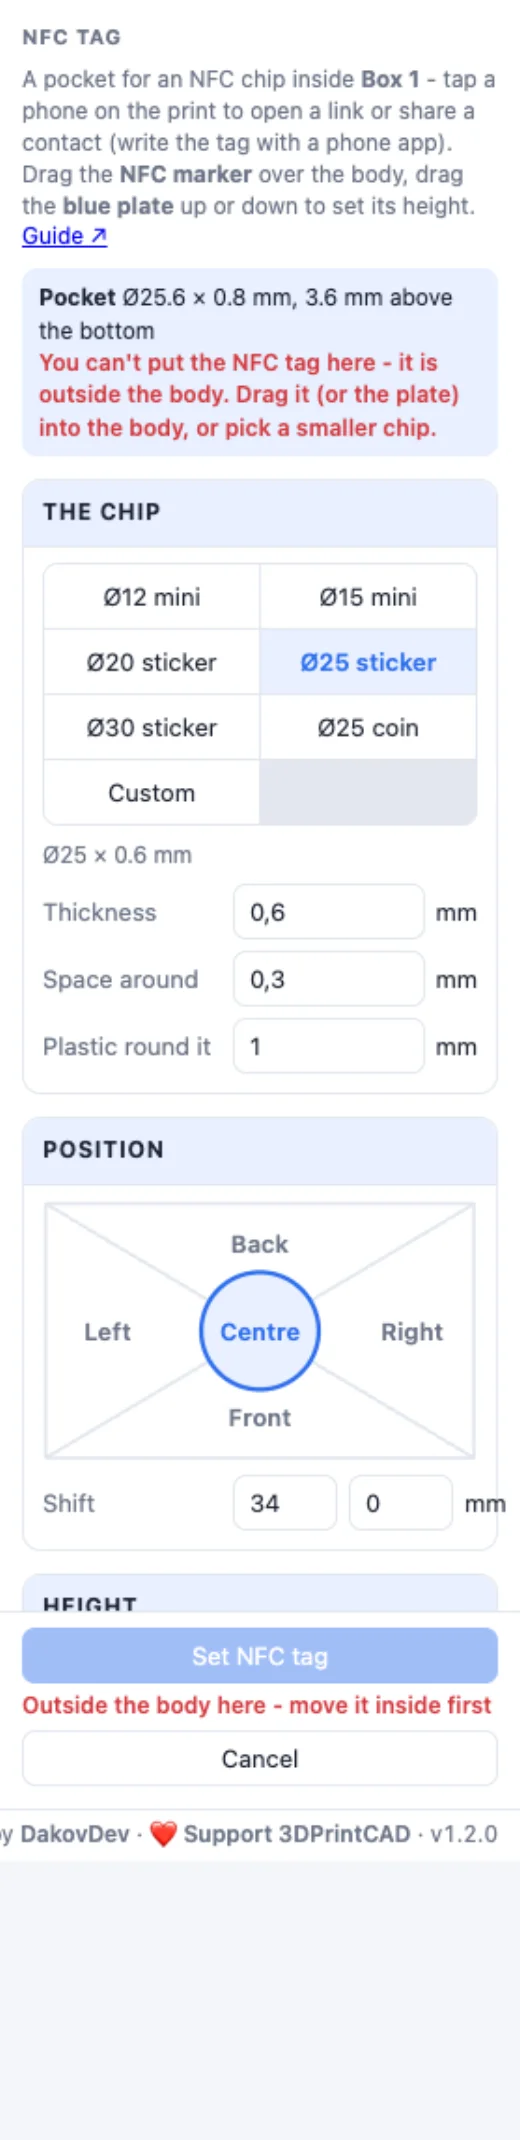
Where the pocket - with the plastic it needs round it - would reach outside the body, the marker and the pocket turn red, Set NFC tag is disabled and the panel says why: "You can't put the NFC tag here - it is outside the body".
4Set its height
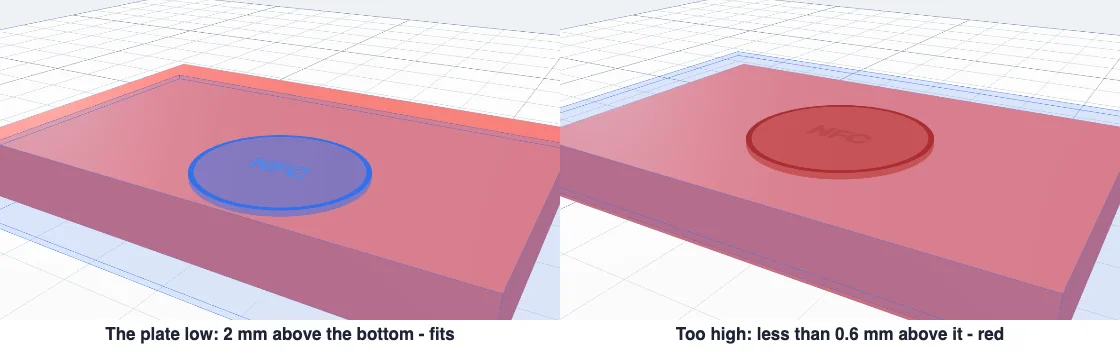
Drag the blue plate up or down - it moves smoothly while you drag, then snaps to a whole 0.2 mm layer and checks the place when you let go. Or type it in From bottom: the pocket's floor above the body's lowest point. At least 0.4 mm stays under the chip and 0.6 mm over it; higher or lower, it turns red.
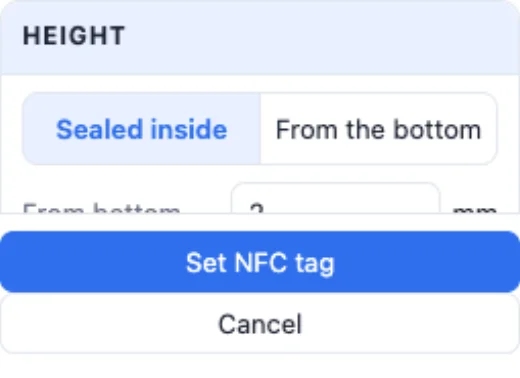
Sealed inside is a closed pocket: you pause the print and drop the chip in. From the bottom opens the pocket down through the underside (dashed lines in the view) - glue the chip in after printing, no pause.
5Set the tag and print it
When it is blue, the panel gives the pocket's size and the pause height. Click Set NFC tag: the pocket is cut inside the body (one undo step) and the body keeps its colours. To see it, open Cut (the section view, bottom right of the view) - the pocket shows as a thin slot inside.
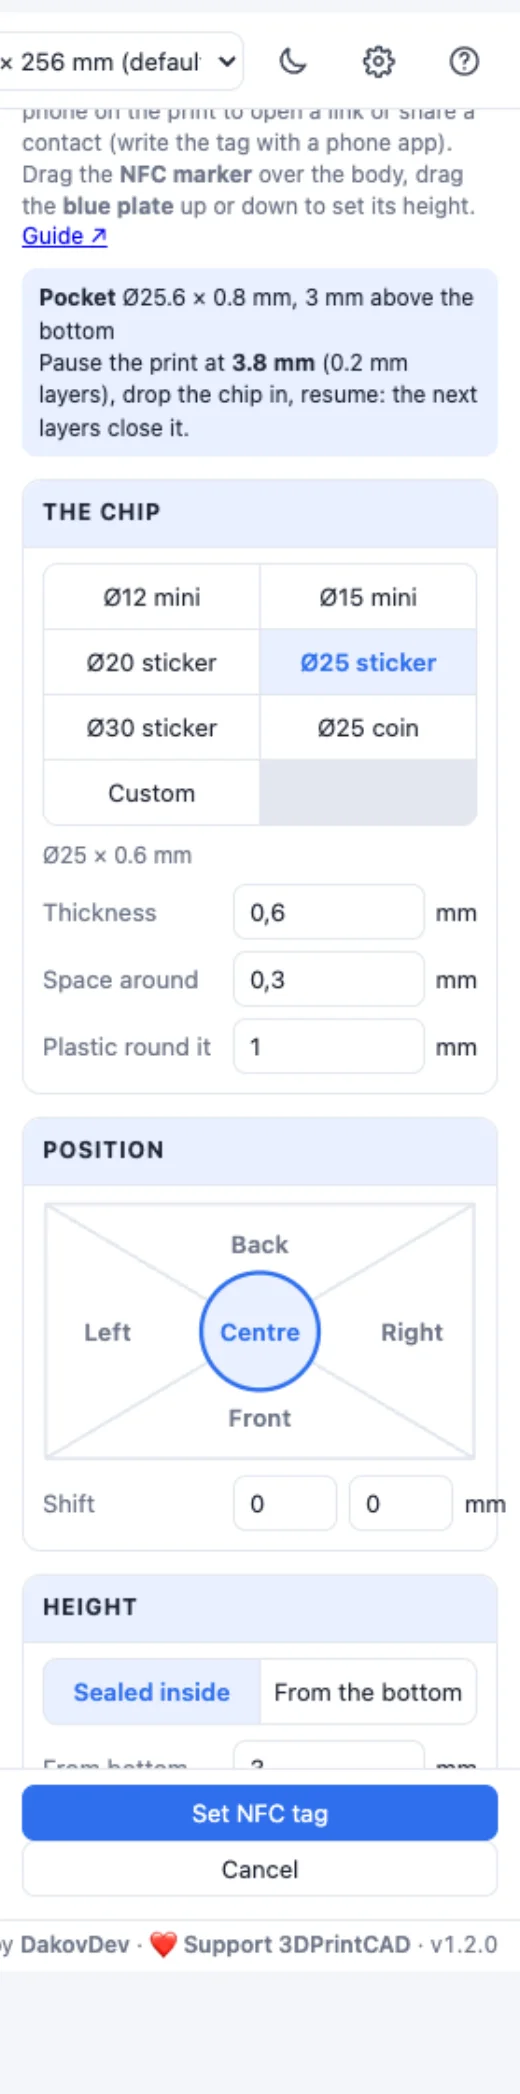
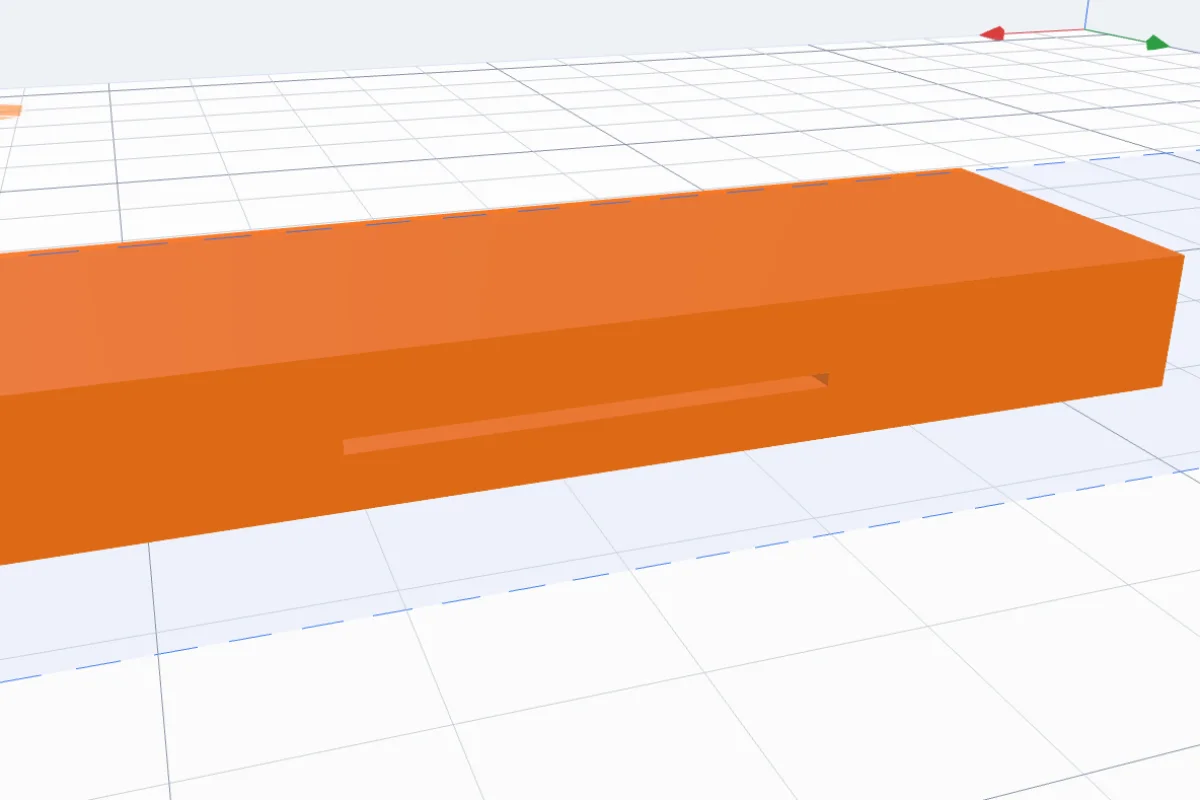
In your slicer, add a pause at that height (Orca Slicer / Bambu Studio: right-click the layer slider - Add pause; PrusaSlicer: Insert pause; Cura: Pause at height). The printer stops with the pocket open: drop the chip in and resume - the next layers close it.
Questions
Which NFC chips fit?
The usual NTAG213 / 215 / 216 sticker tags: Ø 12, 15, 20, 25 and 30 mm (about 0.6 mm thick), the thicker Ø 25 mm coin tags (1.2 mm), or any size you type in - round, or square for card-size tags. The pocket is the chip plus the space round it (0.3 mm by default), in whole 0.2 mm layers.
How do I put the chip in while printing?
With Sealed inside, the panel tells you the pause height - the top of the pocket. In your slicer add a pause at that height (Orca / Bambu Studio: right-click the layer slider and Add pause; PrusaSlicer: the + next to the layer, Insert pause / M601; Cura: the Pause at height script). When the printer stops, drop the chip into the pocket and resume: the next layers close it.
Why does the marker turn red?
The pocket, or the plastic it needs round it, would reach outside the body: under 1 mm at the side (Plastic round it), 0.6 mm above or 0.4 mm below. Set NFC tag is disabled until it fits - drag it further in, move the plate, or pick a smaller chip.
Can I add the chip after printing?
Yes - choose From the bottom: the pocket opens on the underside and you glue the chip in afterwards. No pause is needed.
Does the NFC chip still work through plastic?
Yes. PLA and PETG do not block NFC, and the chip sits under a thin roof (0.6 mm of plastic or more). Keep it away from metal parts and magnets, and test the tag with your phone before you print a batch.
Hide an NFC tag in your print
A coaster, a keychain, a sign - put the chip in the middle and pause the print at the height it tells you.
Open 3DPrintCADAlso see: QR code generator (its own NFC option), Keychain generator, Border tool and Basic shapes and body tools.