3DPrintCAD › Guides › Lightbox maker
Lightbox maker: 3D print a light sign from text, SVGs and pictures
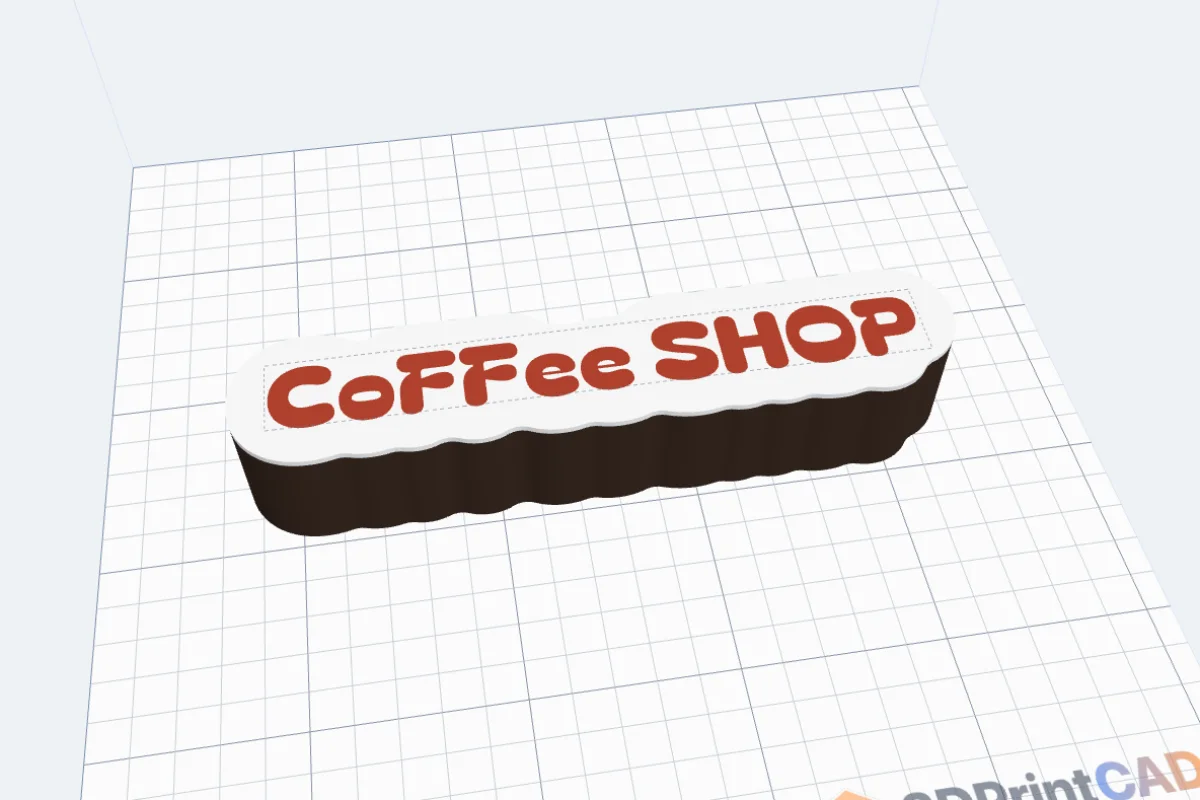
A lightbox is a sign that glows: a thin white face the light shines through, your words and pictures on it in colour, and a hollow box behind it for an LED strip or a small puck light. The Lightbox maker builds one from whatever you put on it - a shop name, an OPEN sign, a child's name, a logo - and shows it with the light on before you print.

Watch the tutorial
Every step in under four minutes, narrated with subtitles: texts and pictures on the face, the shape, the box, cable and wall mount, the base and the light on. Watch on YouTube ↗
1Open the Lightbox maker
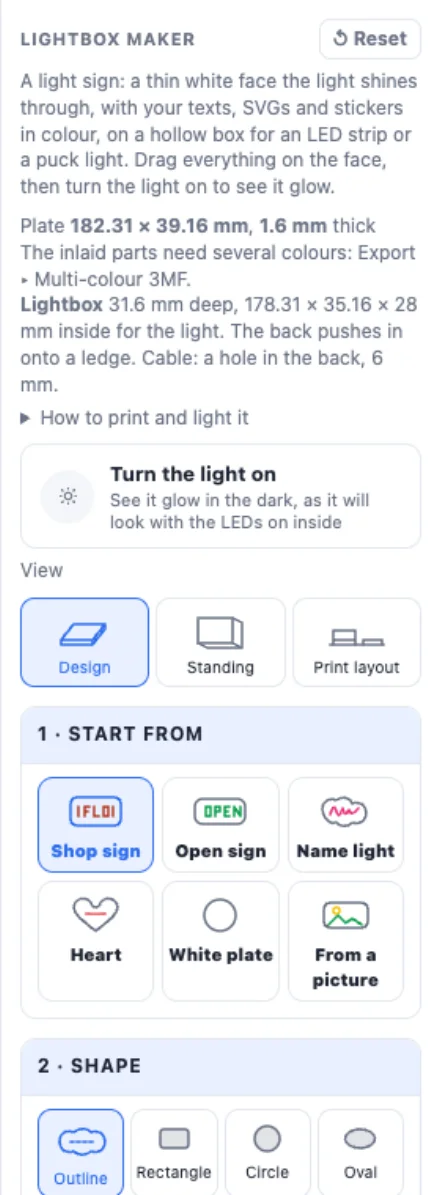
Click Lightbox under Generators. It starts with a shop sign - the text on a white face with an outline round it, on a box 30 mm deep. At the top of the panel are the light switch and the View: Design (lying face up, to edit), Standing and Print layout.
2Start from a design
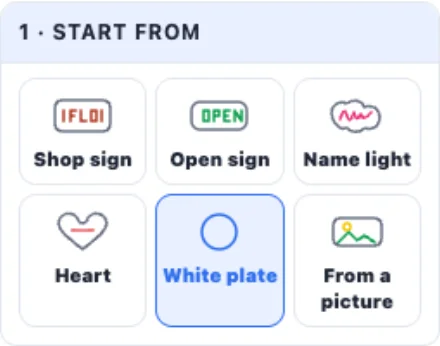
Six designs to start from: a Shop sign, an Open sign for two screws on the wall, a Name light standing in a base, a Heart, a plain White plate to fill yourself, and From a picture, which asks for a picture and puts an outline round it.

3The shape
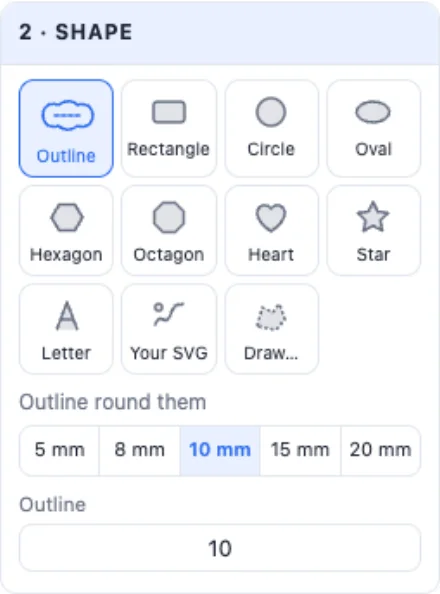
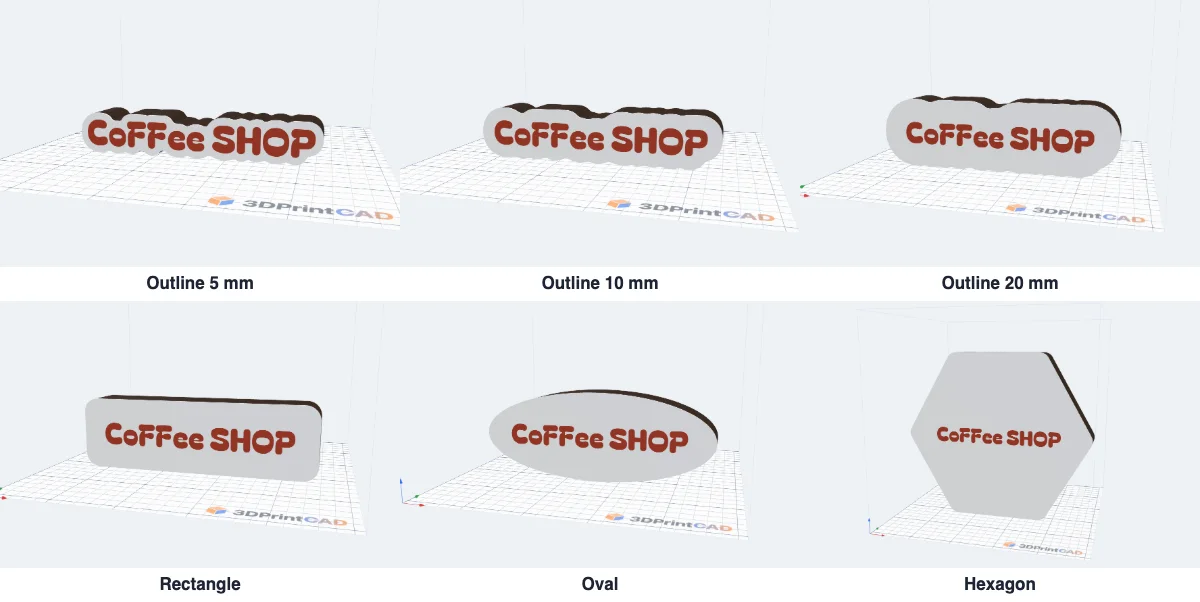
Outline makes the box follow what is on the face - choose how far it reaches past it, from 5 to 20 mm. Or pick a plate shape and type its size: rectangle, circle, oval, hexagon, octagon, heart, star, a letter, your own SVG or your own drawing.
4Texts, SVGs and stickers
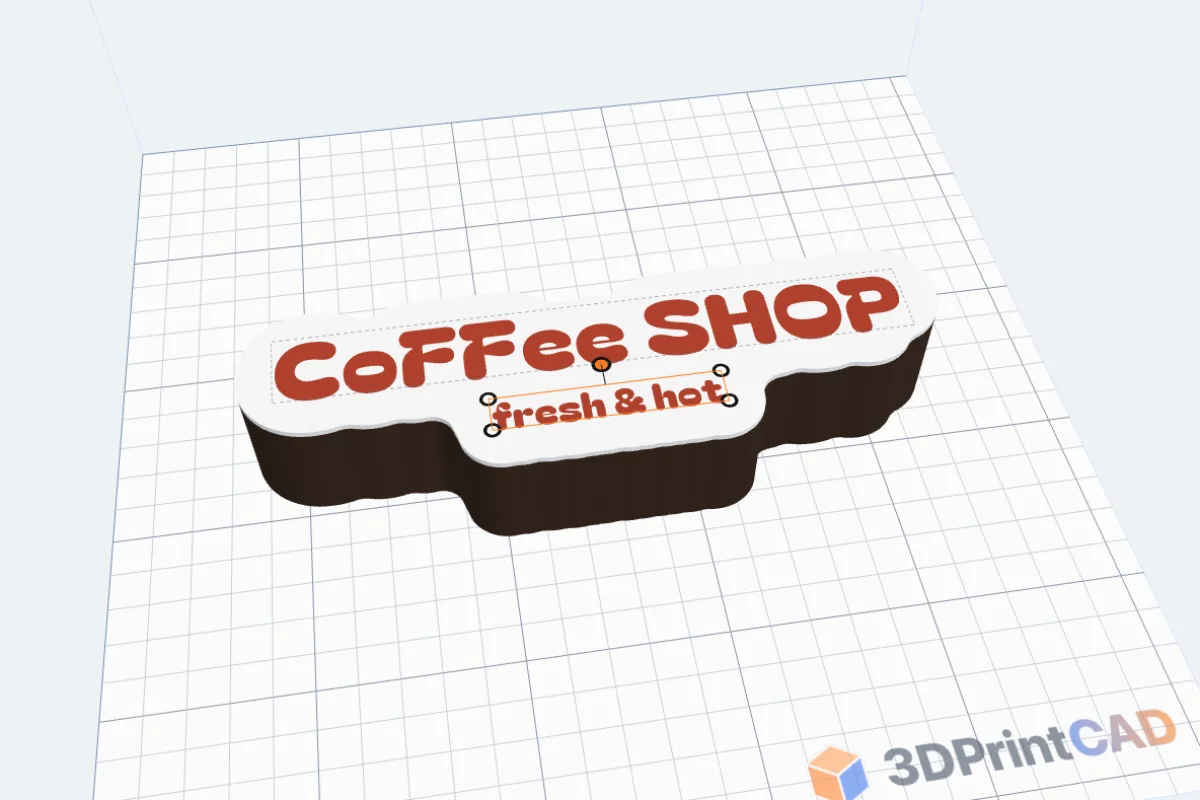
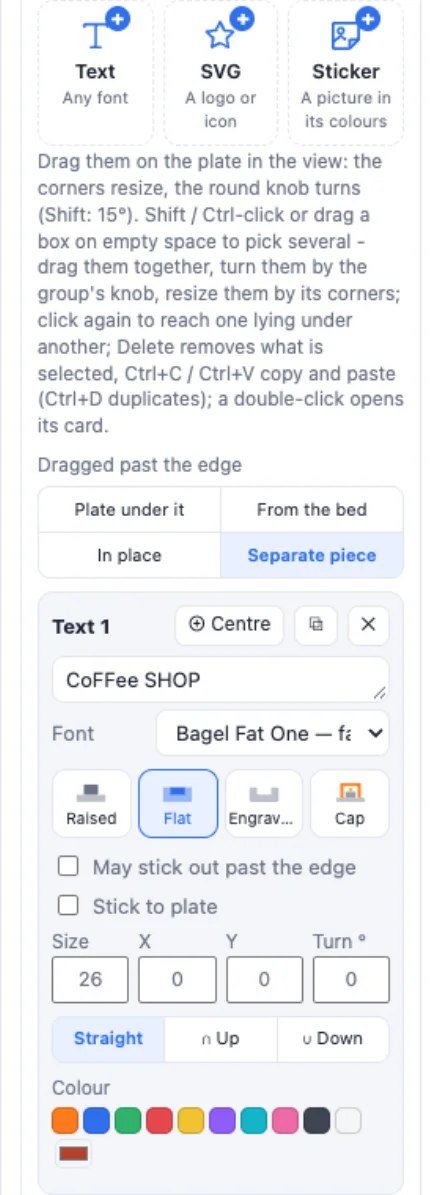
Under Texts, SVGs and stickers add as many as you like: a text in any font, an SVG logo or icon, a sticker - a picture in its own colours. In the Design view drag each one on the face, turn it with the round knob and size it by a corner. A double-click opens its card. They start Flat - printed level in the face, so the light shines through them in their colour.
5The box
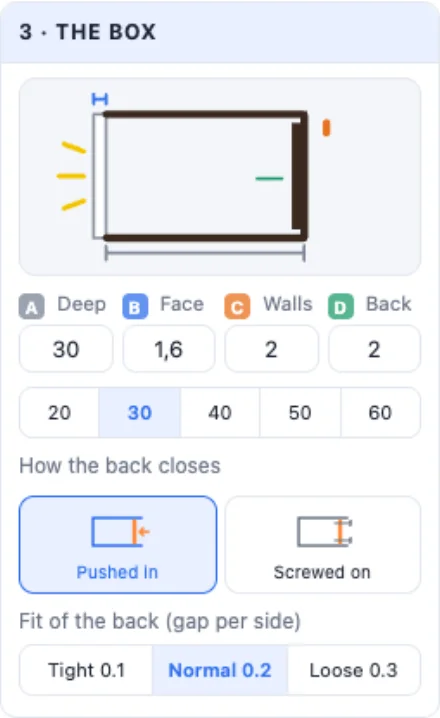
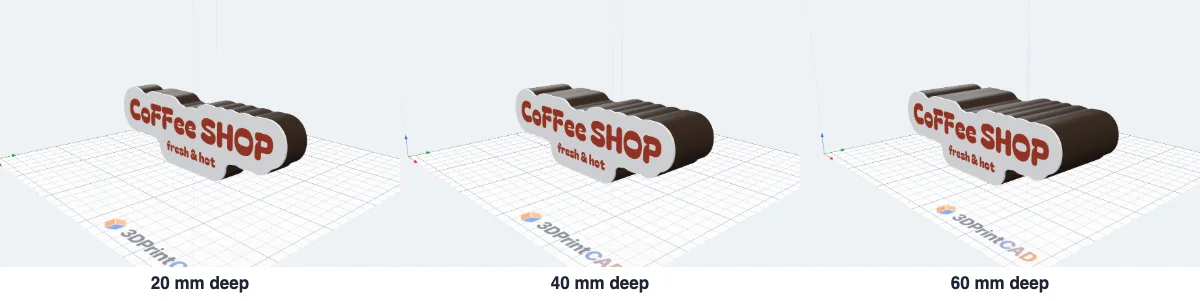
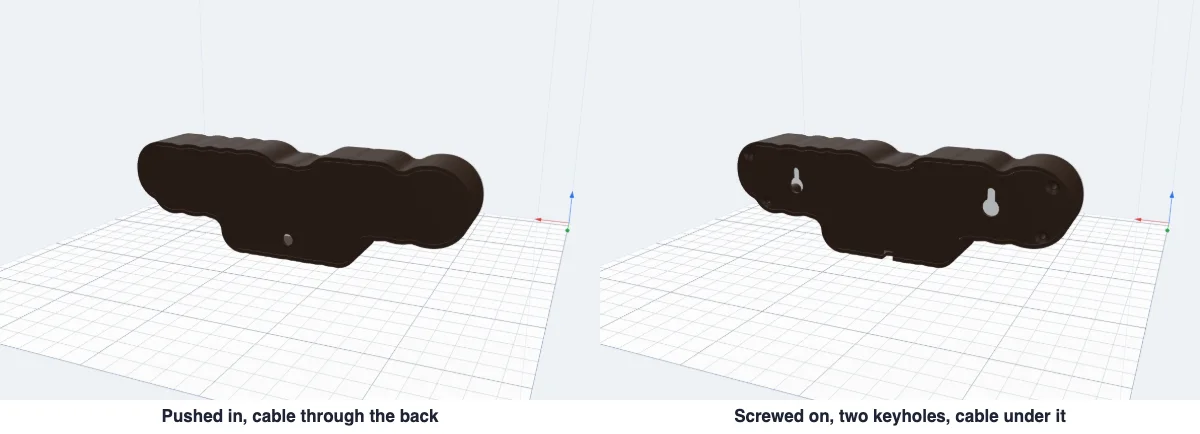
The drawing shows the four sizes: A how deep the box is, B the face, C the walls, D the back. Deeper spreads the light more evenly. The back is Pushed in onto a ledge, or Screwed on to posts in the corners.
6Cable, wall mount and more holes
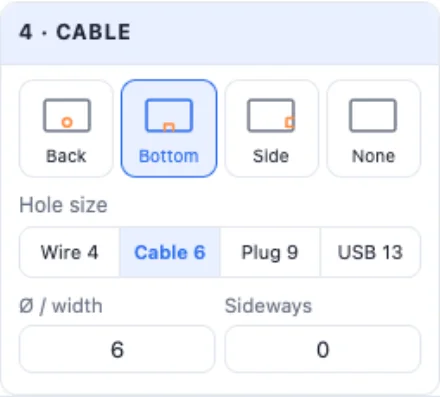
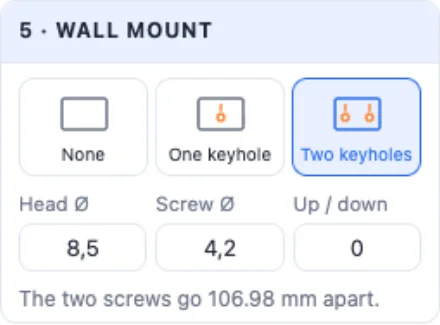
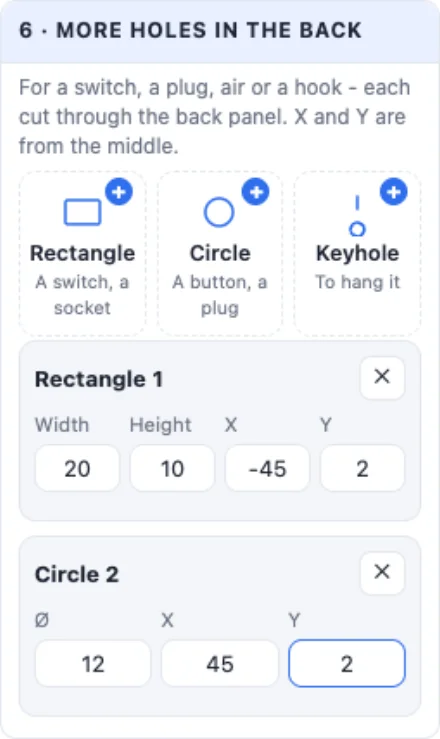
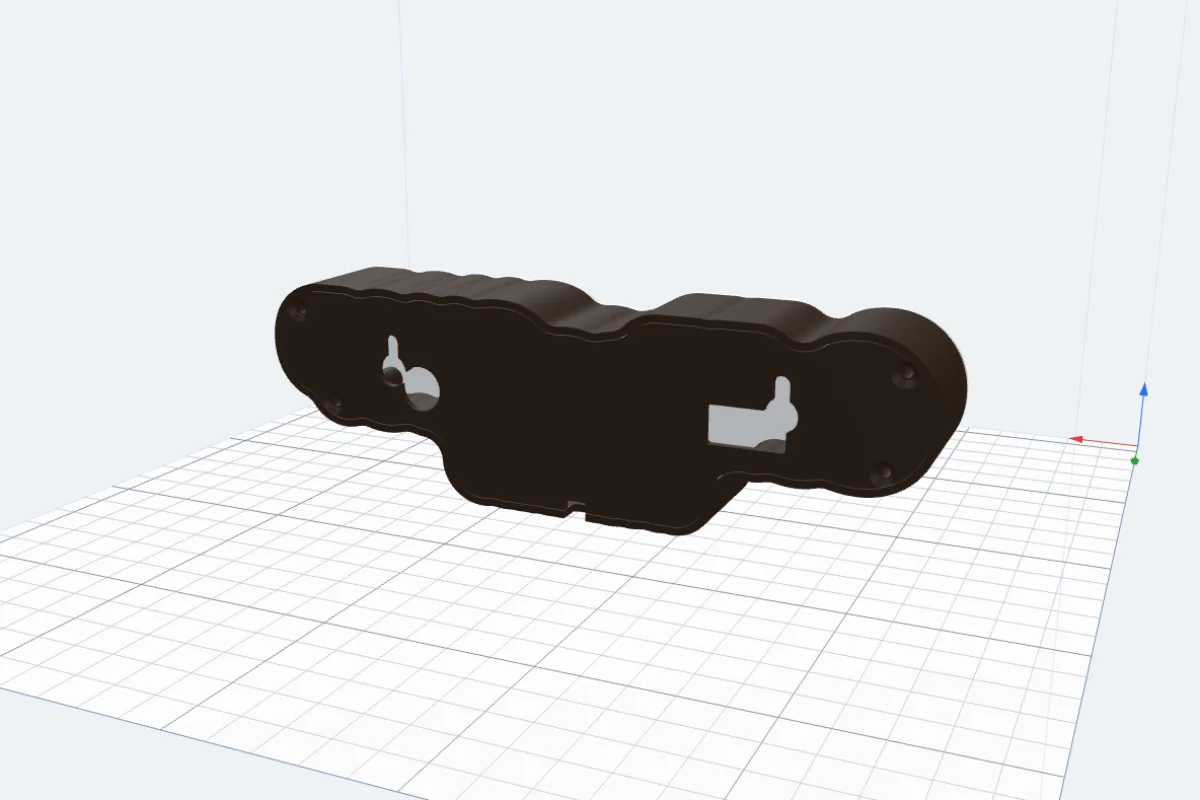
The cable leaves through a hole in the back, a notch under the box or one in its side; chips set the size for a wire, a cable, a plug or a USB plug. For the wall choose one or two keyholes - the panel says how far apart the screws go. More holes adds a rectangle, a circle or a keyhole anywhere in the back, for a switch or a socket.
7A base
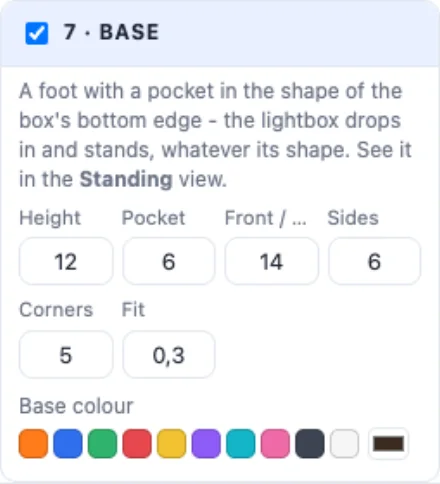
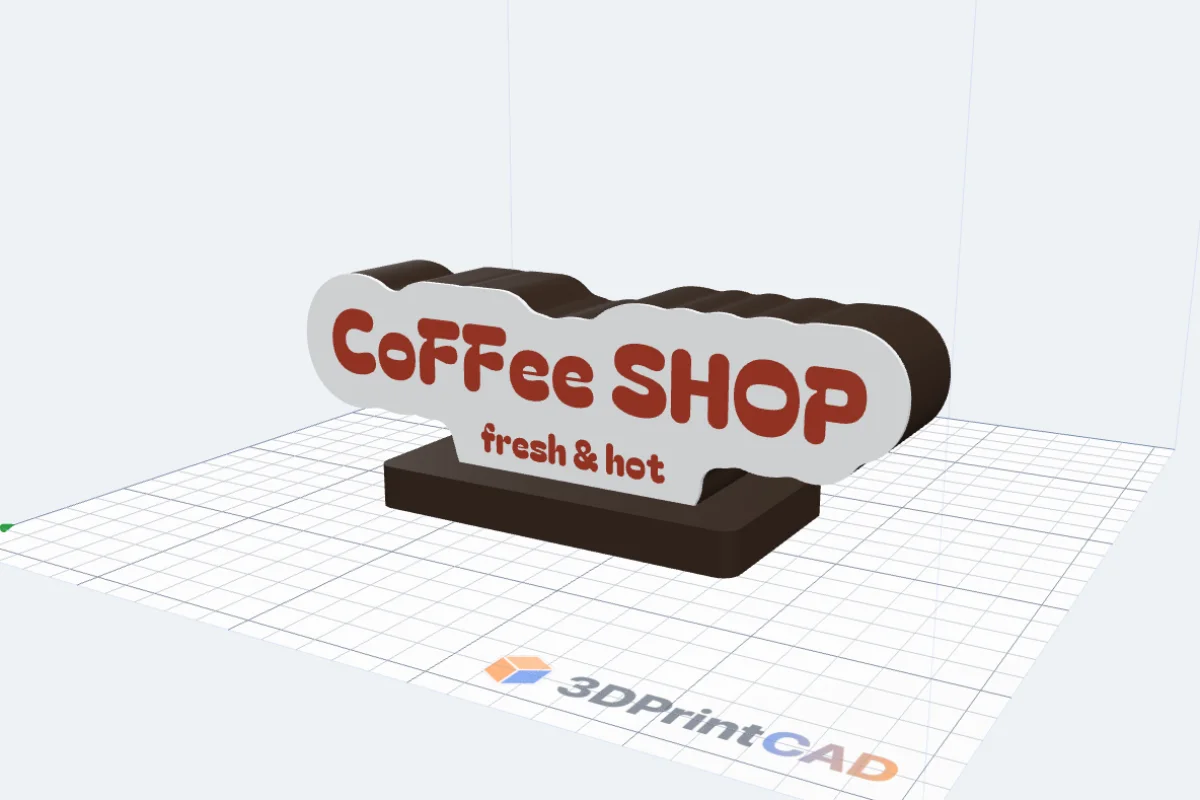
Tick Base for a foot with a pocket in the shape of the box's bottom edge - the lightbox drops in and stands, whatever its shape.
8Turn the light on
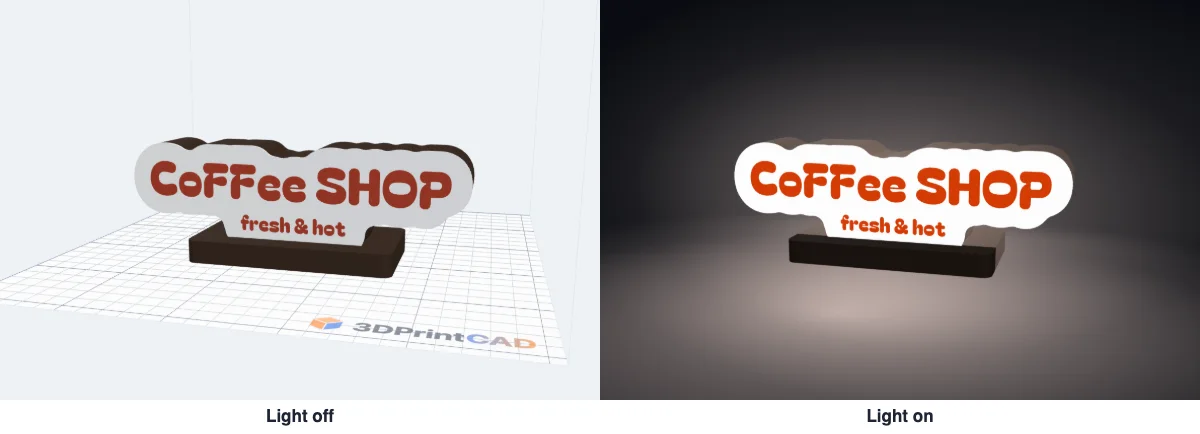
Click Turn the light on: the face and everything on it glow in their colours, the room goes dark and the light falls on the table. It is only a preview - a quick way to check that the words read well and the colours work before you print.
9Colours and printing
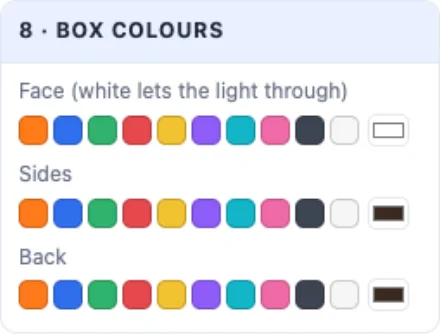
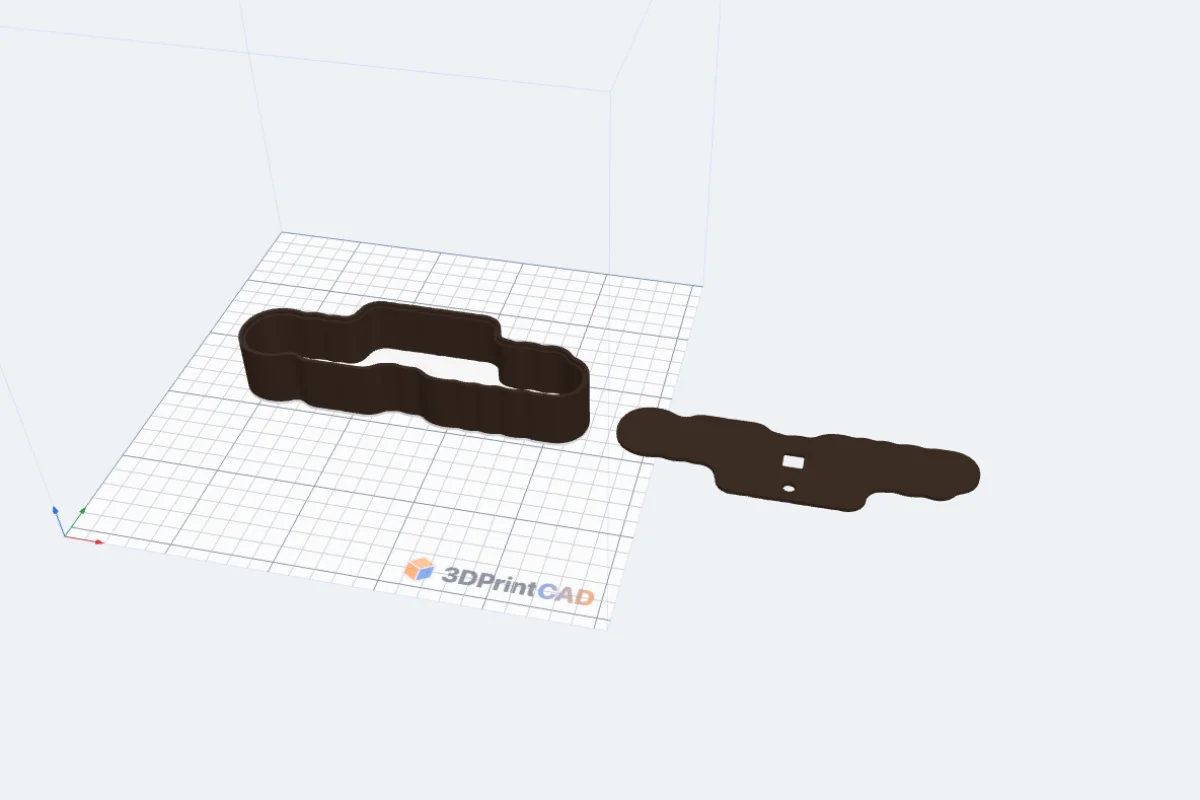
Pick the colours of the face (white lets the light through), the sides and the back. Print layout shows how it prints: the box face down, the back beside it. Click Create lightbox and export a multi-colour 3MF, or one STL per part.
Then stick the LED strip to the inside of the back, lead the cable out and close it. More about pictures in colour: the Sticker generator. A sign without light: the Plate generator.
Questions
What light goes inside?
A low-voltage LED strip (5 V USB or 12 V) stuck to the inside of the back, or a small battery or USB puck light. Use LED lights only - nothing that gets hot. A box 25 to 40 mm deep spreads a strip's light evenly; a shallower box can show the single LEDs as dots.
Which filament for the face?
White PLA or PETG, 1 to 2 mm thick, lets the light through and hides what is inside. The texts and pictures are printed in the face in their own colours, so they glow in colour. Print the sides and the back in a dark or solid colour so the light only comes out of the front.
Do I need a multi-colour printer?
For texts and pictures in colour inside the face, yes - or use the Separate pieces option under Printing, which prints every colour as its own piece that presses into the face. A plain white plate with nothing on it needs only one colour for the face and a filament change for the sides.
How does it print?
The face and the sides are one print, face down on the bed: the first layers are the face, then the walls go up. The back - and the base, if you add one - print on their own. The Print layout view shows it, and Create always puts the parts on the bed that way.
Pushed-in or screwed back - which one?
Pushed in is quick: the back presses in between the walls onto a ledge. Screwed on has posts in the corners and holds firmly - use it whenever the lightbox hangs on a wall by keyholes in the back, so the box cannot pull off its back.
Can I use my own shape?
Yes. Outline follows whatever is on the face. Or pick a rectangle, circle, oval, hexagon, octagon, heart or star, a letter, your own SVG, or draw the outline yourself.
Make your own lightbox
Your words, your logo, your picture - glowing.
Open 3DPrintCADAlso see: Plate generator, Sticker generator, Lithophane maker and Add text to a 3D model.