3DPrintCAD › Guides › HueForge generator
HueForge-style prints: a few filaments, every shade
Turn a picture into a colourful print made of a few filaments. It prints lying flat in thin layers, and each thin layer lets some of the colour below show through, so four or five filaments blend into many shades - lit from the front, like a poster. The filaments are picked from your picture, and everything happens in your browser.
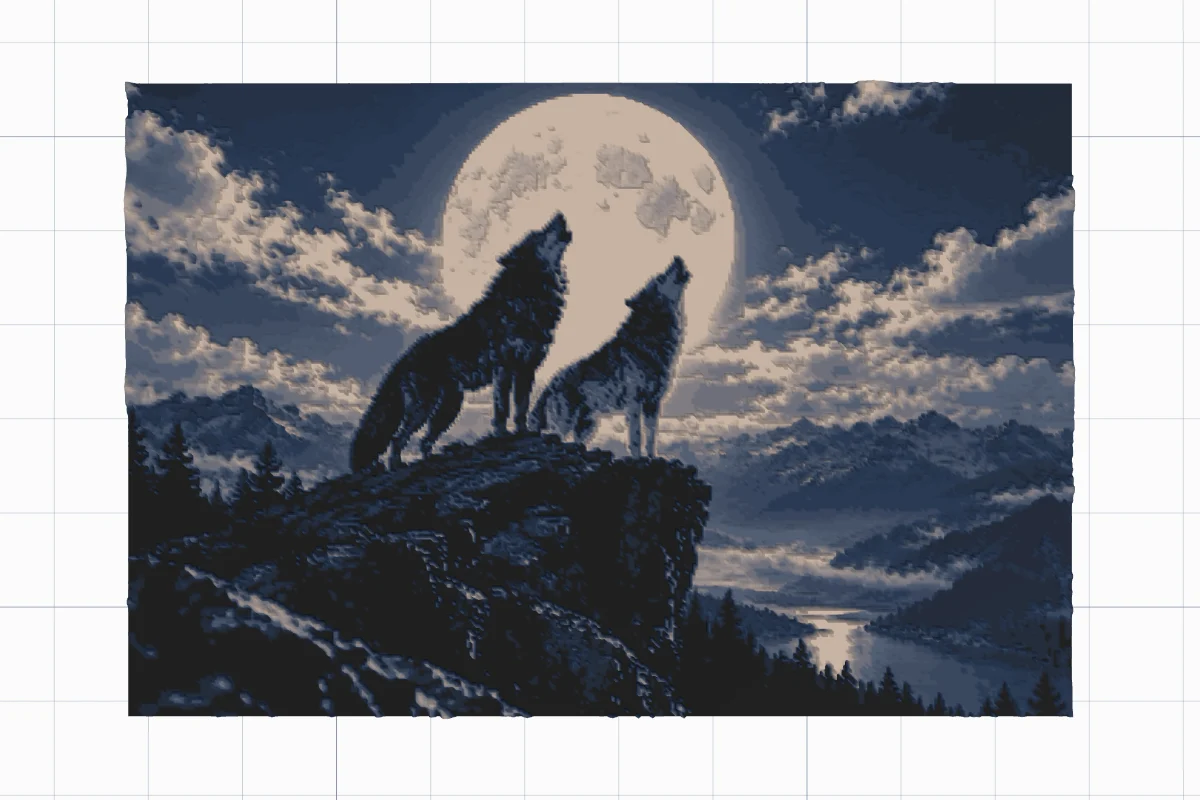
Watch the tutorial
Every option in two and a half minutes, with subtitles: the picture, the filaments, TD and layers, the blended preview, size, tones, the swap heights and export. Watch on YouTube ↗
1Choose a picture
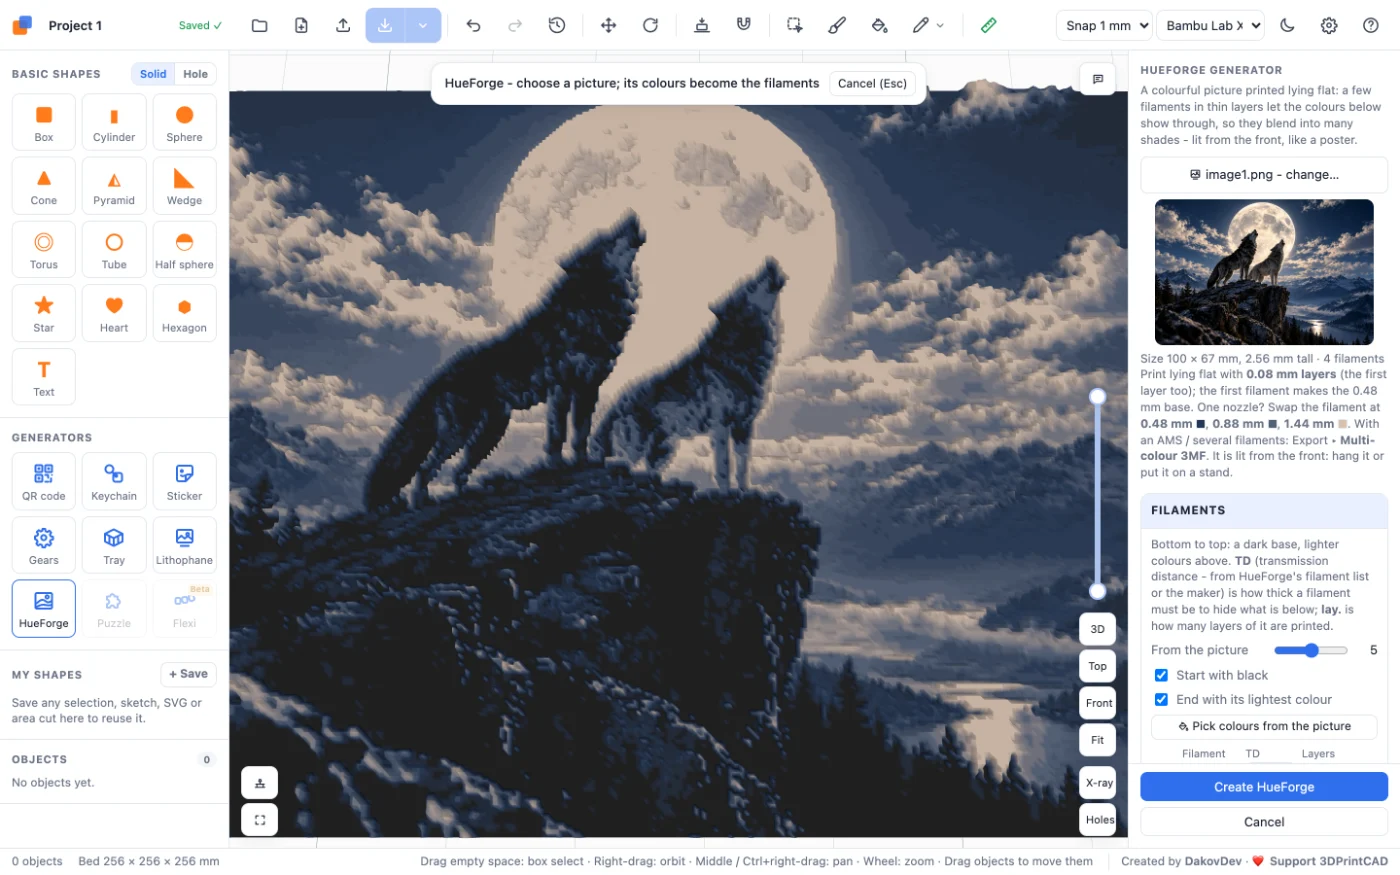
Open the app and click HueForge under Generators. A window asks for a picture: drop a PNG, JPG or WebP on it, or click to choose one. The print appears at once, with the filaments picked from the picture's main colours and the size set to its proportions.
2The filaments
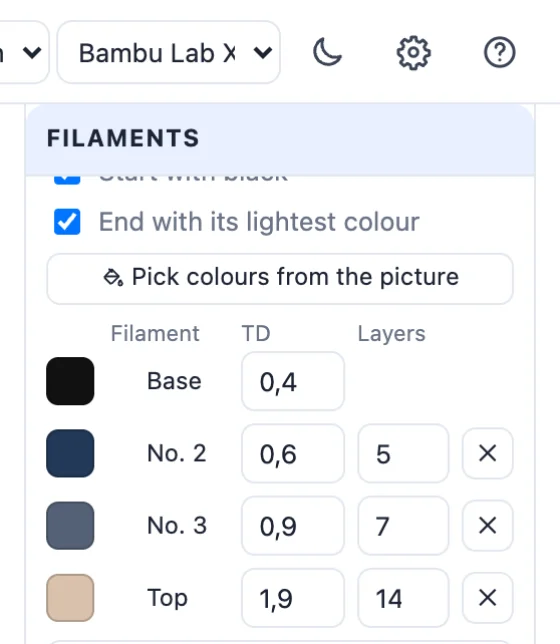
The filaments are listed bottom to top: a dark base, lighter colours above. Each thin layer lets the colour below show through, so the colours mix into the shades in between.
- From the picture - how many filaments (2 to 8). Pick colours from the picture chooses them again.
- Start with black puts a black base under the picture's colours for deep shadows and strong outlines; End with its lightest colour puts the picture's brightest colour on top for the highlights.
- Click a colour to change it to a filament you have.
- TD (transmission distance) is how thick a filament must be to hide what is below - from HueForge's filament list or the maker. Layers is how many layers of it are printed.
- + Add a filament and ✕ change the stack. The strip under the list shows it, to scale.
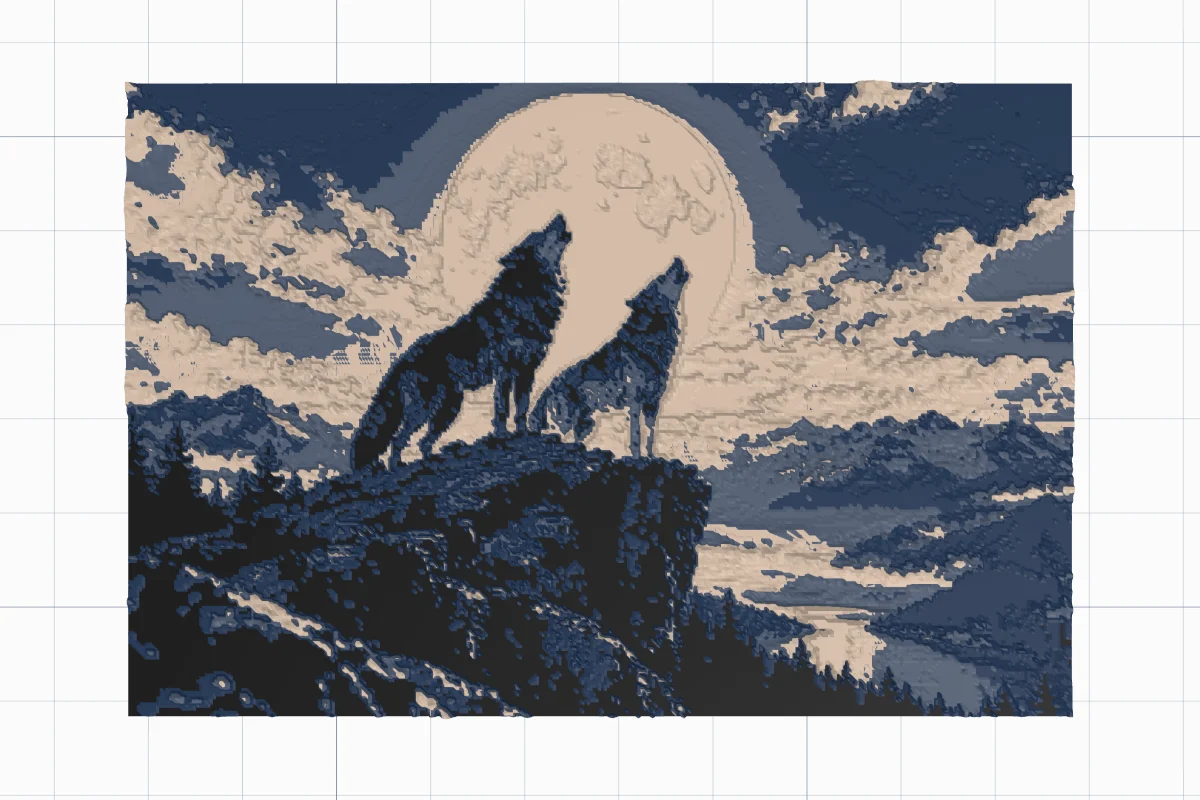
- Show the blended colours shows the colours as they should print; untick it to see each filament's own colour.
3Size and layers
- Width and Height, with Keep the picture's proportions.
- Layer height - print with exactly this, the first layer too. 0.08 mm is usual.
- Base - the first filament alone, under everything.
4Tones and detail
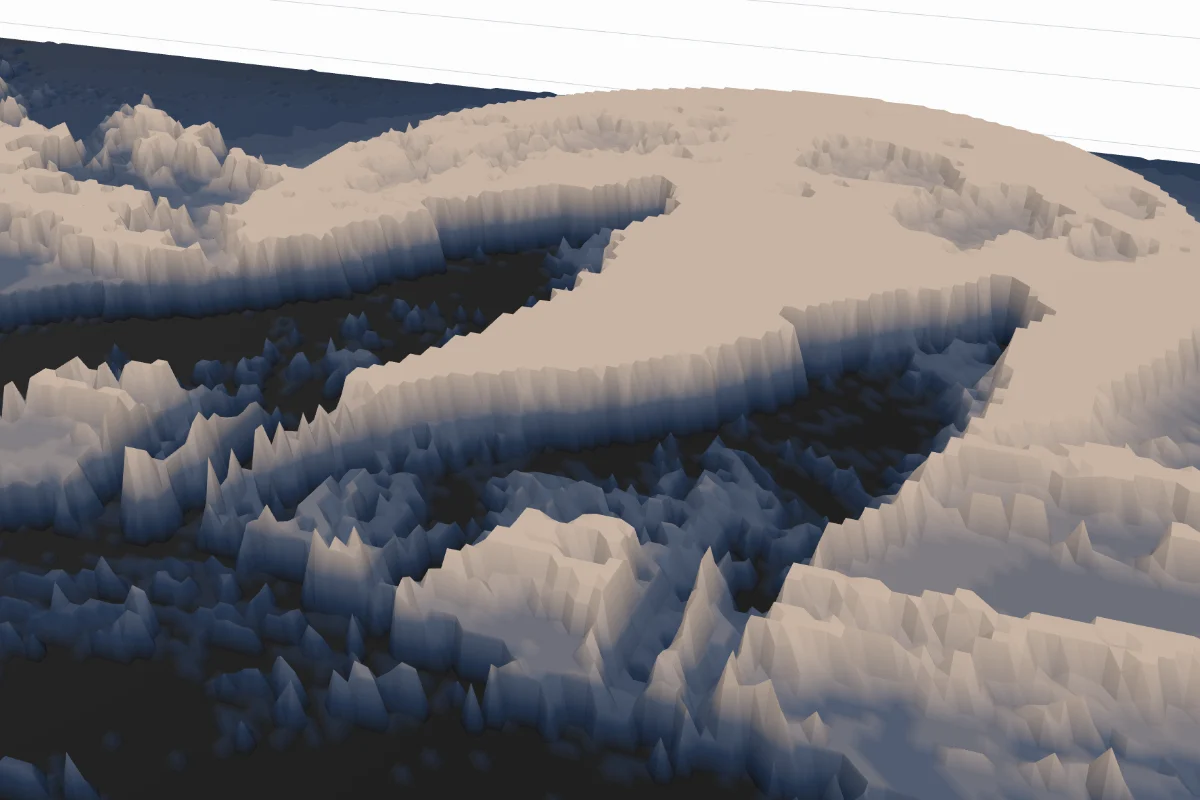
Each point of the picture gets the height whose blended colour is closest to it. Auto contrast, Brightness, Contrast and Midtones change that. Detail is the distance between samples: smaller is finer, with a bigger file. Turn 90°, Mirror and Reset tones are under them.
5Create and print
The result card gives the size and height, the layer height to print with and, for a single nozzle, the heights where you swap the filament.
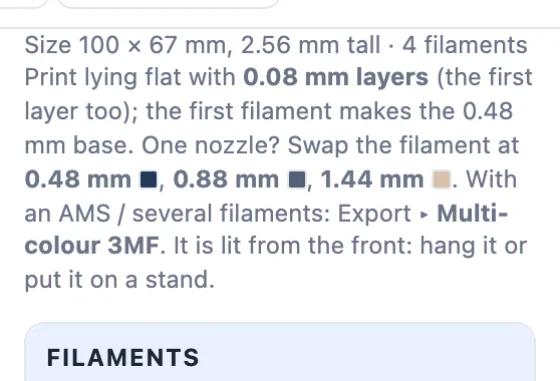
- Click Create HueForge: each filament becomes a part of its own. Double-click it later to change the settings.
- With an AMS or several filaments, use Export ▸ Multi-colour 3MF - each part goes on its own filament.
- With one nozzle, export an STL and add a pause or filament change at each swap height in your slicer.
- Print it lying flat, at the layer height set in the generator. It is lit from the front: hang it or put it on a stand.
Questions
What is a HueForge-style print?
A picture printed lying flat in thin layers of a few filaments. Thin layers let some of the colour below show through, so a handful of filaments blend into many shades. It is lit from the front, like a poster.
What is TD (transmission distance)?
How thick a filament must be to hide what is below it. It comes from HueForge's filament list or the maker. Light filaments usually need more thickness than dark ones.
Can I print it with one nozzle?
Yes. The result tells you the heights where to swap the filament - pause the print there and load the next one. With an AMS or several filaments, export a Multi-colour 3MF instead.
What layer height should I use?
The one set in the generator, for every layer including the first - 0.08 mm is usual. The base under the picture is printed in the first filament.
Which pictures work best?
Pictures with strong light and dark areas and a few main colours: night scenes, portraits with a clear background, artwork and posters. Brightness, contrast and midtones fine-tune which colour each point gets.
Make your print now
Open the app, click HueForge and choose a picture.
Make one nowAlso see: Lithophane maker, Image to 3D sticker, Keychain generator and Tray generator.