3DPrintCAD › Guides › Coaster generator
Coaster generator: 3D print coasters and a holder for the set
A coaster is one of the most rewarding things to print: quick, useful and a good gift. The Coaster generator makes the whole set - the coaster in any shape with a pattern, your name or a picture on it, and a holder that fits the set exactly: a stack cup, a box with a lid, a slotted rack, a curved cradle or a post through the middle. You see all the coasters in their holder before you print.
Watch the tutorial
Every option in under four minutes, with subtitles: designs, shapes, patterns, your texts and pictures, the bottom, and a holder for the set. Watch on YouTube ↗
1Start from a design
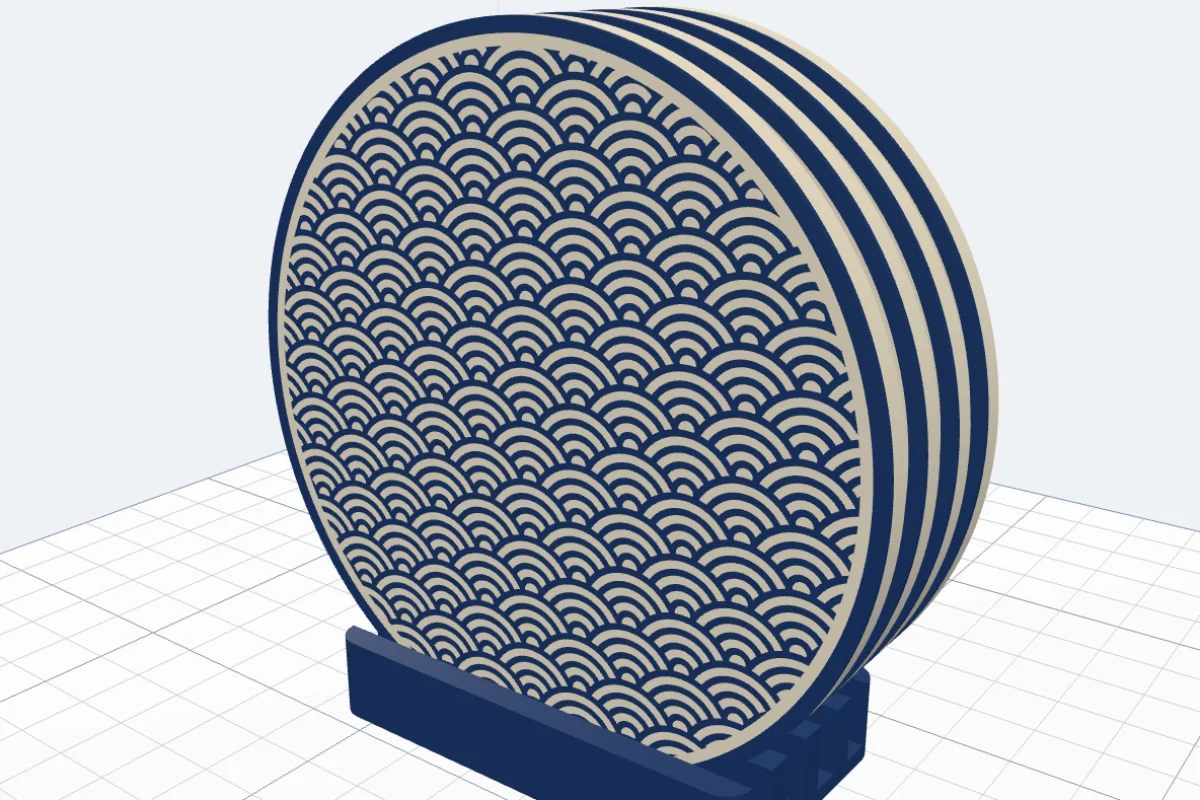
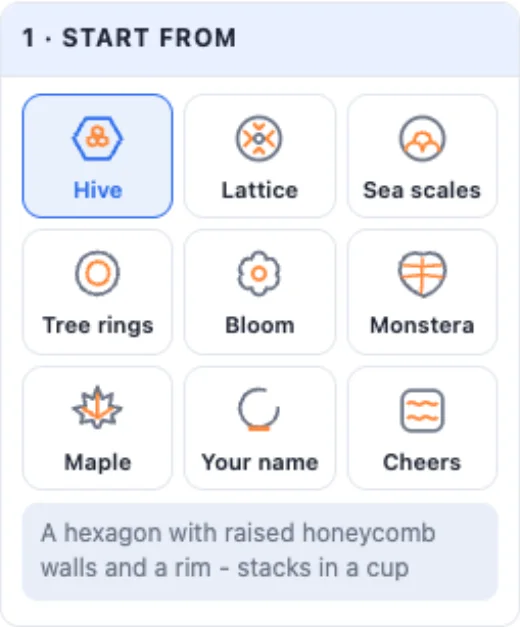
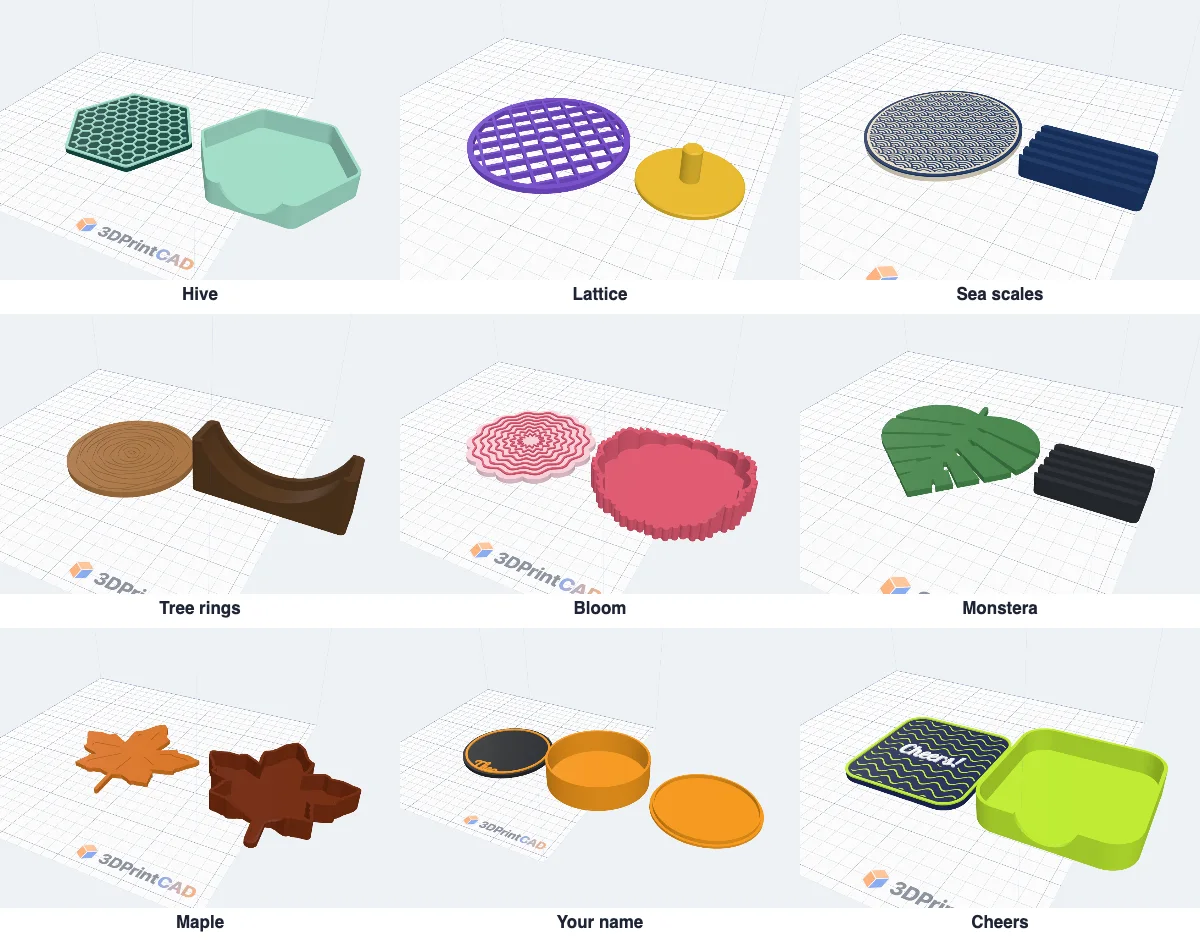
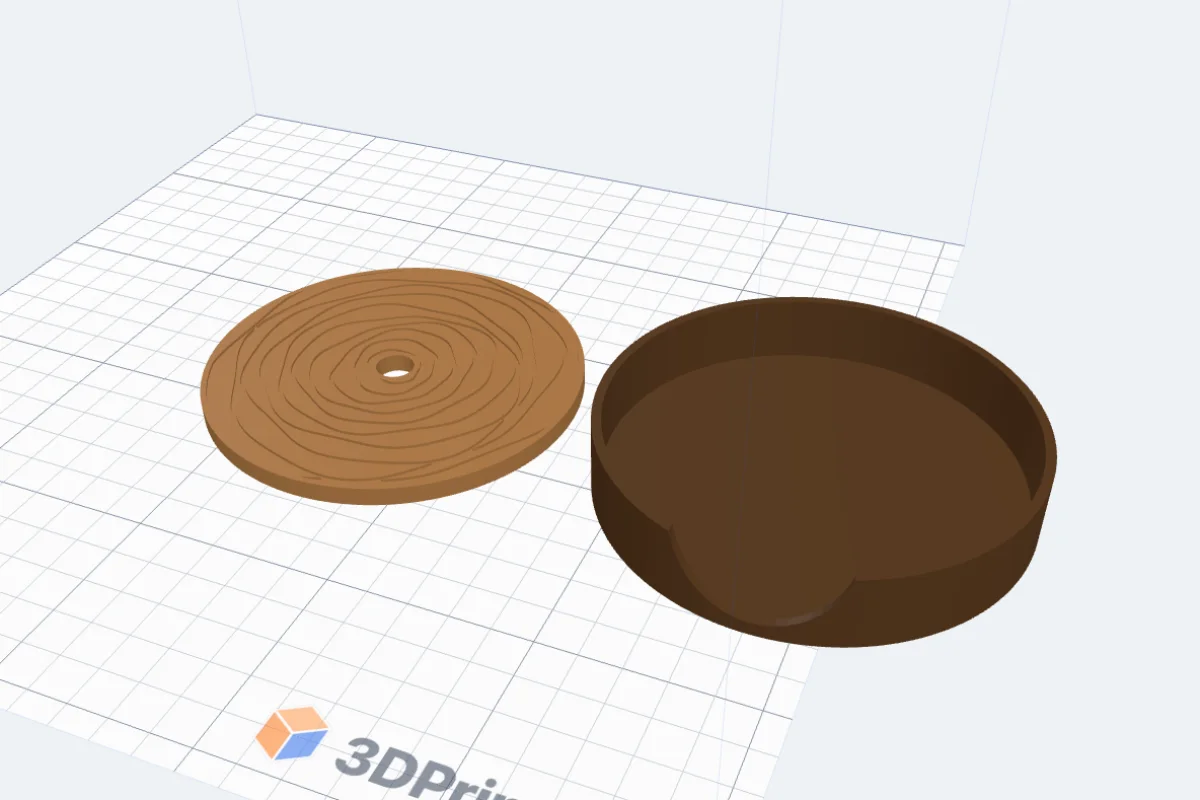
Click Coaster in Generators. Nine designs to start from - each a coaster and a holder: Hive (a hexagon with raised honeycomb, a stack cup), Lattice (an open diamond lattice on a post), Sea scales (inlaid waves, a rack), Tree rings (a slice of a tree, a cradle), Bloom (a flower, a fluted cup), Monstera, Maple, Your name (a box with a lid) and Cheers. Change anything after.
2Shape and size
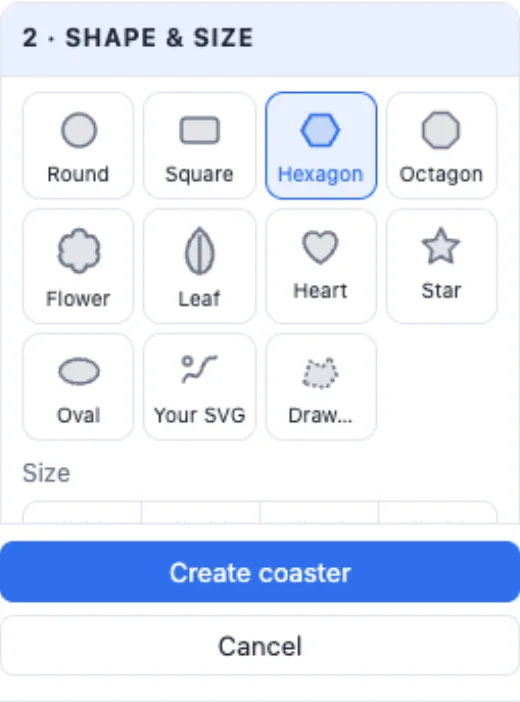
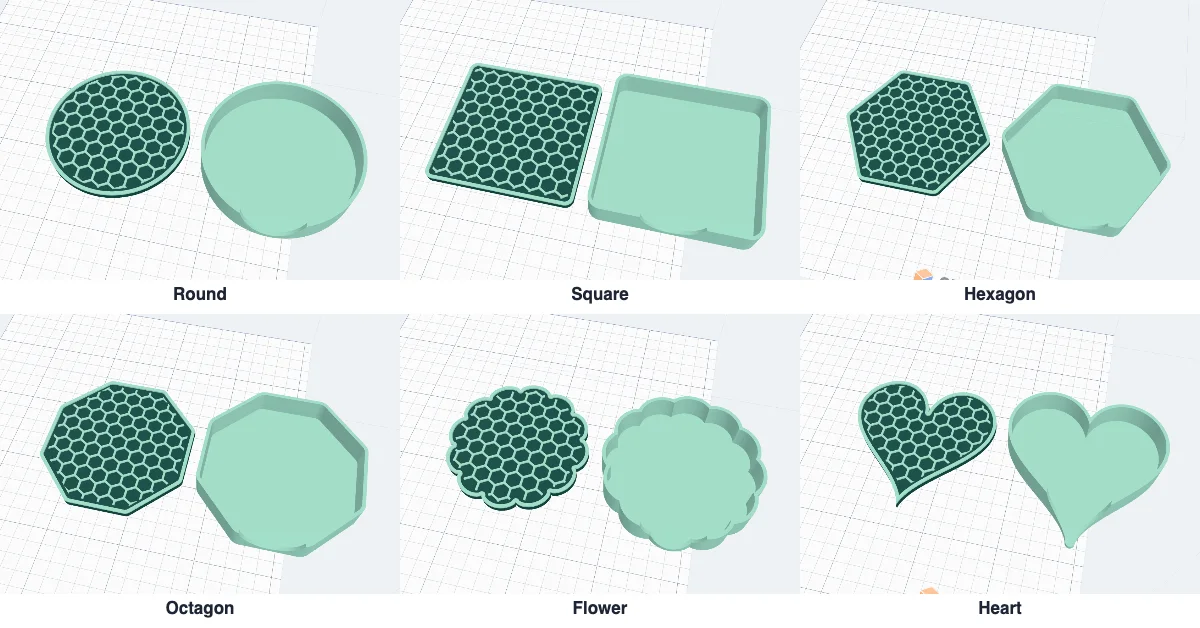
Round, square (with its corners), hexagon, octagon, flower (how many petals and how deep), leaf, heart, star, oval, your SVG or a shape you draw. The size buttons give Ø 90 - 120 mm; type the width, the height and the thickness.
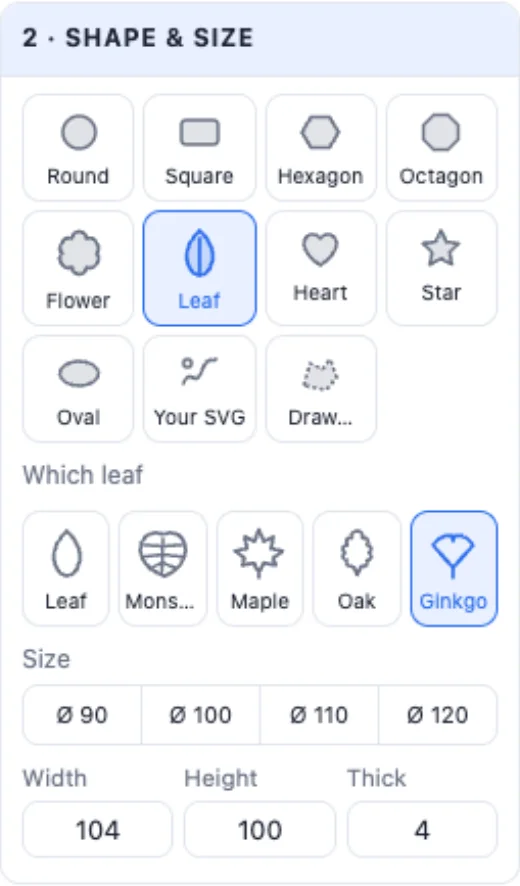
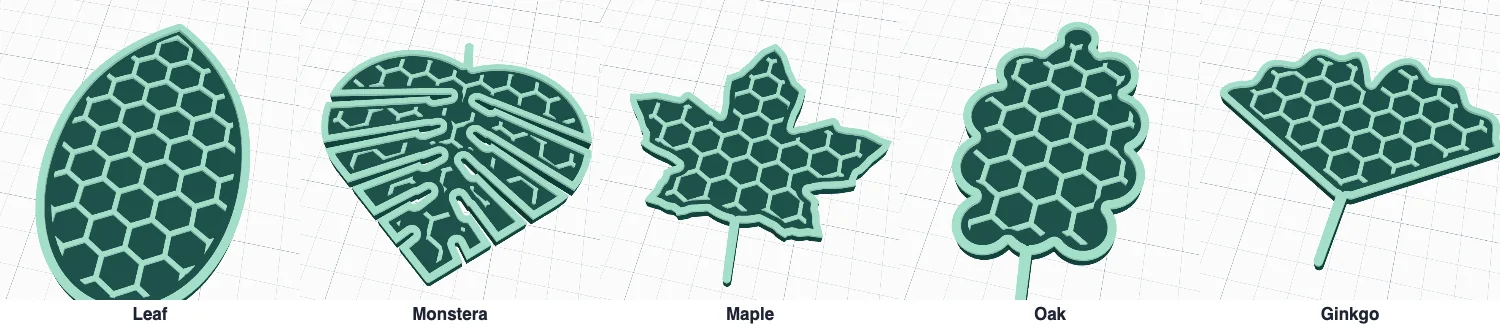
A leaf has five types: a plain leaf, Monstera (slits from the edge and holes beside the middle, cut through - set how many slits), Maple (five pointed lobes), Oak (rounded lobes) and Ginkgo (a fan).
3The pattern
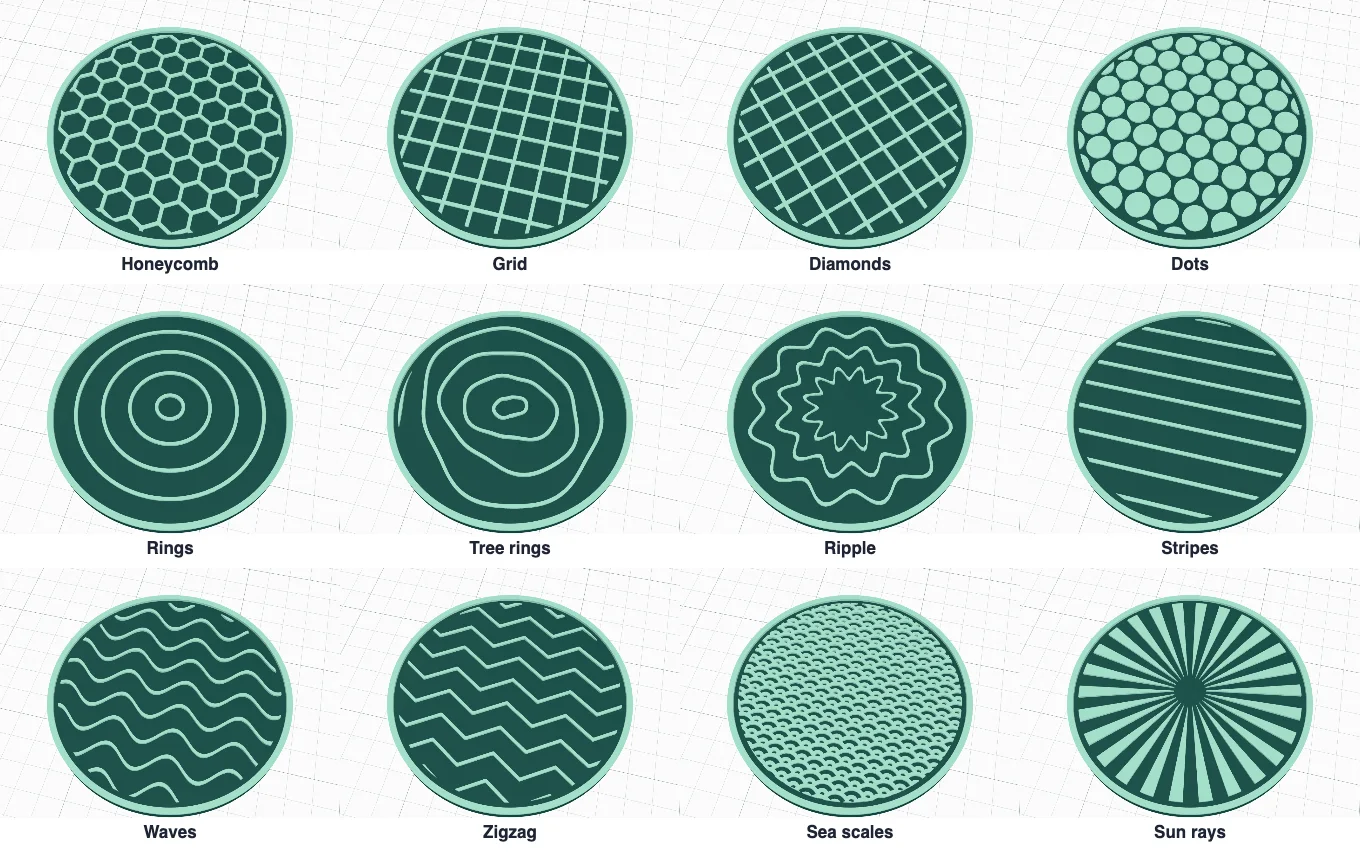
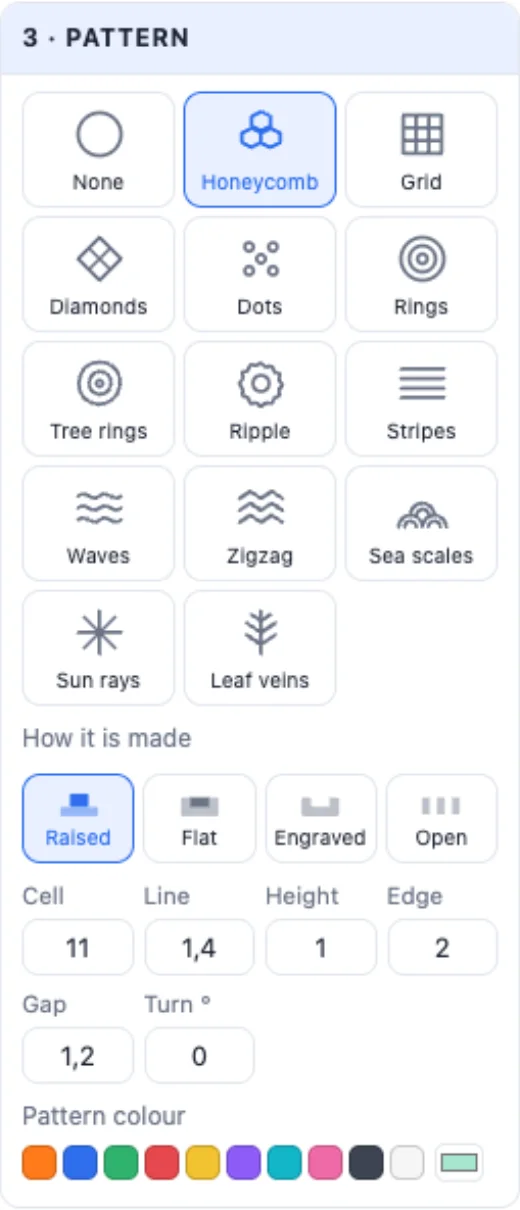
Fourteen patterns: Honeycomb, Grid, Diamonds, Dots, Rings, Tree rings, Ripple, Stripes, Waves, Zigzag, Sea scales, Sun rays, Leaf veins and Web (rounded cells of different sizes - Shuffle the web for another, Rounding for softer corners) - or none. Set the cell size, the line width, the height or depth, how far it stays from the edge, the gap it keeps round your texts and stickers, its turn, and its colour.
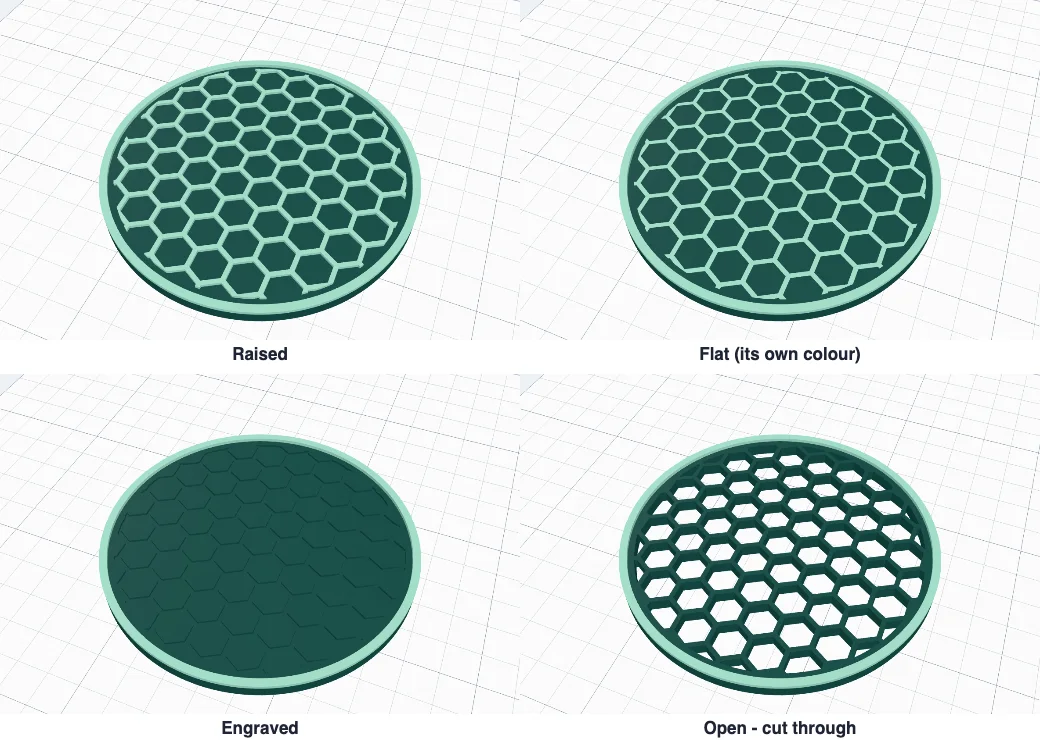
How it is made: Raised (standing up from the face), Flat (inlaid level with it in its own colour), Engraved (cut in) or Open (the cells cut right through - an open lattice with a solid edge).
4Texts, SVGs, stickers and a border
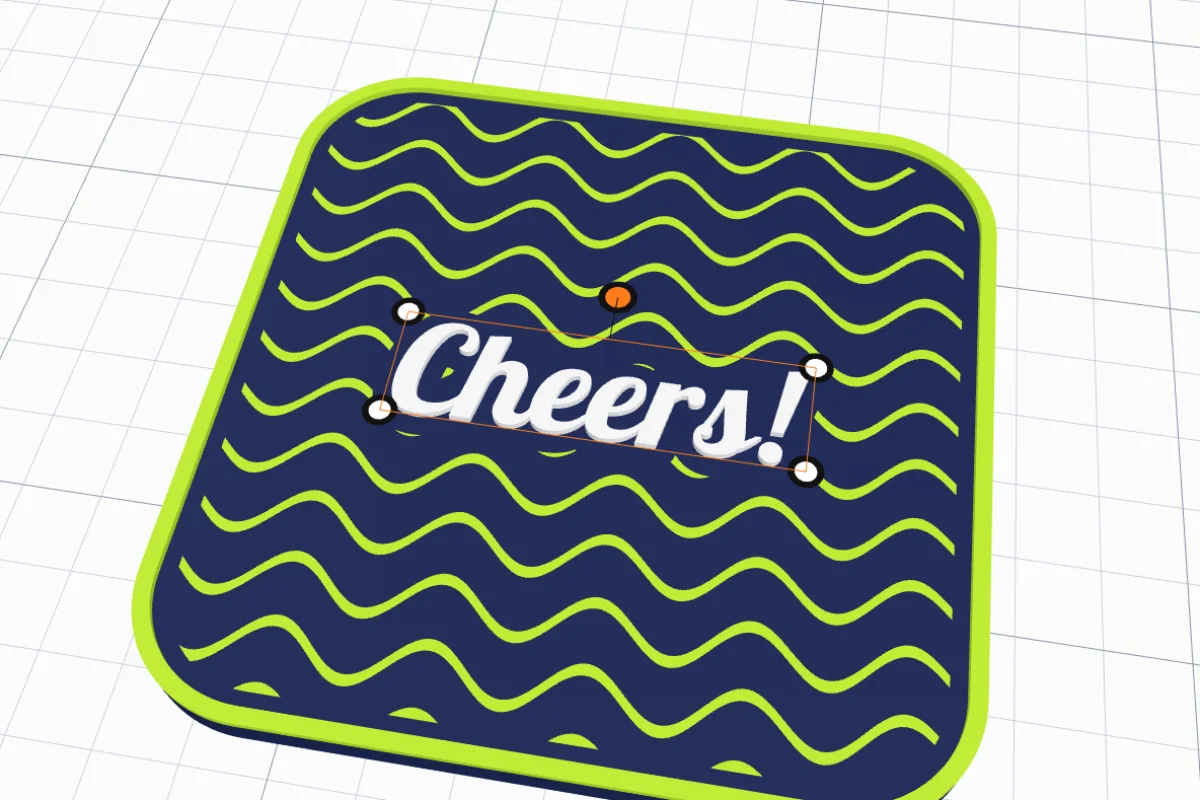
Add texts, SVGs and stickers (pictures in their own colours) - drag them on the coaster, the corners size them, the knob turns them, a double-click opens their settings. Each is raised, flat or engraved; the pattern keeps clear of them. A border round the edge can be raised, flat or the whole edge in its own colour.
5The bottom and the middle
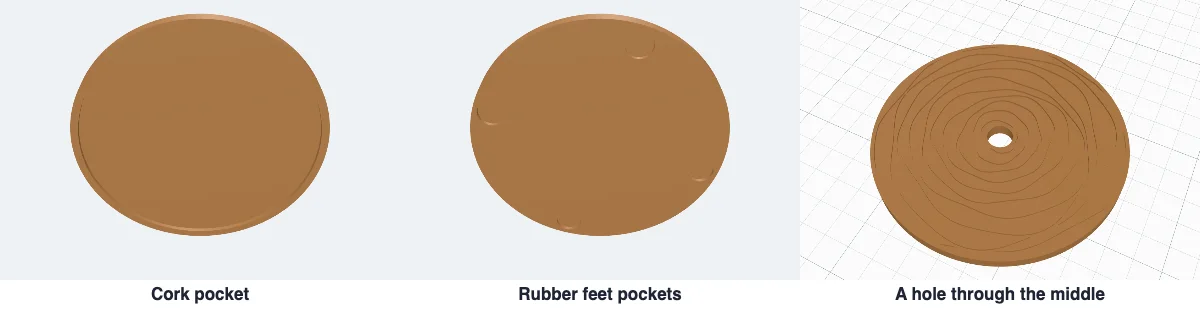
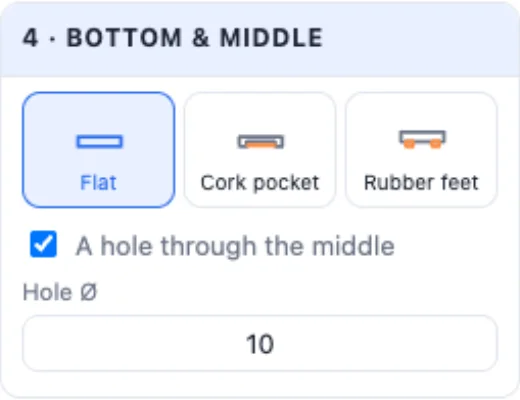
Cork pocket - a shallow pocket underneath for a cork or felt pad (the panel gives the size to cut it). Rubber feet - small pockets for stick-on feet. A hole through the middle - for the post holder.
6A holder for the set
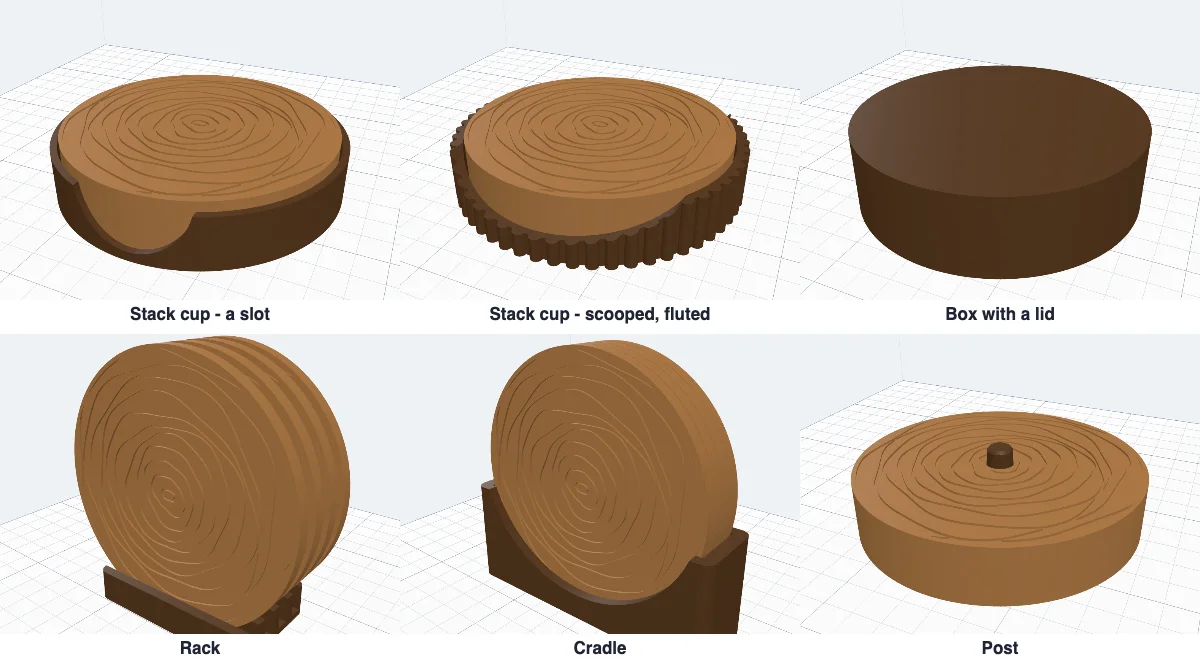
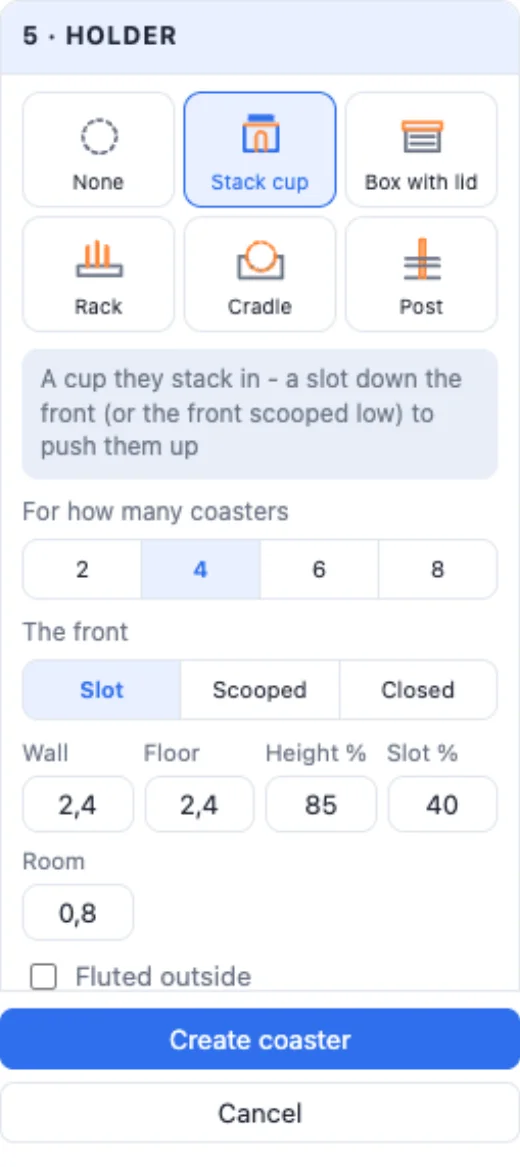
Pick a holder and how many coasters it takes (2, 4, 6 or 8): a Stack cup (a slot down the front to push them up, or the front scooped low; fluted outside if you like), a Box with a lid, a Rack (they stand on their edge in slots), a Display rack (slots leaning back, so the coasters show their faces), a Cradle (their shape cut into a block with low curved ends), an Open cage (a cup with windows all round), Corner posts (posts round the stack on a plate) or a Post (through the hole in their middle). Its wall, floor, height and the room round the coasters are yours to set, and it has its own colour.
The outside walls of a cup, box, cage, rack or cradle can have a pattern: Fluted, Lines, Waves, Spiral, Knurled, Rings, Bricks, Dots or Scales, with its size and depth. Under Texts & SVGs on the holder add a name or a logo to any side of it - raised, flat (inlaid in its own colour) or engraved; click the side in the small picture of the holder seen from above. It follows the wall round its curves; drag it on the holder in the view, the corners resize it and the round knob turns it.
7View and print
Print layout shows the coaster and its holder side by side, as they print (tick All the coasters in the print layout for the whole set), In the holder shows the set in it. Create coaster puts the coaster and the holder on the bed as separate bodies - print the coaster as many times as you need. Everything prints flat, no supports.
Questions
What size should a coaster be?
Most cups and glasses need 90-100 mm across (the size buttons give Ø 90, 100, 110 and 120). A thickness of 3-5 mm is enough; the designs start at 4 mm.
Which filament is best for coasters?
PETG or ASA for hot mugs - PLA can soften under a cup of fresh coffee. PLA is fine for cold drinks. A cork or felt pad in the pocket underneath stops it sliding and scratching.
Can a pattern be cut right through?
Yes - pick Open for a lattice pattern (honeycomb, grid, diamonds, dots, sea scales, web): the cells go through and a solid edge holds it together. Drinks drip through, so put it on a mat. Rings, stripes and waves cannot be cut through - their pieces would fall out - so they are engraved instead.
How do I print it in several colours?
A raised or flat pattern, a border and texts are their own coloured parts: export a Multi-colour 3MF for an AMS or other multi-colour printer, or swap filament at the height the info gives for a raised pattern.
How many coasters does the holder take?
You choose: 2, 4, 6 or 8. The holder is made for the coaster's real thickness (with its raised pattern) and the room you set round it, so the set fits exactly. In the holder view you see them all in it.
Print a set of coasters
Pick a design, change the pattern and the colours, and print the holder with it.
Open 3DPrintCADAlso see: Plate generator, Balloon generator, NFC tag tool (a coaster that shares your Wi-Fi) and Sticker generator.