3DPrintCAD › Guides › Balloon generator
Balloon generator: 3D print smooth foil-balloon letters
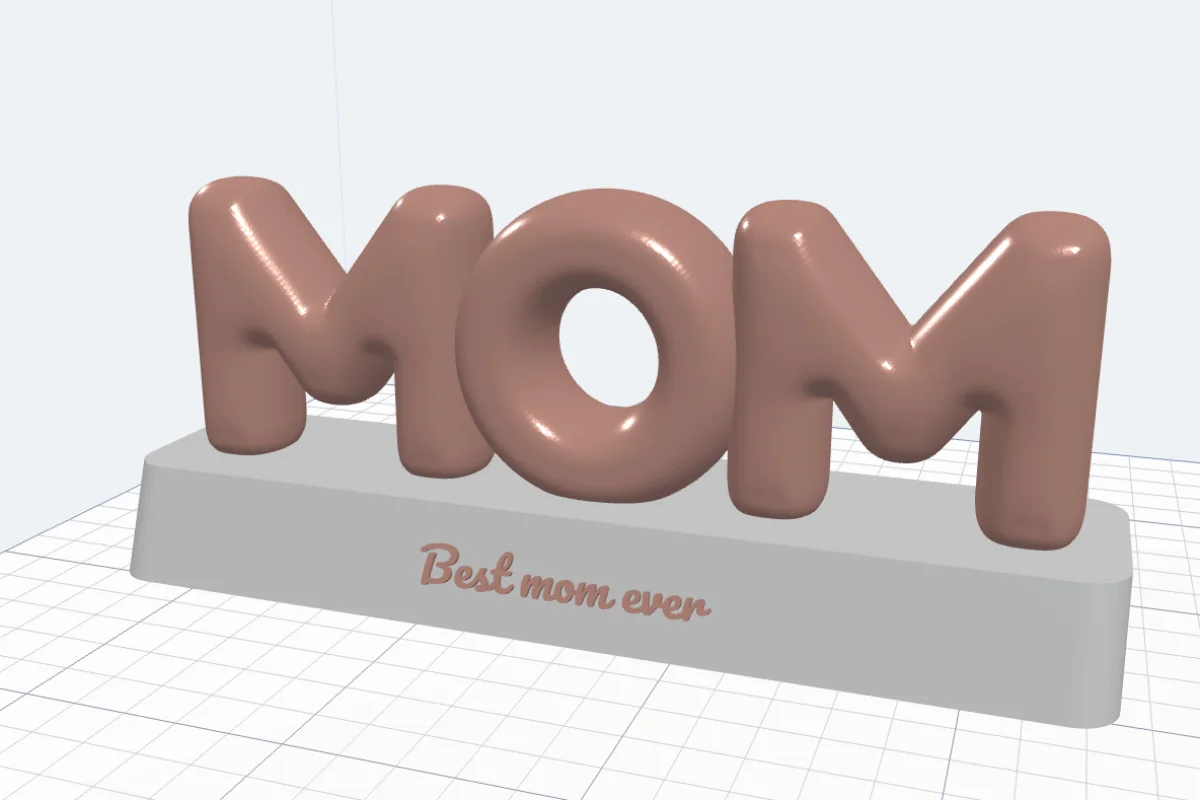
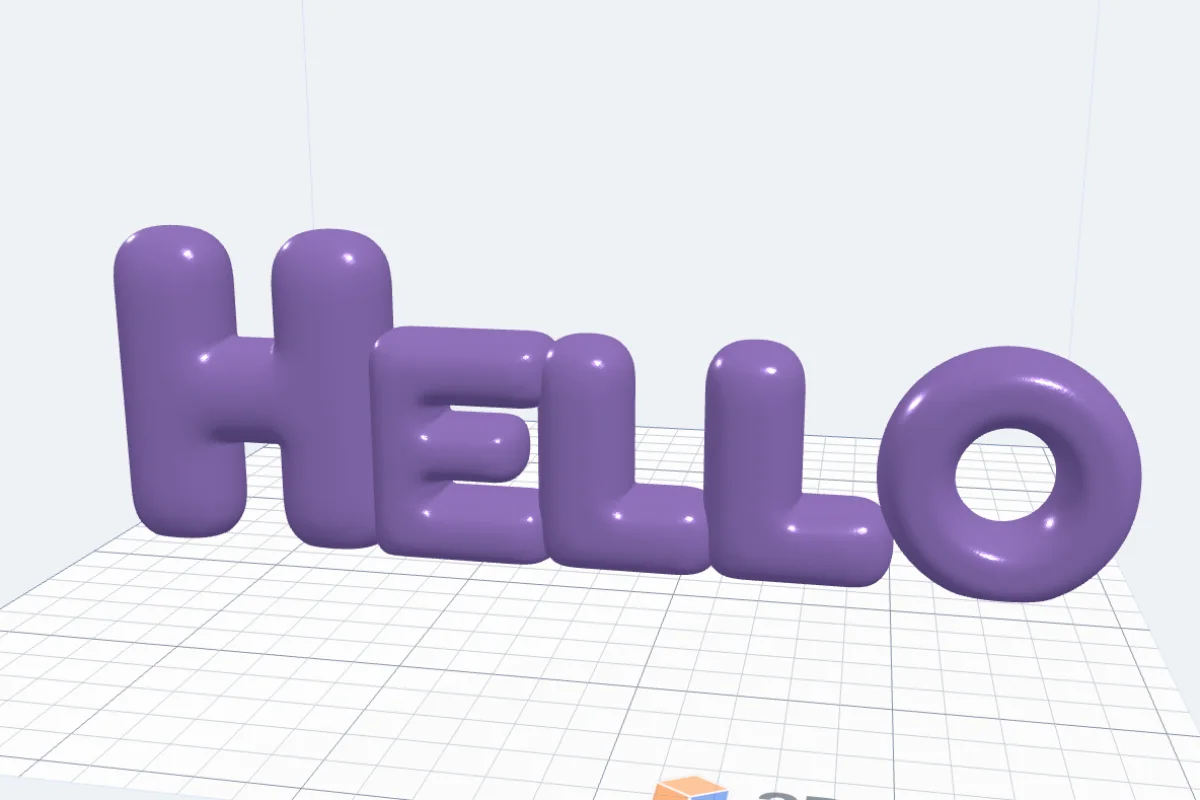
Foil-balloon letters are everywhere at parties - now you can print them. The Balloon generator inflates any word, number or shape into a smooth, puffy balloon with no wrinkles: stand it up, print it in two flat halves that pin together with no supports, or give it a flat back for a wall, a fridge or a cake. Put it on a plate or a stand with your own text on it.
Watch the tutorial
Every option in five minutes, with subtitles: words and numbers, the looks, sizes per letter, shapes, halves and flat backs, a stand with your text, and colours. Watch on YouTube ↗
1Start from a design
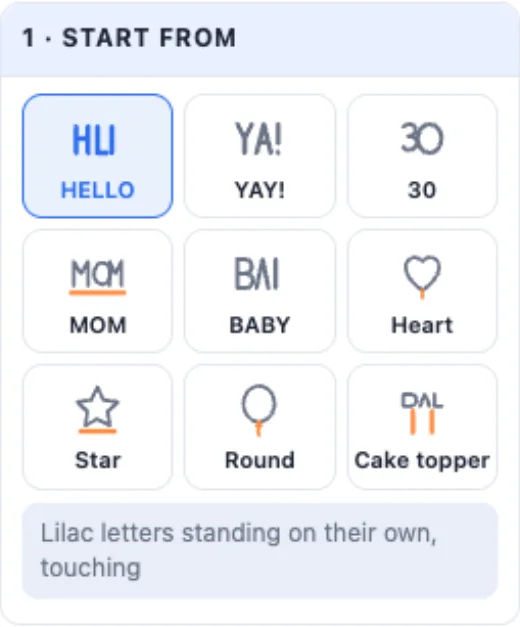
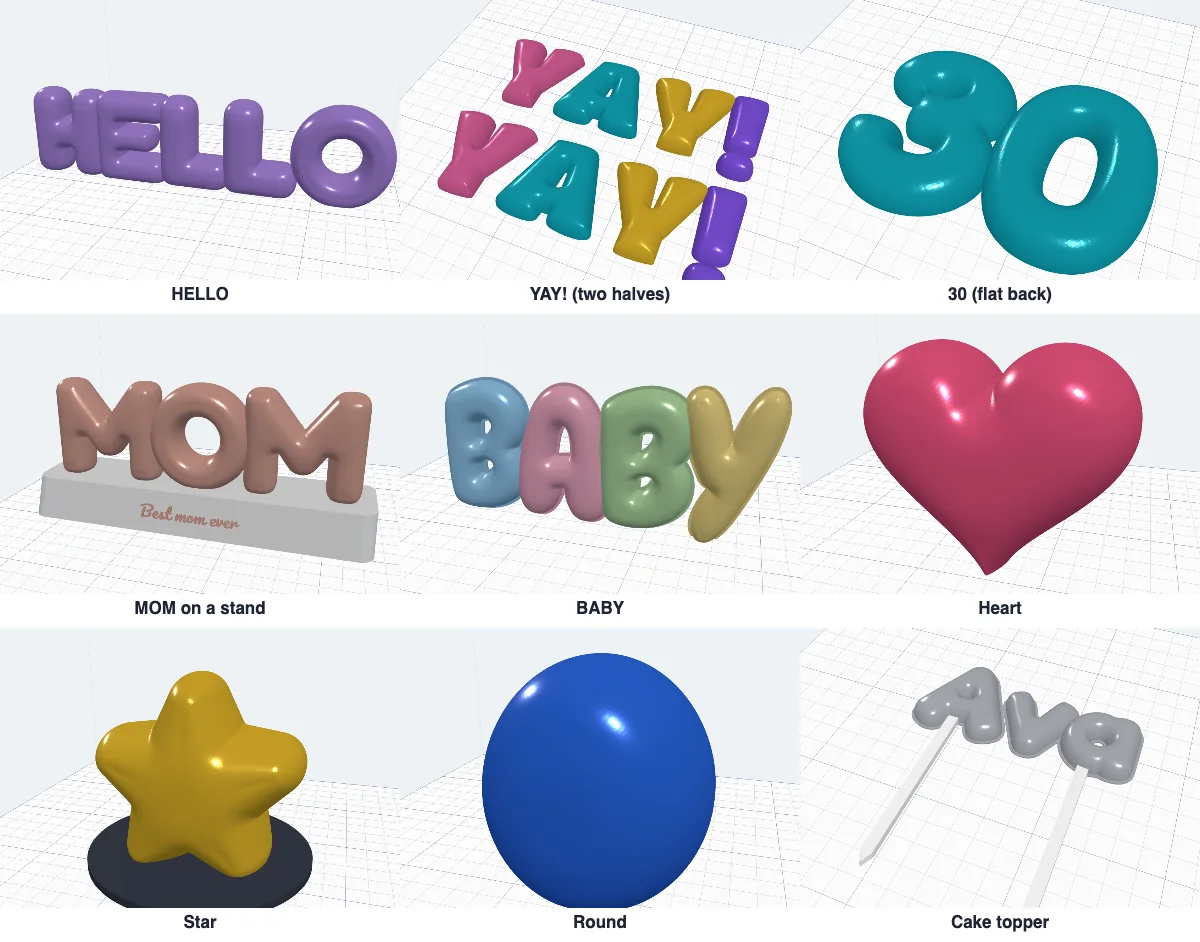
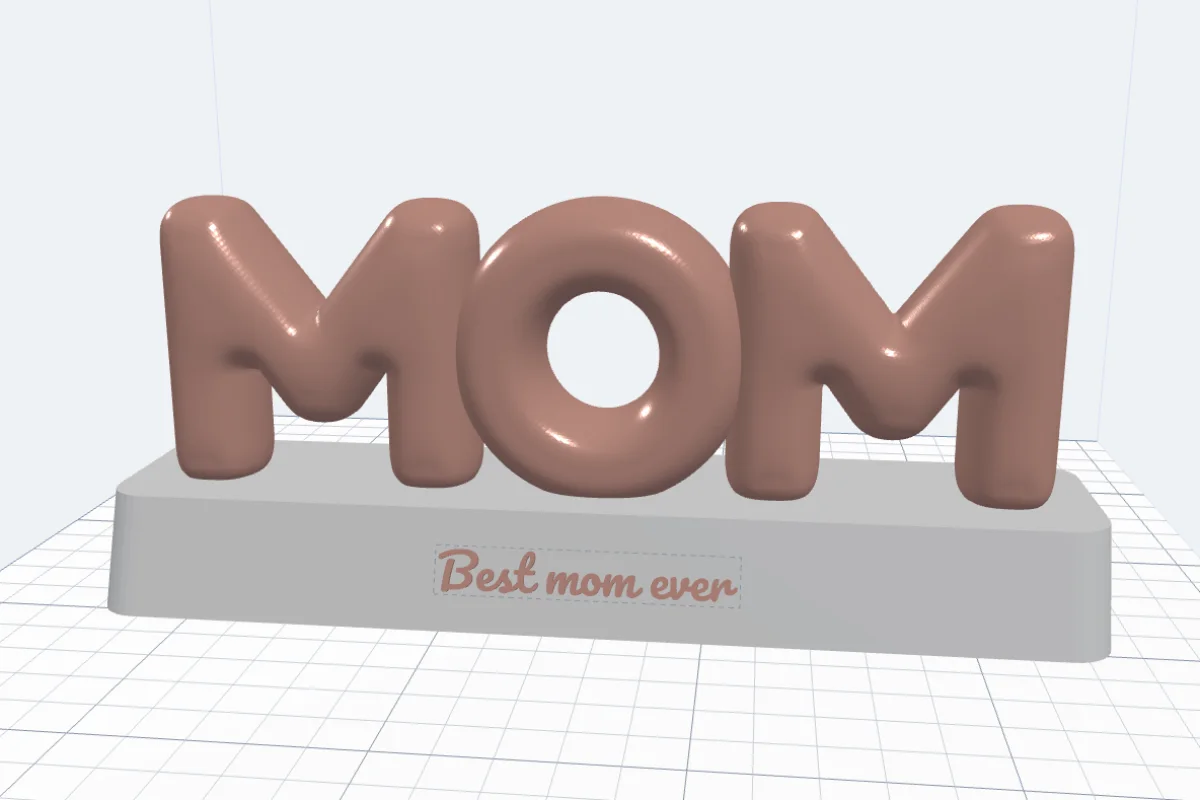
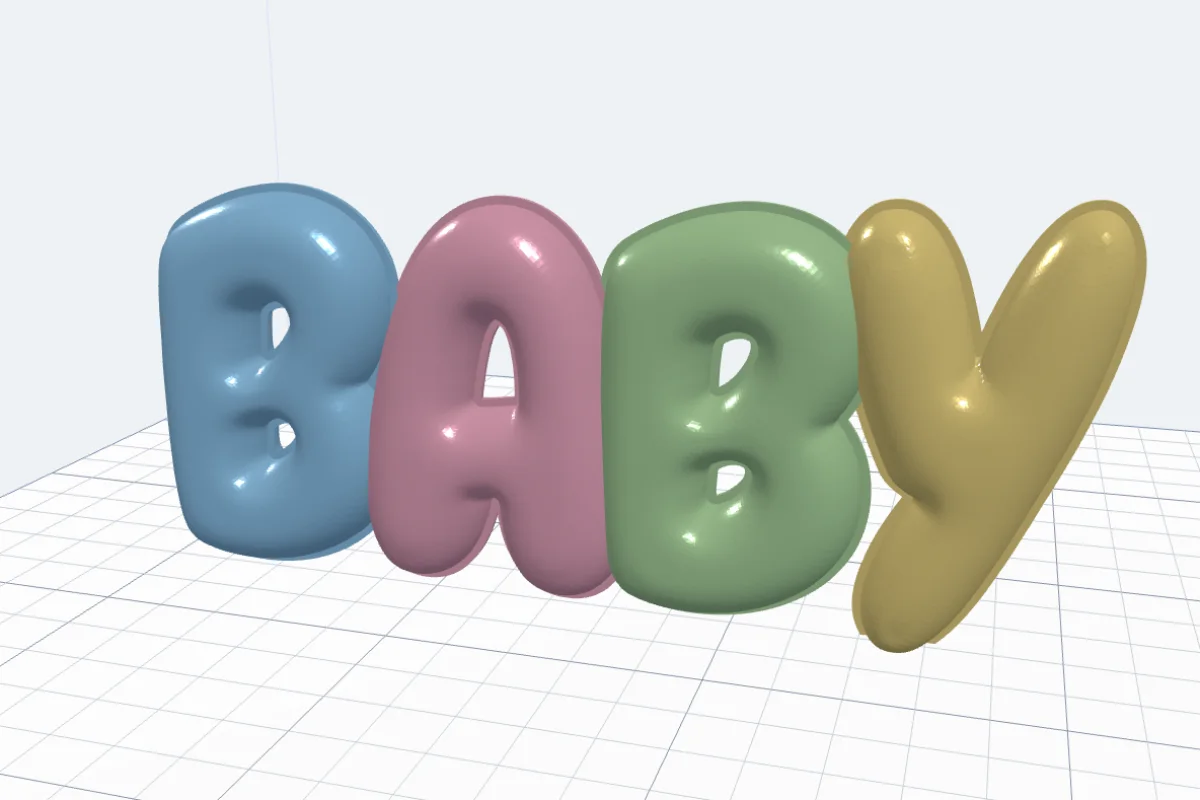
Click Balloon in Generators. Nine designs: HELLO, YAY! (a colour per letter, in two halves), 30 (a flat back for the wall), MOM (on a stand with a text), BABY (pastels with a foil seam), Heart, Star (on a plate), Round and a Cake topper.
2Letters, numbers and shapes
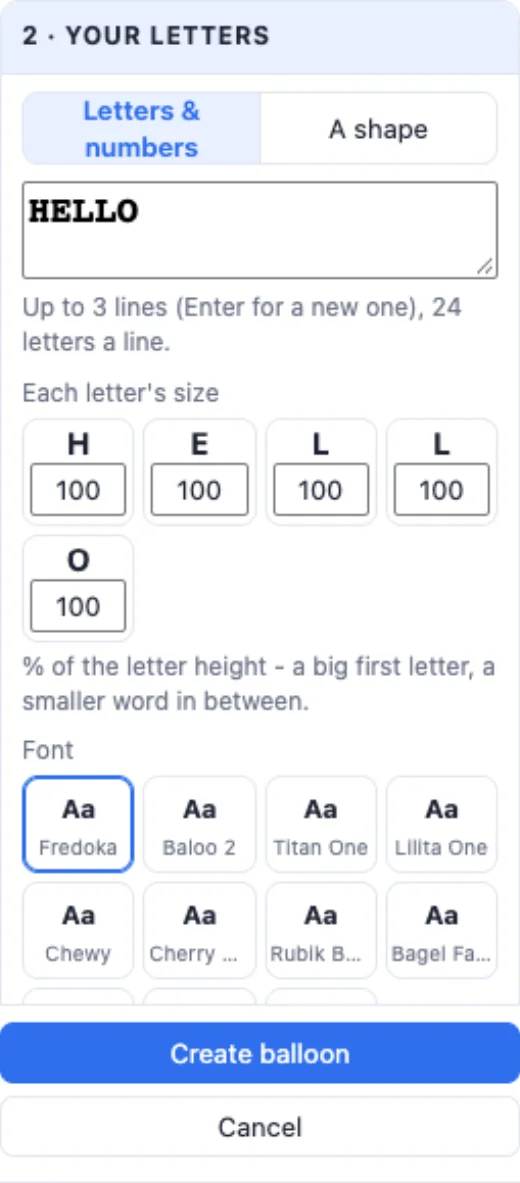
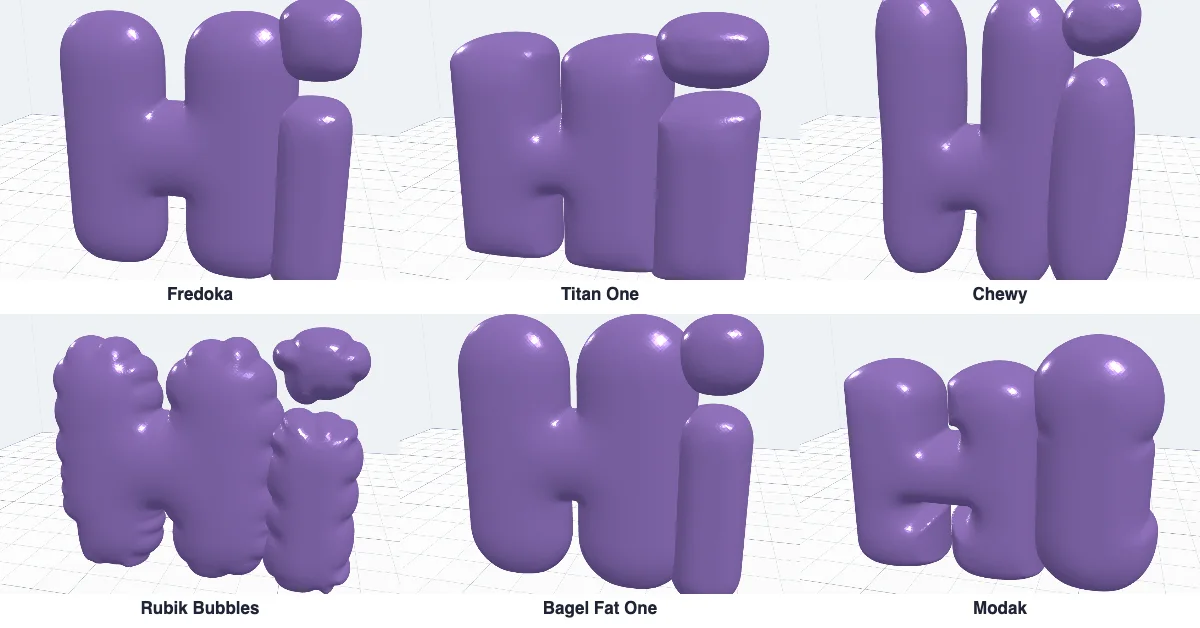
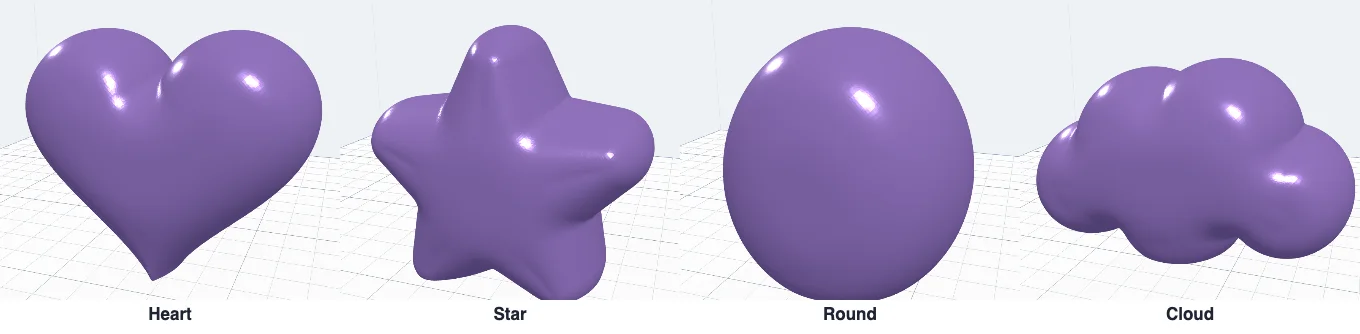
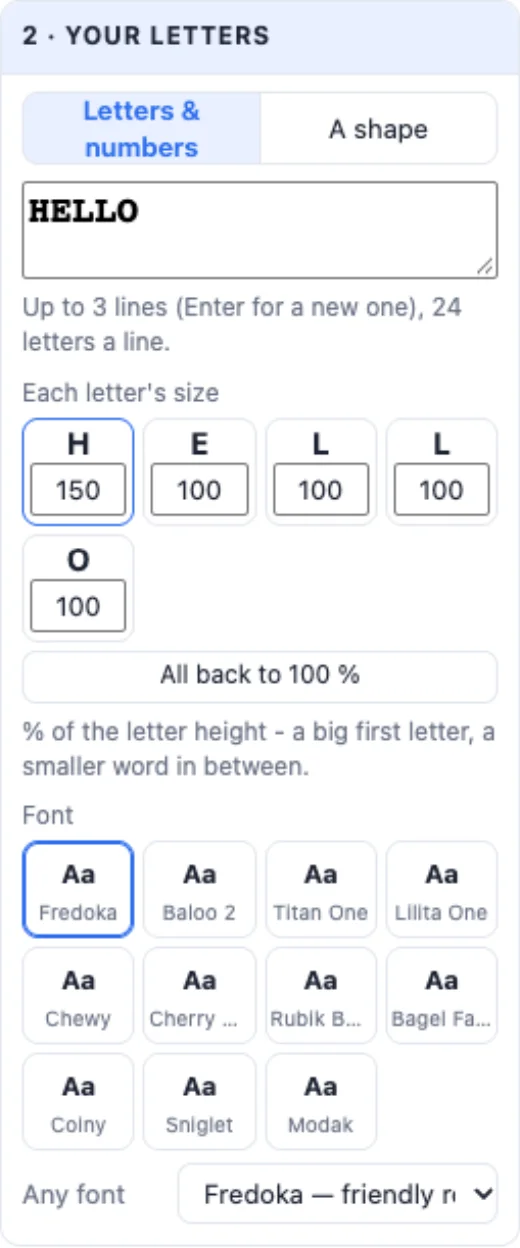
Type your word or number - up to 3 lines, 24 letters each. Pick a bubble font (each button is drawn in its own letters) or any font from the list. Or switch to A shape: a Heart, a Star (4-8 points), a Round balloon, a Cloud or your SVG.
3The look
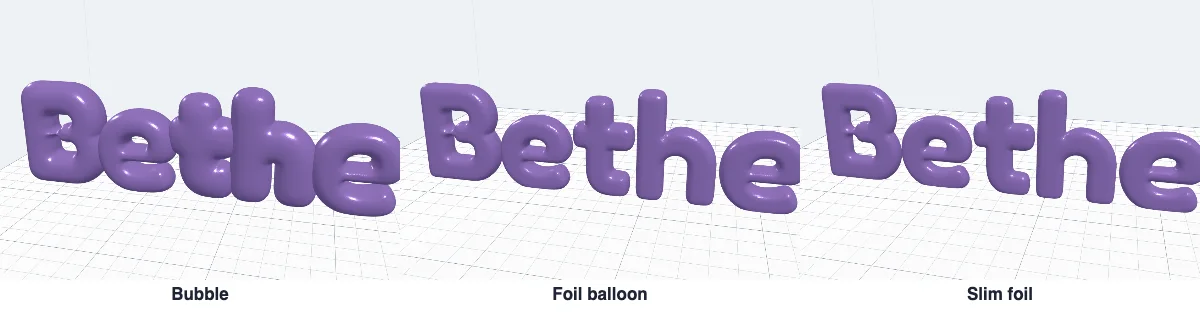
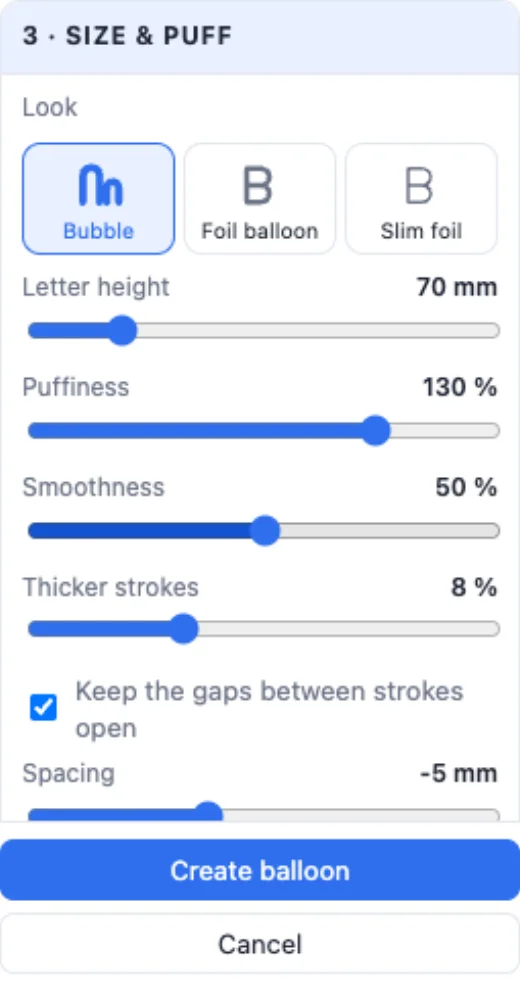
Pick a Look at the top of Size & puff: Bubble - chubby, round and puffy, the strokes grown and blown up like a twisted balloon; Foil balloon - the letters' own shape, fuller in the middle with softly rounded edges, like store-bought foil letters; Slim foil - the same, flatter and crisper. Each one only sets the sliders below, so you can fine-tune it afterwards.
4Size and puff
Letter height (20-300 mm), Puffiness (how deep and round), Smoothness (how softly strokes and corners blend - 0 leaves a ridge along each stroke), Thicker strokes (chubbier letters; their gaps and holes stay open), Spacing (below 0 they press into each other in one piece) and the shape across: Round or Pillow.
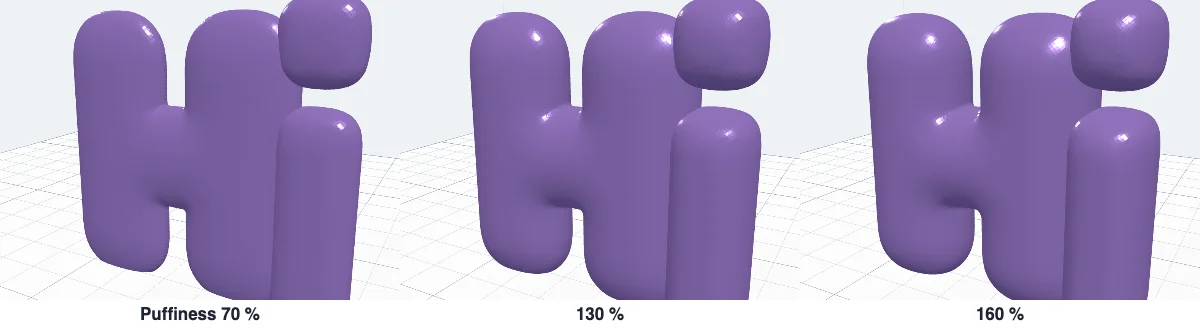
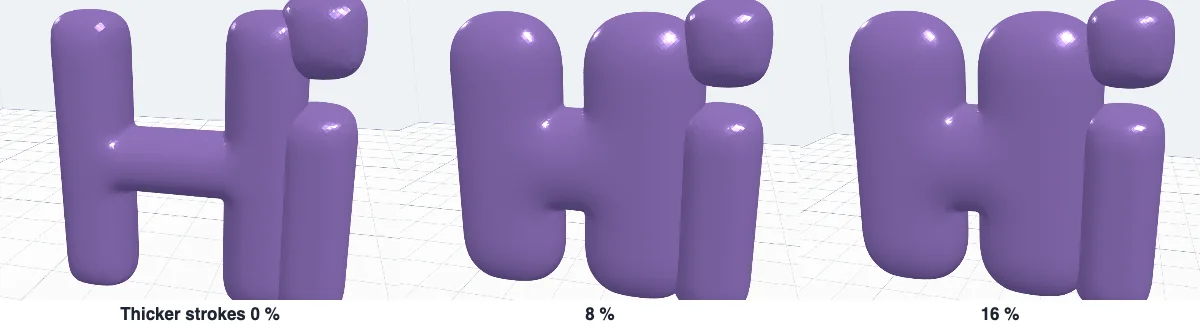
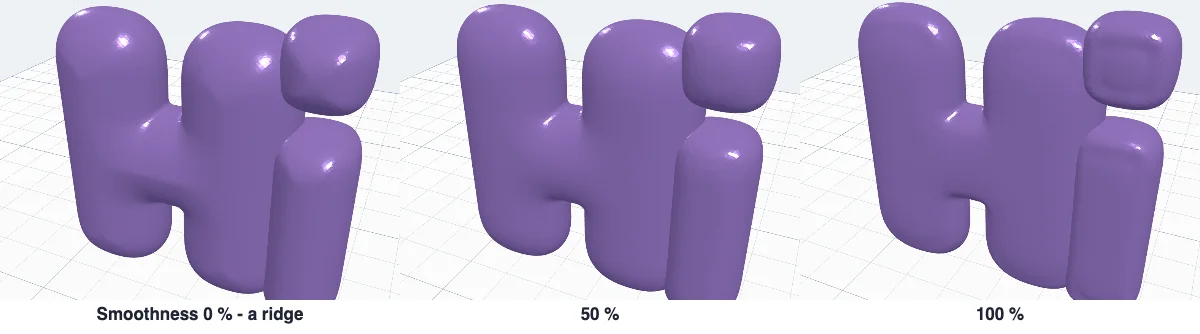
Every letter comes out the same height - a letter whose gaps are narrow (an E, an e, an s) grows its strokes less so the gaps stay open, and is made as tall as the rest. Untick Keep the gaps between strokes open to grow every letter the whole way (its gaps become thin slits).
Each letter's size gives every letter its own size in % of the letter height - a big first letter, a smaller word in between; they stay on one baseline. All back to 100 % resets them.
5Surface, knot and seam
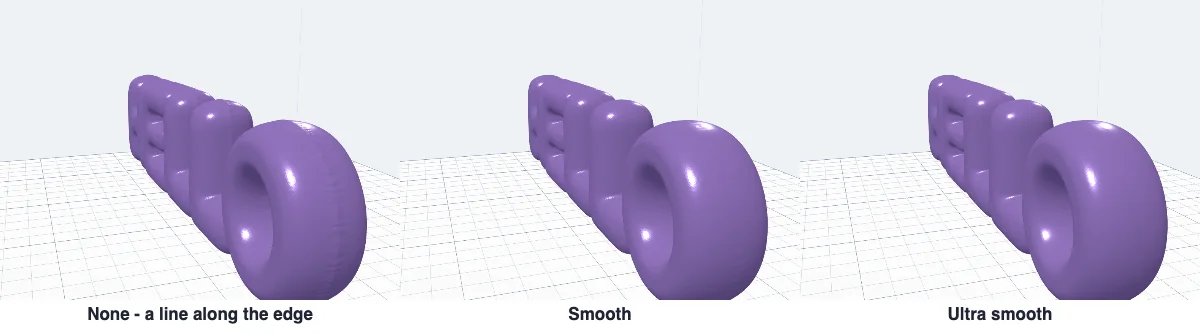
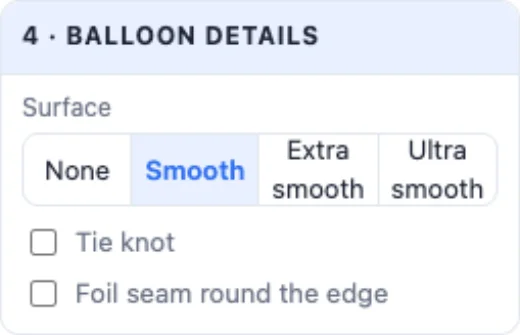
Surface: Smooth (no line along the edge), Extra smooth and Ultra smooth (finer, slower) or None (the plain inflation, a line along the edge). Tie knot (off unless you tick it; on for the Heart and Round designs) puts the balloon's knot at each letter's lower left; Foil seam adds the thin flat edge where a real balloon's foil sheets are welded.
6Back and printing
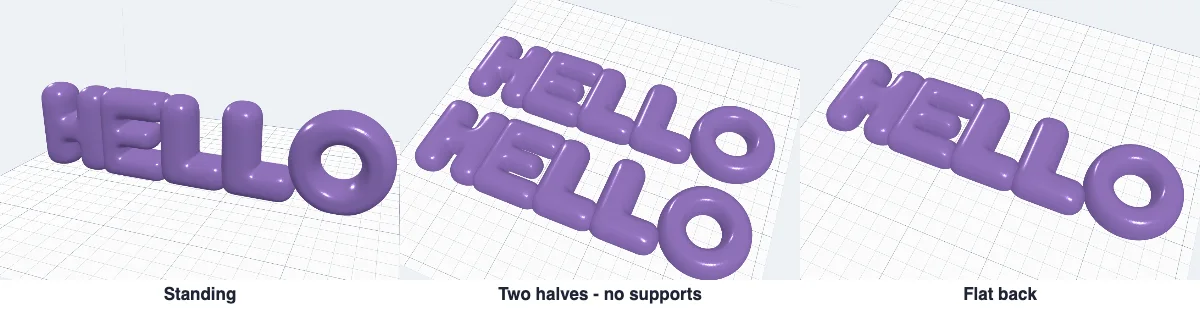
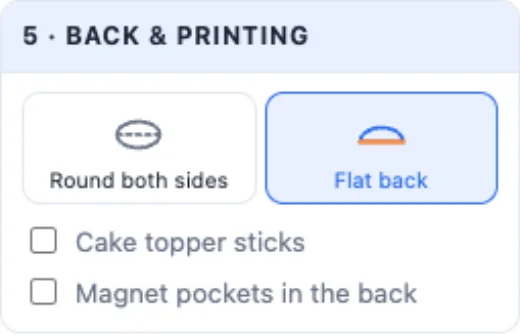
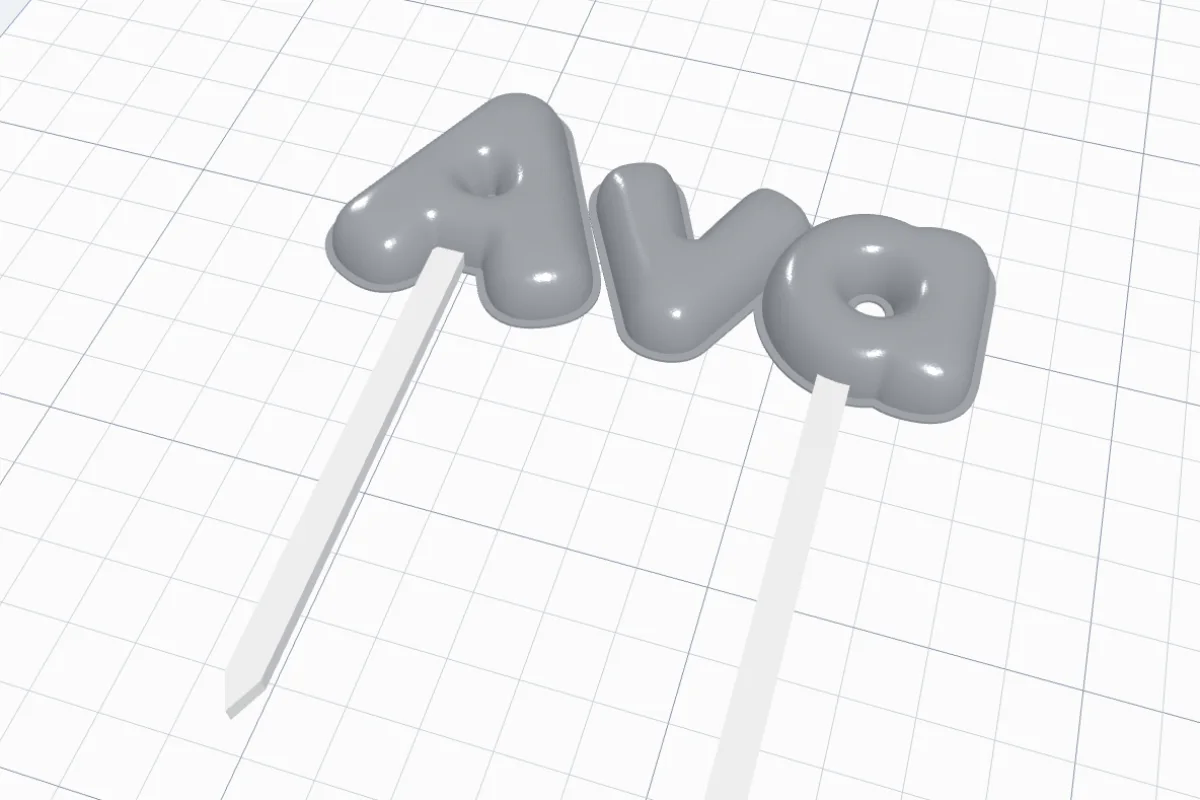
Round both sides - it stands on its own on a flat bottom (how much is cut flat is yours): print it Standing (supports under the curves) or in Two halves lying flat, no supports, joined by filament pins. Flat back - for a wall, a fridge (magnet pockets in the back) or a cake (topper sticks below it, printed with it).
7A plate or a stand
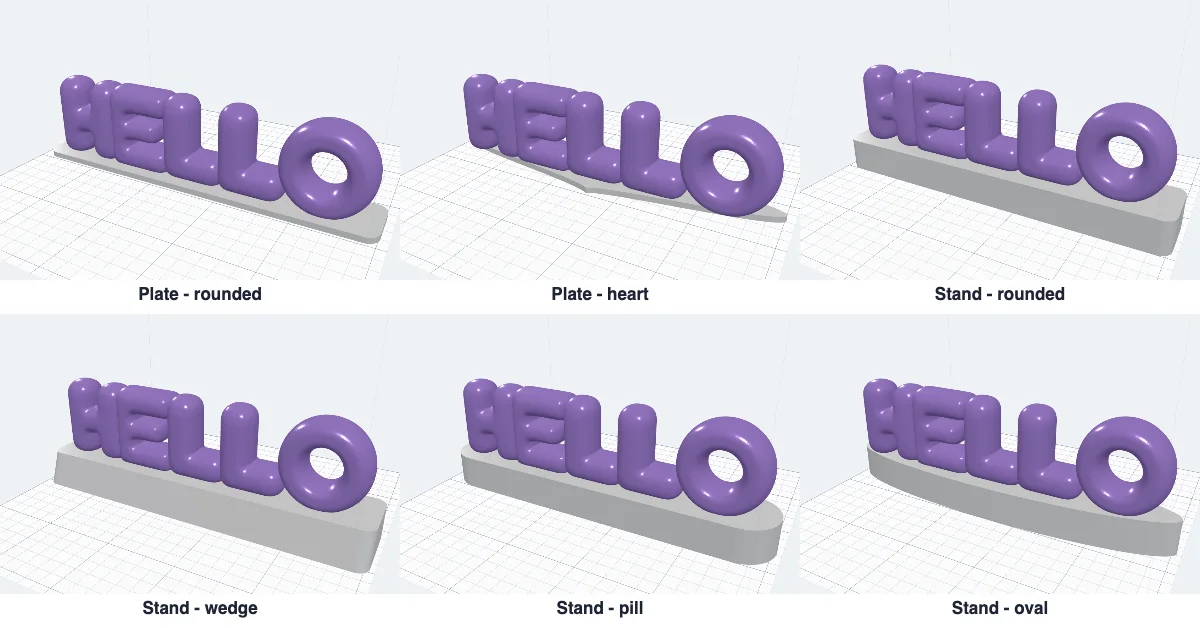
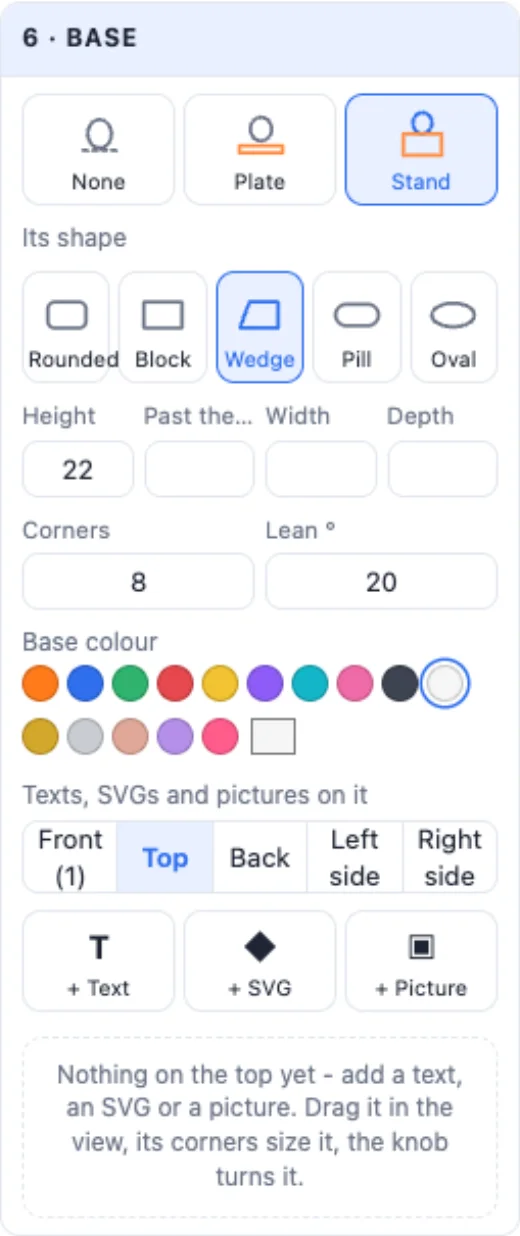
Under Base, a Plate (rounded, rectangle, oval, round, hexagon, heart) or a Stand (rounded, block, wedge - its front leans back toward you - pill, oval) the balloons stand on, sized round them or by you, in its own colour.
Put texts, SVGs and pictures on any of its flat faces - pick the face, add it, drag it in the view, size it by its corners, turn it by its knob; raised, flat or engraved, each in its colour. A double-click opens its settings.
8Colours
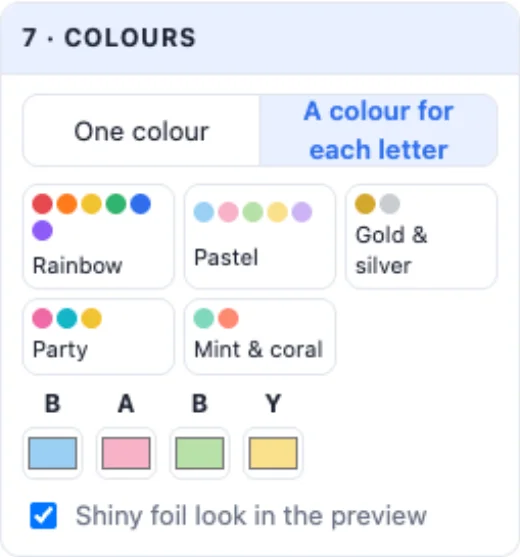
One colour, or a colour for each letter - a ready set (Rainbow, Pastel, Gold & silver, Party, Mint & coral) or your own per letter. The base and the topper sticks have their own colours. Shiny foil look in the preview only changes how it is shown. Each colour is its own part - export a Multi-colour 3MF, or print each colour on its own.
Questions
How do I print balloon letters without supports?
Pick Two halves under Back & printing: each letter is cut down the middle into two halves that lie flat side down, round side up - no supports at all. Pins of 1.75 mm filament (the panel says how many and how long) join them; a drop of glue holds them for good. Standing in one piece needs supports under the round sides near the bottom.
Why is one letter slimmer than the rest?
Thicker strokes grows the letters before they are inflated, but a letter whose gaps are narrow (an E, an e, an s) grows only as far as keeps them open - then it is made as tall as the others. Untick Keep the gaps between strokes open to grow every letter the whole way, or try the Foil balloon look: the letters keep their own shape.
What is the Surface option?
Smooth (the default) builds the balloon so there is no line along its edge; Extra smooth and Ultra smooth use a finer mesh and more smoothing - slower to build. None is the plain inflation of the first version, with a line along the edge.
How big can I make them?
Up to 300 mm per letter. A 70 mm word is about 30 mm deep. Big letters use a lot of filament solid - print them with 10-15 % infill, or in two halves.
Can I add my name to the stand?
Yes - add a text, an SVG or a picture to any flat face of the plate or stand (front, top, back, sides), drag it in the view, size and turn it, raised, flat or engraved, in its own colour.
Print your own balloon letters
A name, a number, a heart - smooth and puffy, for a party or a shelf.
Open 3DPrintCADAlso see: Coaster generator, Phone grip generator, Plate generator and Add text to a 3D model.