3DPrintCAD › Guides › Hype chain generator
Hype chain generator: 3D print a big chain with your picture
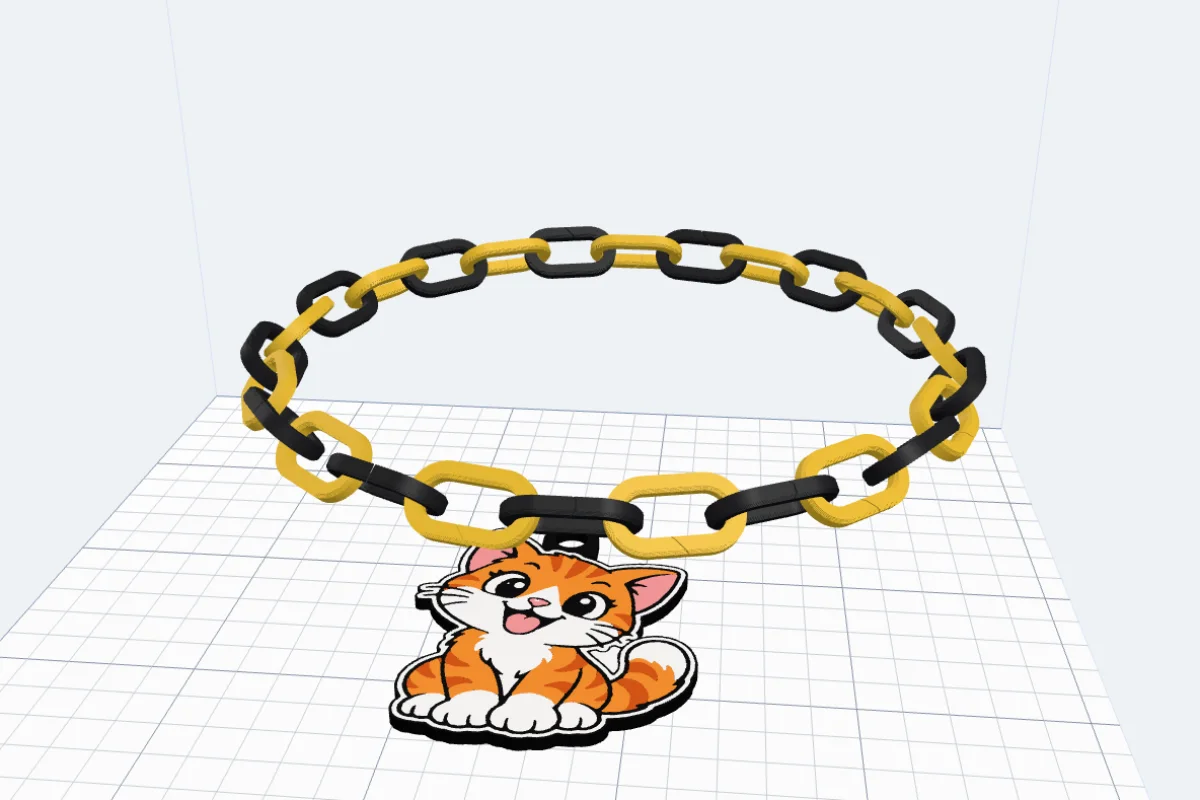
A hype chain is a big chain with a big pendant on it - for a team that just won, a party, a birthday or a stream. The Hype chain generator turns your picture into the pendant: a sticker in its own colours, as in the Sticker generator. Round it goes a chain of snap links that print flat and hook into each other through a slit, or a Cuban chain that comes off the bed already linked. You pick the links, the length, up to three colours and how the chain holds the sticker.
Watch the tutorial
Every step in about three minutes, narrated with subtitles: the sticker, the links, the colours, the clip and the Cuban chain. Watch on YouTube ↗
1Open it and pick a picture
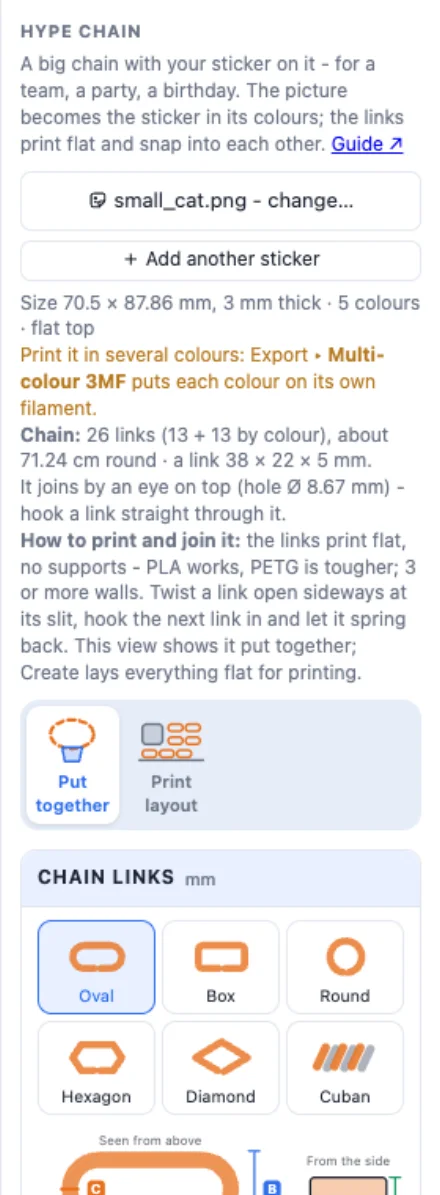
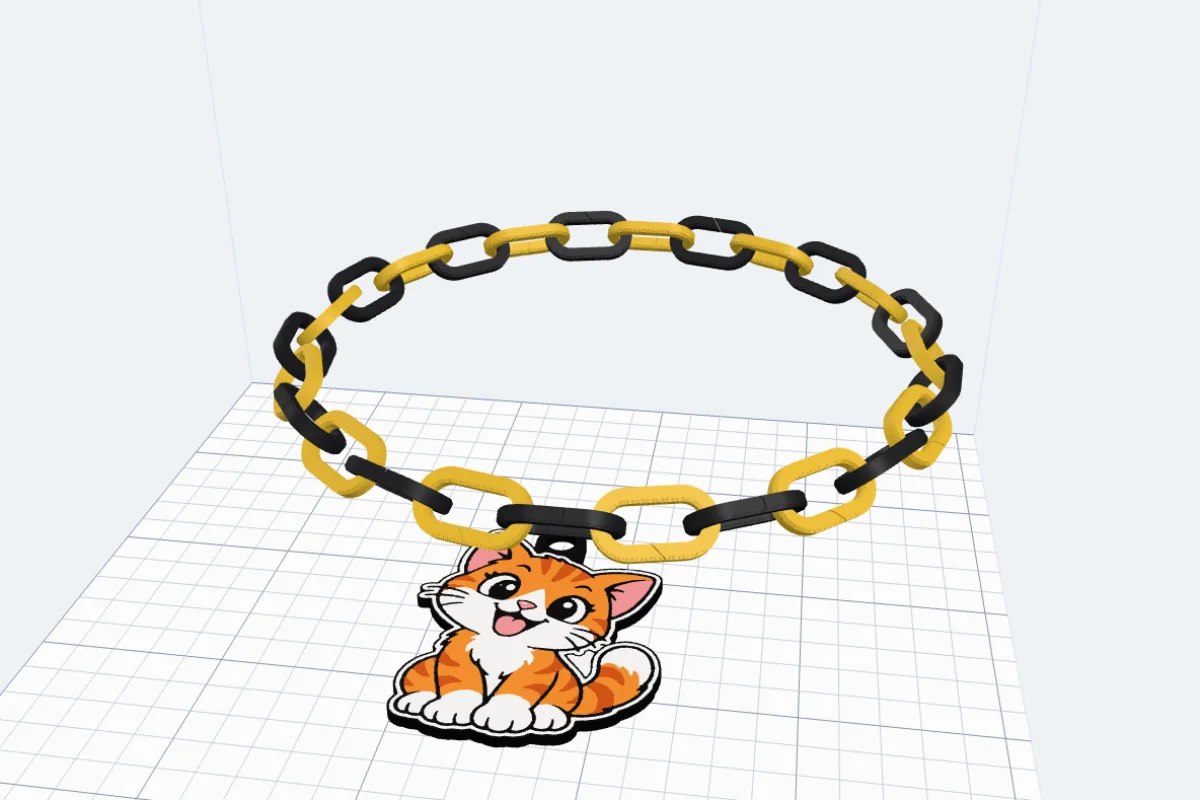
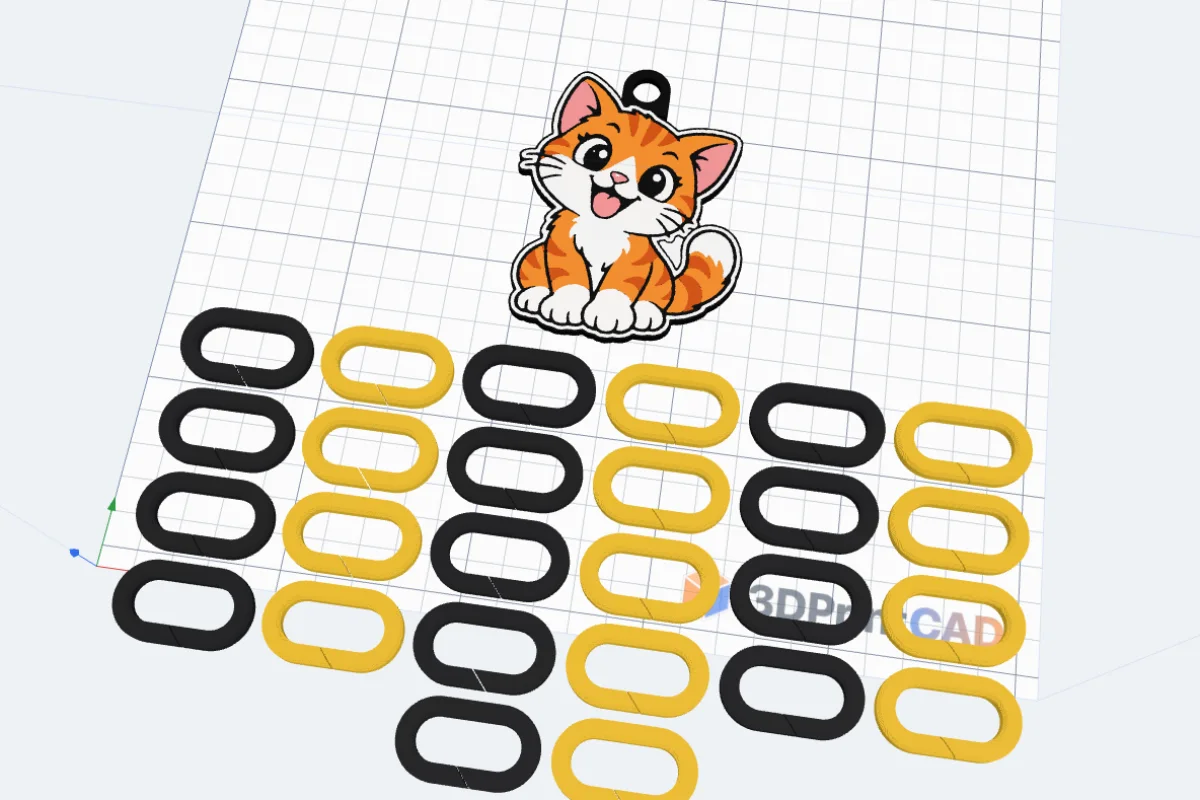
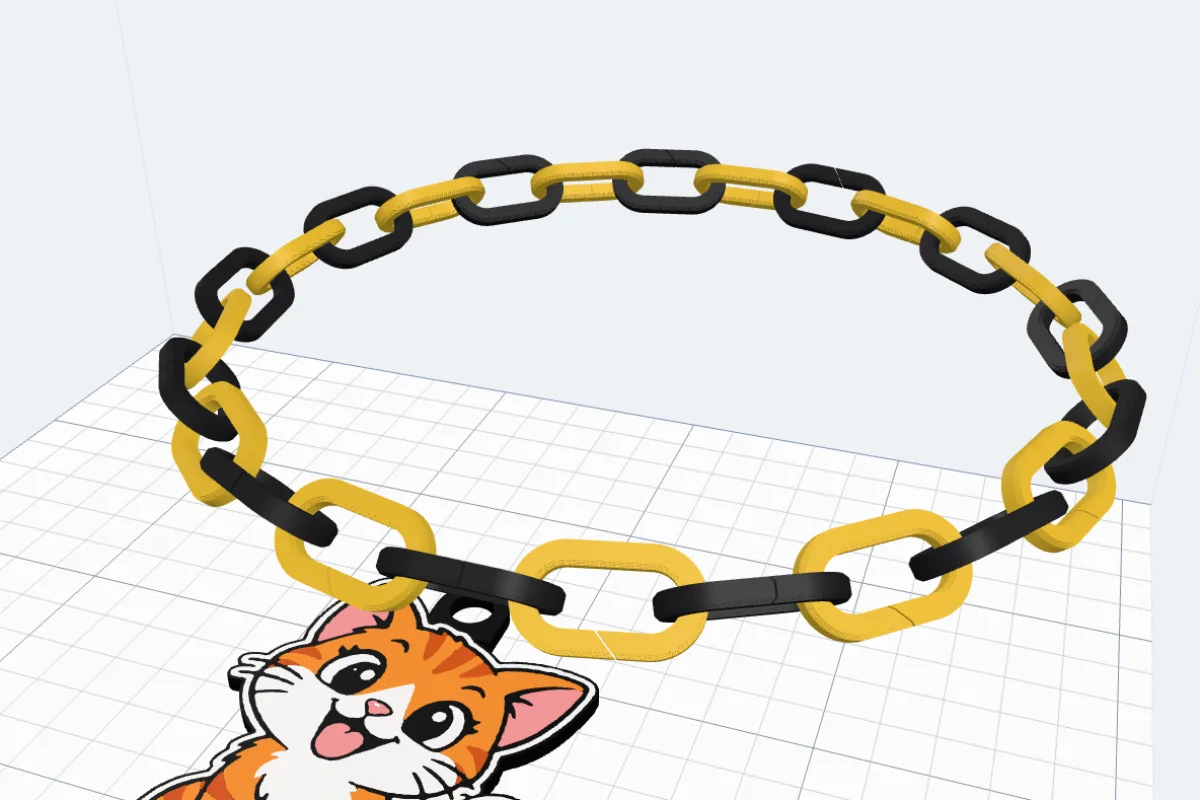
Click Hype chain in Generators and pick your picture (or start from the example with the sample cat). The picture becomes the sticker, in its colours, and a two-colour chain of oval links goes round it. Put together shows it as worn, Print layout how it lies on the bed.
2Chain links
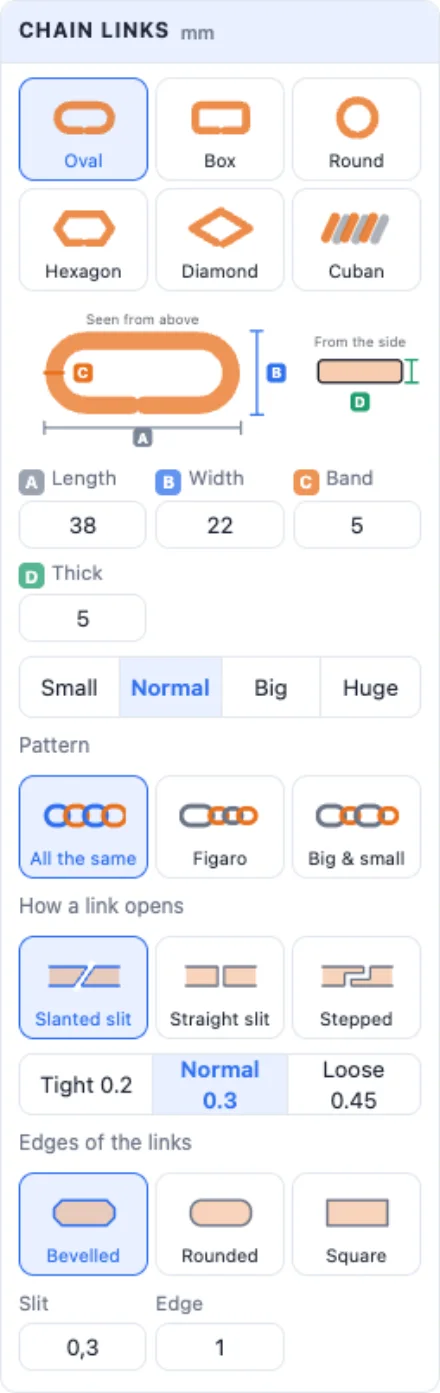
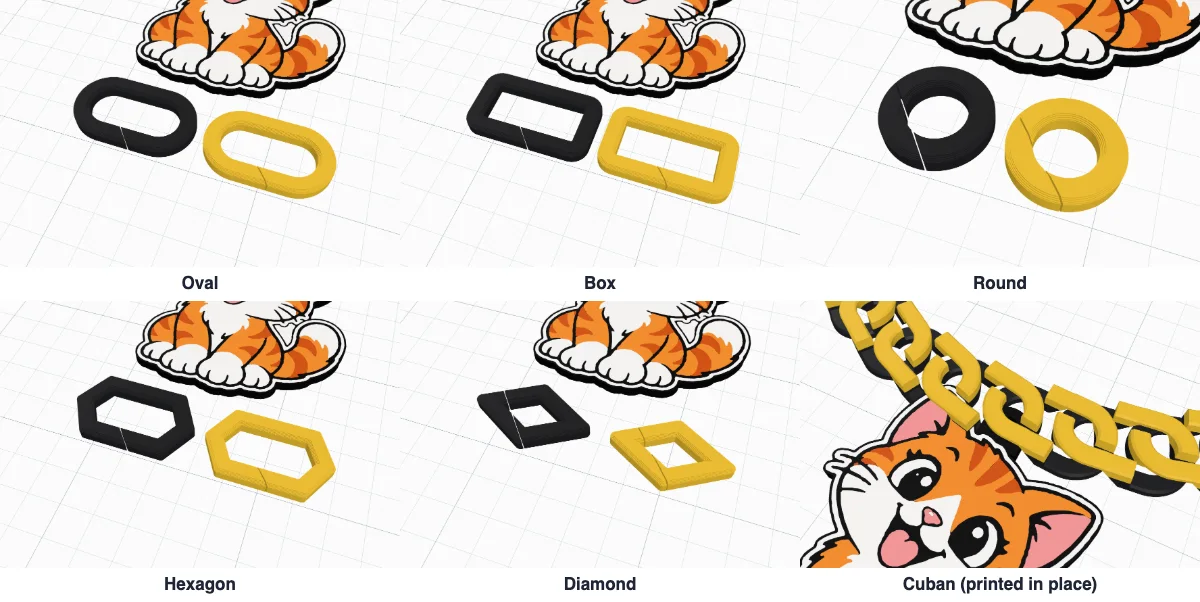
Six kinds of link: Oval (the classic), Box (with its own corner radius), Round, Hexagon, Diamond - all snap links printed flat - and Cuban, a chain printed in one piece (see below). The drawing shows the sizes: A the length, B the width, C the band seen from above and D how thick a link is. Small, Normal, Big and Huge set the length quickly.
3Pattern, slit and edges
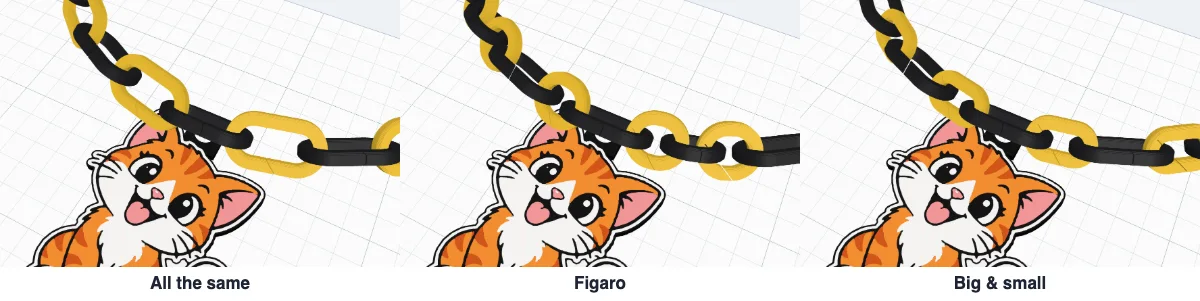
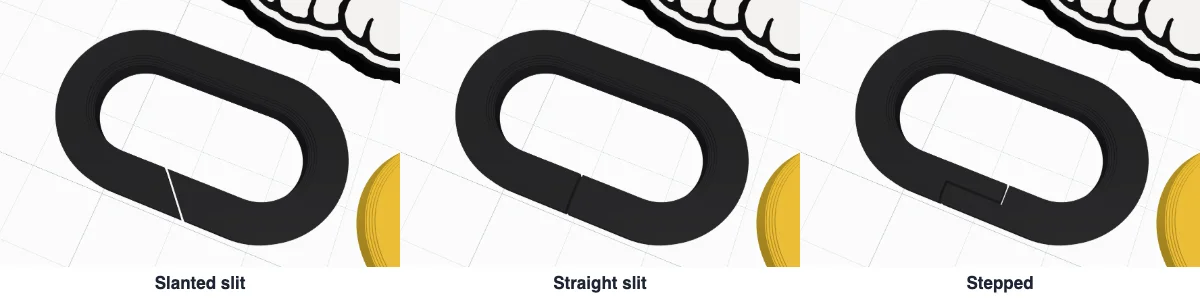
Pattern: All the same, Figaro (one long link, then three short ones) or Big & small in turn. How a link opens: a Slanted slit (its ends catch, it holds well), a Straight slit (the easiest to hook in) or Stepped (the ends lock when pulled), with the slit's width - Tight 0.2, Normal 0.3 or Loose 0.45 mm. Edges: bevelled, rounded or square.
4Length and colours
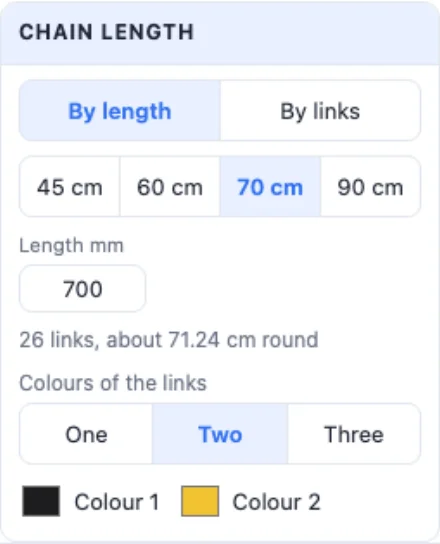
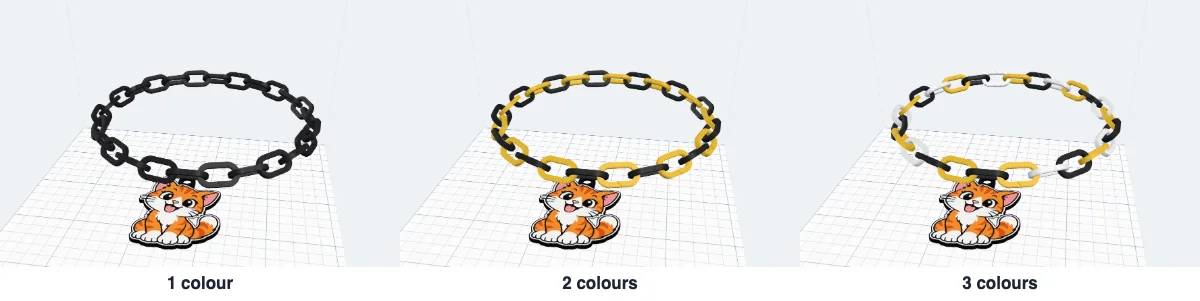
By length (45, 60, 70 or 90 cm, or your own) or By links (an exact number). The panel says how many links it takes and how long it comes out. Pick one, two or three colours - the links take them in turn - and each colour's filament.
5How the chain joins the sticker
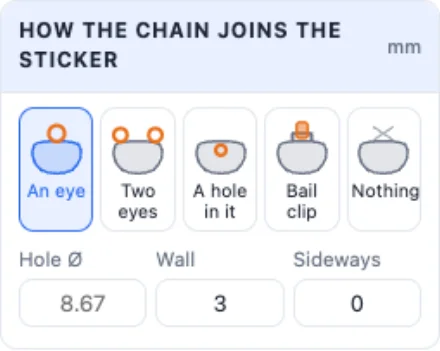
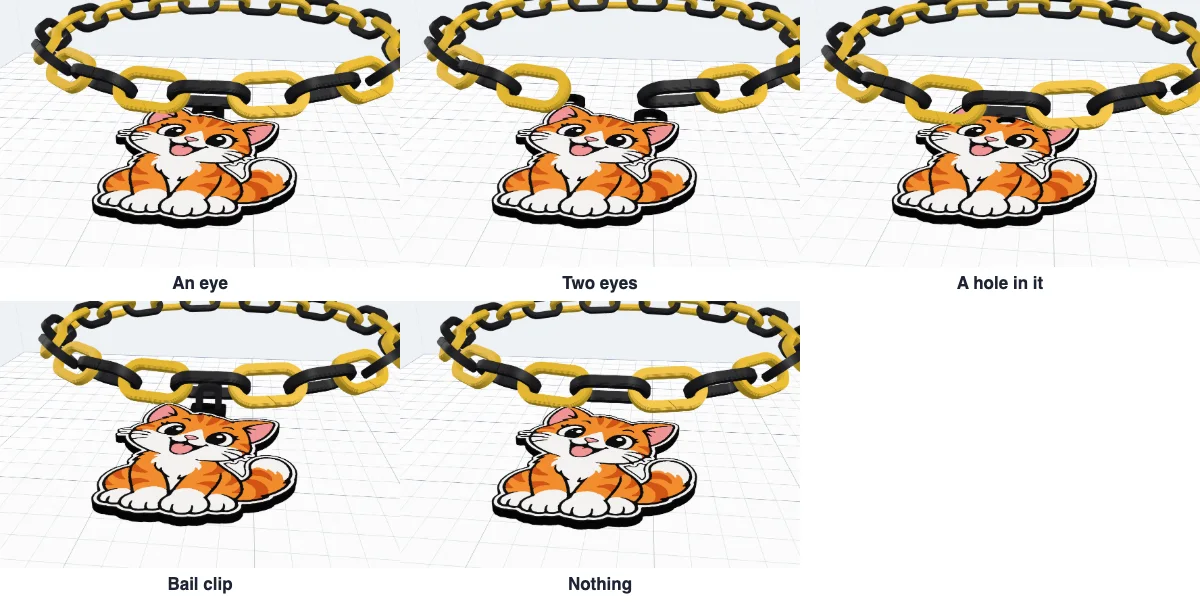
An eye on top - a link goes straight through it. Two eyes, one at each top corner: the chain's two ends hook in and the sticker hangs level. A hole in it - a hole through the sticker itself near its top. Bail clip - a handle on top and a wide clip through it; the chain runs through the clip, so the sticker slides along it. Nothing - just the sticker and the chain. Set the hole's size (empty = big enough for a link), the plastic round it, how far apart two eyes are, or the clip's width and thickness.
6What to print
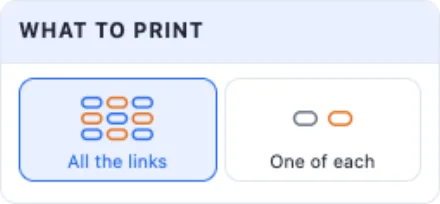
All the links lays the whole chain out on the bed. One of each lays out just one link of each kind and colour - print as many copies as the panel says. Use it when the chain does not fit on your bed at once.
7The Cuban chain - printed in one piece
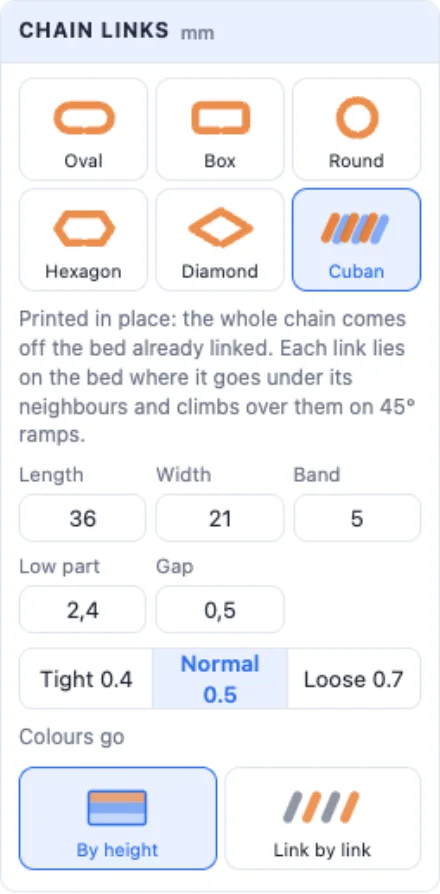
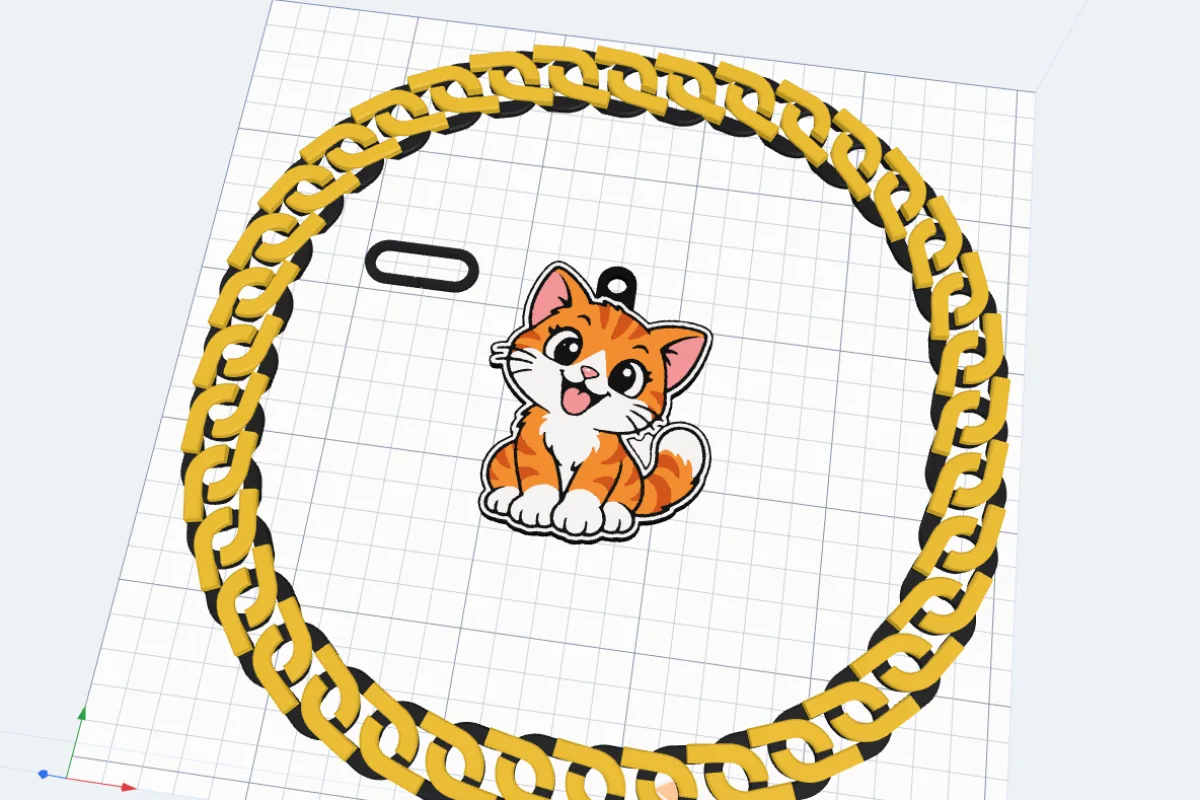
Pick Cuban for a curb chain that prints already linked: each link lies on the bed where it goes under its neighbours and climbs over them on 45° ramps - no supports, nothing to put together. Set the link's length, width and band, how thick its low part is, and the gap between the links (Tight 0.4, Normal 0.5, Loose 0.7). Colours go By height (layers from the bottom up - also a filament change on one nozzle) or Link by link.
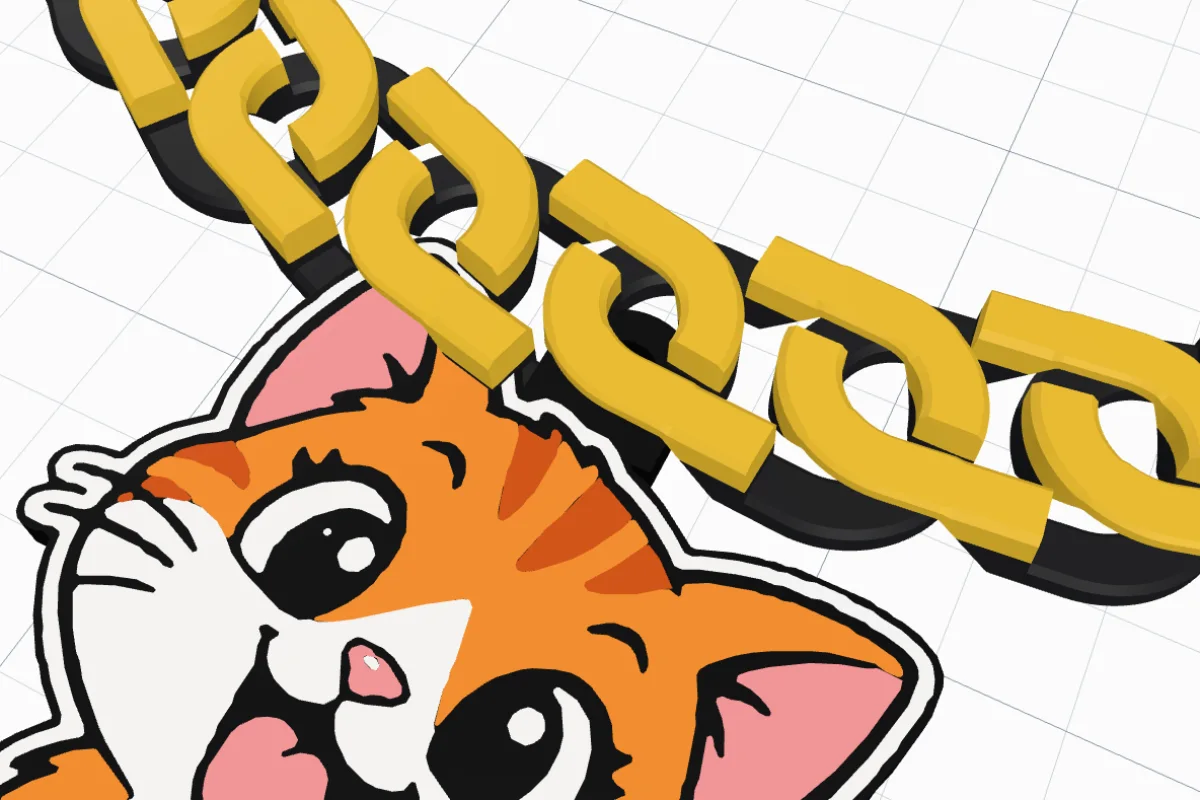
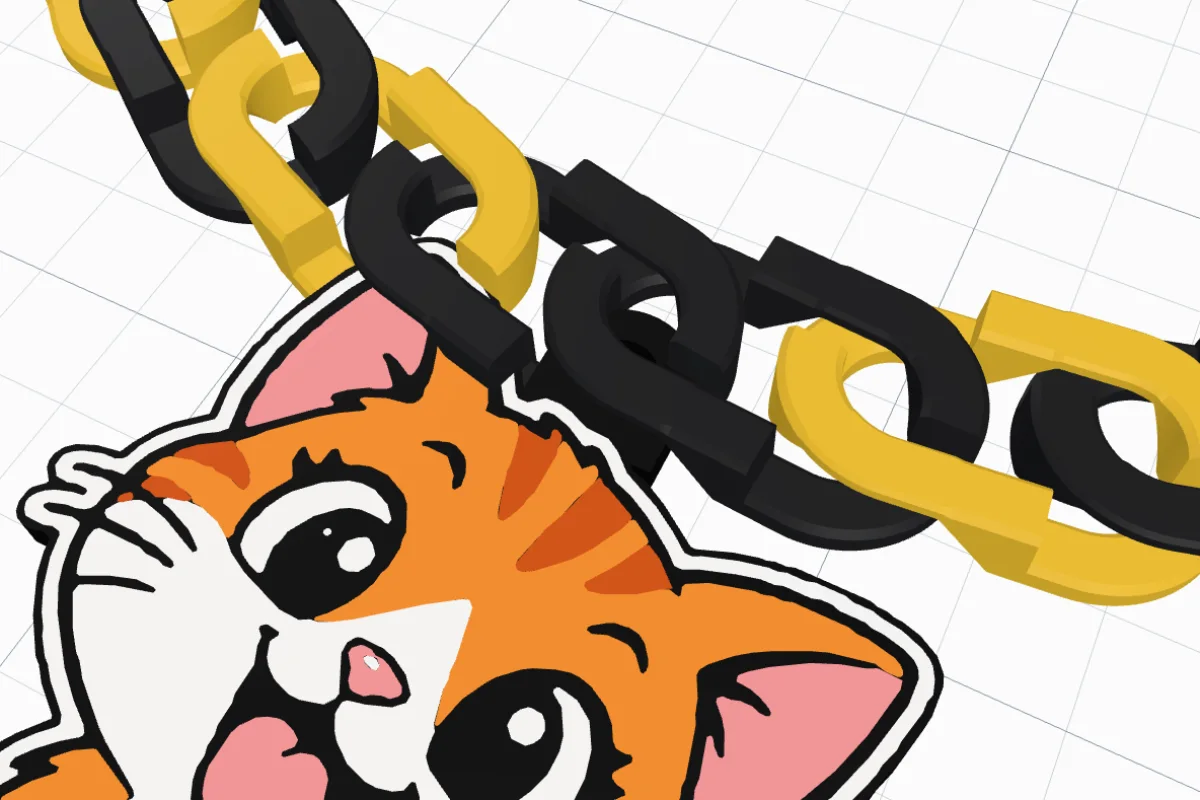
It prints as a closed loop when it fits on your bed, or as a spiral or a row when it does not. The sticker is joined by a snap ring through its eye.
8The sticker
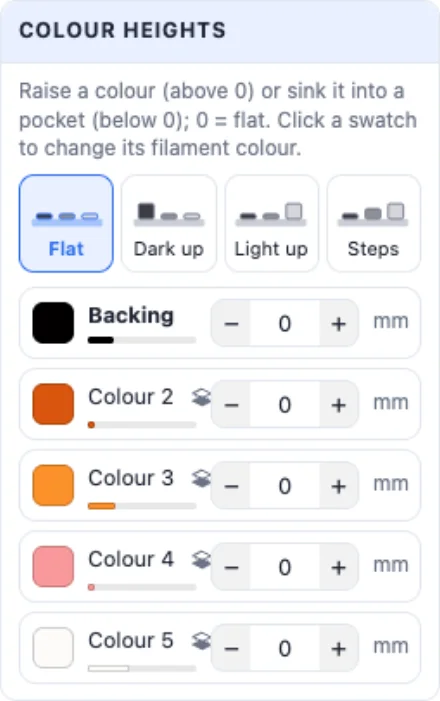
The pendant is a full sticker from the Sticker generator: change the picture, tidy it (the kind of picture, colours, small bits), give each colour its own filament, raise or sink colours in Colour heights, add a border, texts, an NFC chip or magnets. Its size is the longest side; 80-100 mm looks right on a chain.
9Create and print it
Click Create: the sticker and the chain are laid out flat for printing. Export a multi-colour 3MF, or the colours one at a time. The links print flat with no supports; 0.2 mm layers and 3 or more walls. PETG is tougher than PLA for snap links. Then twist each link open at its slit, hook it into the next and let it spring back - and hook the last links through the sticker's eye.
More from a picture: the Sticker generator and the Keychain generator.
Questions
How do the snap links go together?
Every link has a slit in the middle of a long side. Twist the link open sideways at the slit, hook the next link in and let it spring back. Slanted and stepped slits catch on themselves, so they hold better than a straight one. PETG springs back best; PLA works too with 3 or more walls.
What is the Cuban chain?
A curb chain printed in one piece: each link lies on the bed where it passes under its neighbours and climbs over them on 45° ramps, so the whole chain comes off the bed already linked, with no supports. Bend it gently back and forth once it is cool so the links come loose. Print two or three links first (Chain length - By links) to check the gap on your printer.
Can I print it in several colours?
Yes. Snap links: one, two or three colours in turn - each colour is its own part, so a single-colour printer just prints the links of each colour on their own. The Cuban chain is coloured by height (a filament change at each height works on one nozzle) or link by link (a multi-colour printer). The sticker keeps every colour of your picture; export a multi-colour 3MF.
The links do not fit on my bed. What now?
Pick One of each under What to print: one link of each kind and colour is laid out, and you print it as many times as the panel says. Or make the links shorter, or the chain shorter.
Which picture works best?
A clear picture with a few flat colours - a logo, a mascot, a cartoon. Use the sticker options (kind of picture, colours, colour heights) to tidy it, exactly as in the Sticker generator.
How long should the chain be?
About 60-70 cm hangs on the chest, 45 cm is short, 90 cm long. Choose By length, or By links for an exact number of links; the panel says how many links and how long it comes out.
Make your hype chain
Pick a picture, choose the links, print.
Open 3DPrintCADAlso see: Sticker generator, Keychain generator and Carabiner generator.