3DPrintCAD › Guides › Duct generator
Duct generator: adapters, elbows, fan and hose fittings
Make the duct part that connects what you have: a reducer from 100 mm round to a flat 110 × 55 duct, an elbow, a tee, a fan adapter, a wall flange, a vent grille or a blast gate - with sockets, spigots, hose barbs or flanges that fit. For extraction, enclosures, fans and dust collection. Everything happens in your browser and the part is ready for the slicer.
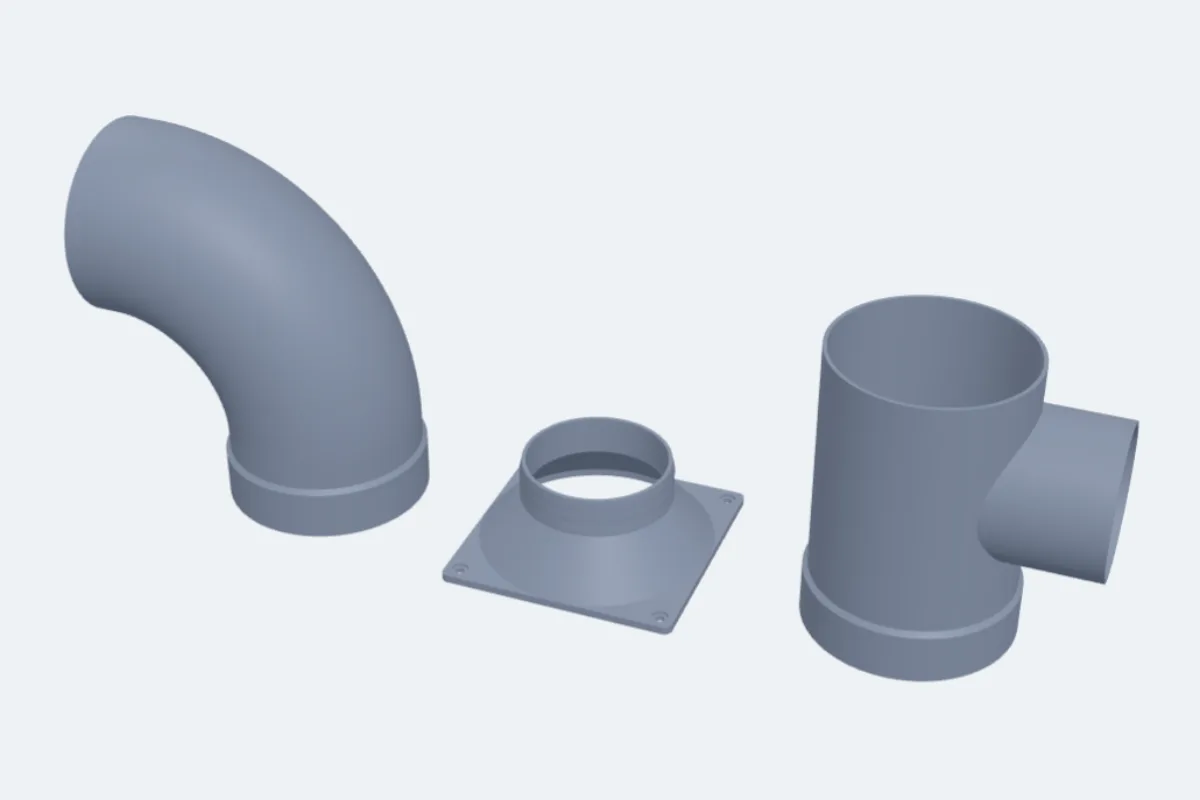
Watch the tutorial
All nine types in under two minutes, with subtitles: sizes, elbows, reducers, tees, fan adapters, grilles, blast gates and the end connectors. Watch on YouTube ↗
1Open the duct generator
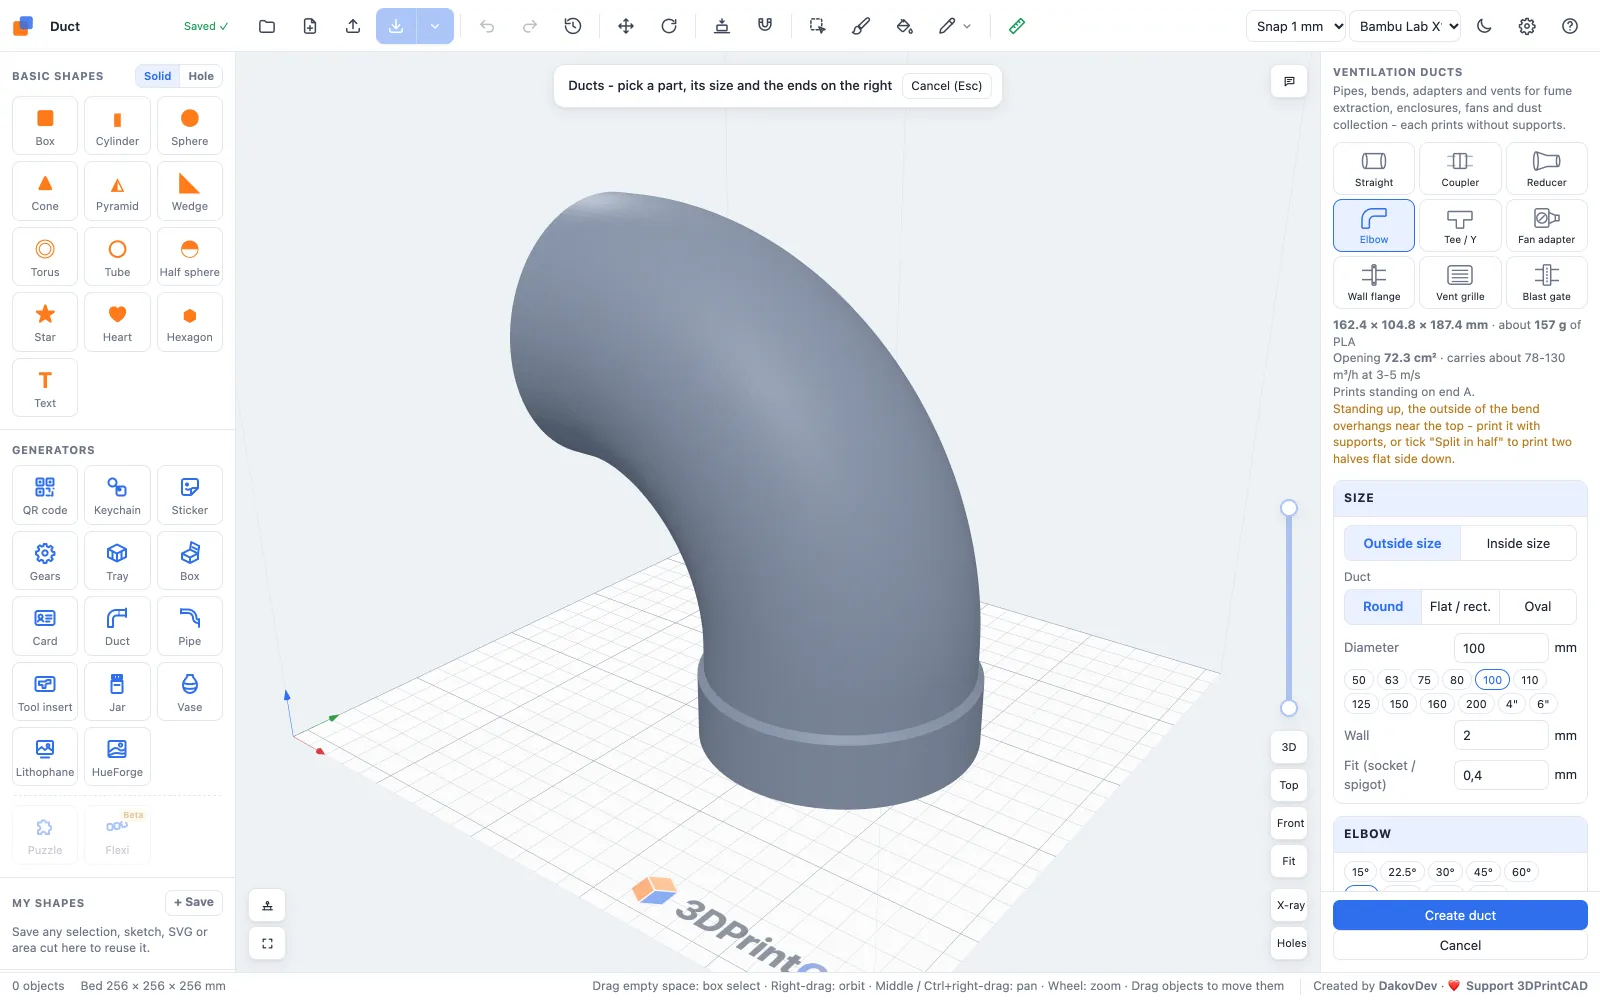
Open the app and click Duct under Generators on the left (or use this link). A 90° elbow appears. Every setting on the right updates the preview; the lines at the top give the size, the plastic it takes, the opening in cm² and the airflow it carries at 3-5 m/s, plus how it prints.
2Size
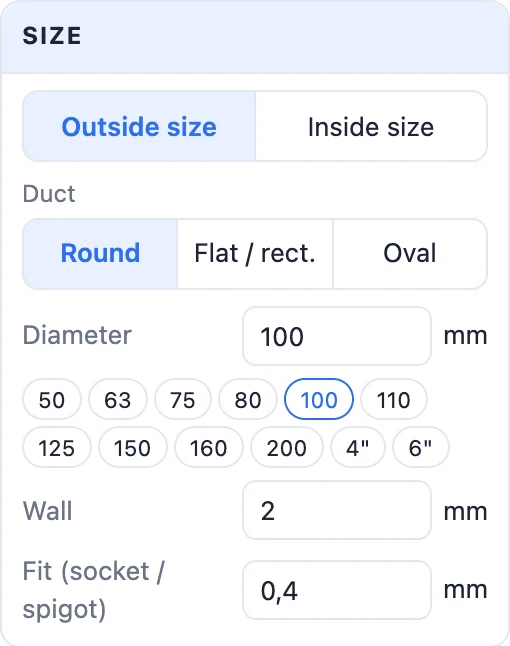
- Outside size - the size is the outside of the duct, so it fits into a hose or a socket of that size. Inside size - the size is the inside, so a pipe of that size fits into it.
- The section: Round (with presets from 50 to 200 mm and 4" / 6"), Flat / rect. (width, height and corners, with the common flat-duct sizes such as 110 × 55 and 220 × 90) or Oval. A reducer, a tee or a fan adapter has a second size for its other end.
- Wall and Fit (socket / spigot) - the gap between parts that slide into each other, 0.4 mm by default.
3Types
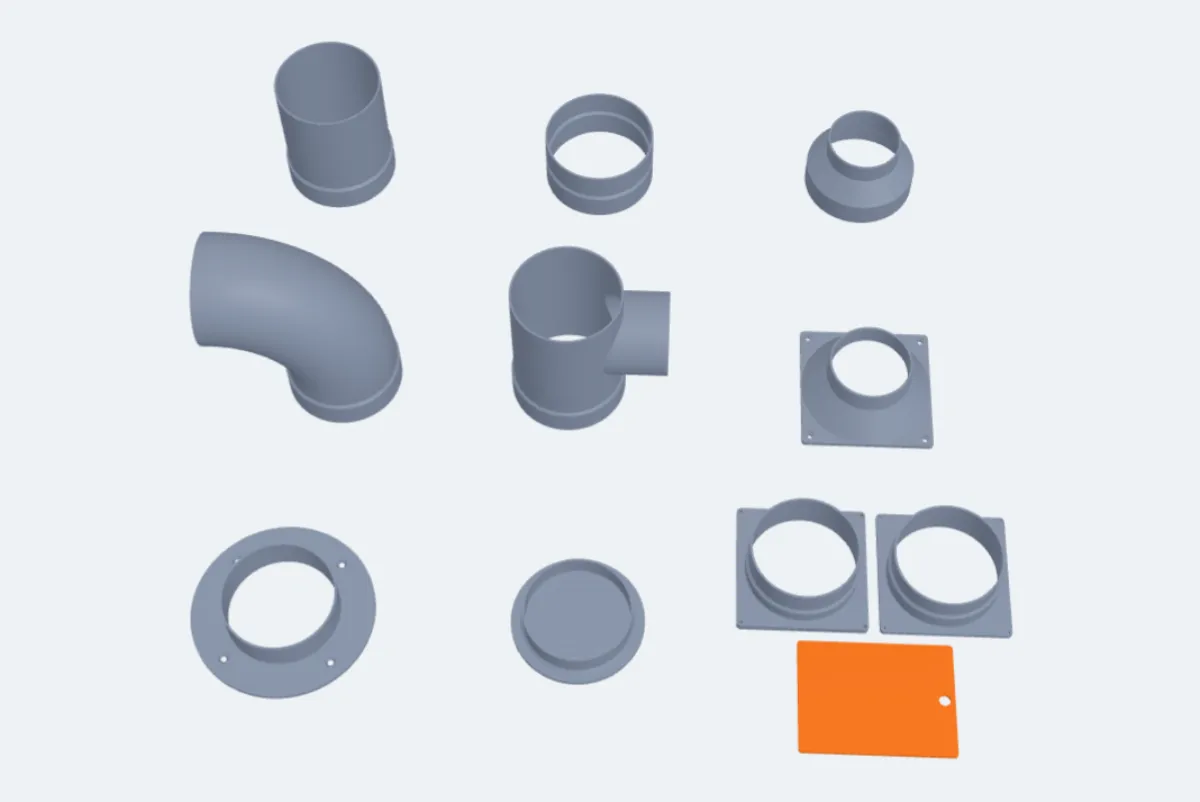
- Straight - a length of duct.
- Coupler - joins two ducts of the same size: a socket each way and a stop ring between.
- Reducer - from one size or shape to another (round to flat too), straight, with a smooth S-curve or a trumpet flare, off-centre if needed, and end B can lean up to 90°. The panel warns when a side gets steeper than 45°.
- Elbow - any angle (15° to 180°), the bend radius, smooth or as a lobster back of segments, with straight ends; flat ducts bend sideways or over the edge.
- Tee / Y - a branch of its own size at 90°, 60° or 45°.
- Fan adapter - a plate for a 40 to 140 mm fan with its screw holes, a smooth transition to the duct, and a finger guard (rings, grid or spiral).
- Wall flange - a pipe through a round or square plate with countersunk screw holes, the pipe in front and / or behind.
- Vent grille - a face with louvres, slots, a grid, honeycomb, radial bars or a fine mesh, and a spigot that pushes into the duct.
- Blast gate - a housing in two halves held by M3 screws and a slide that opens and closes the duct.
4Ends
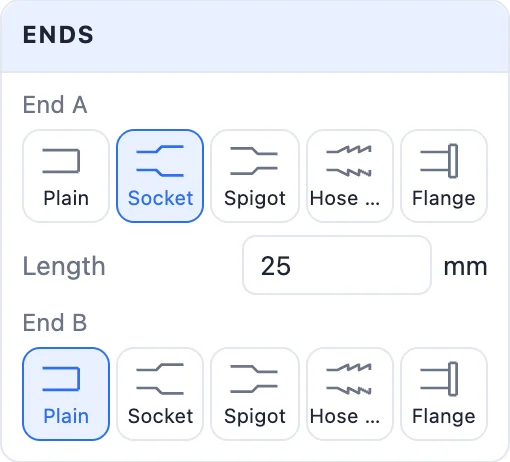
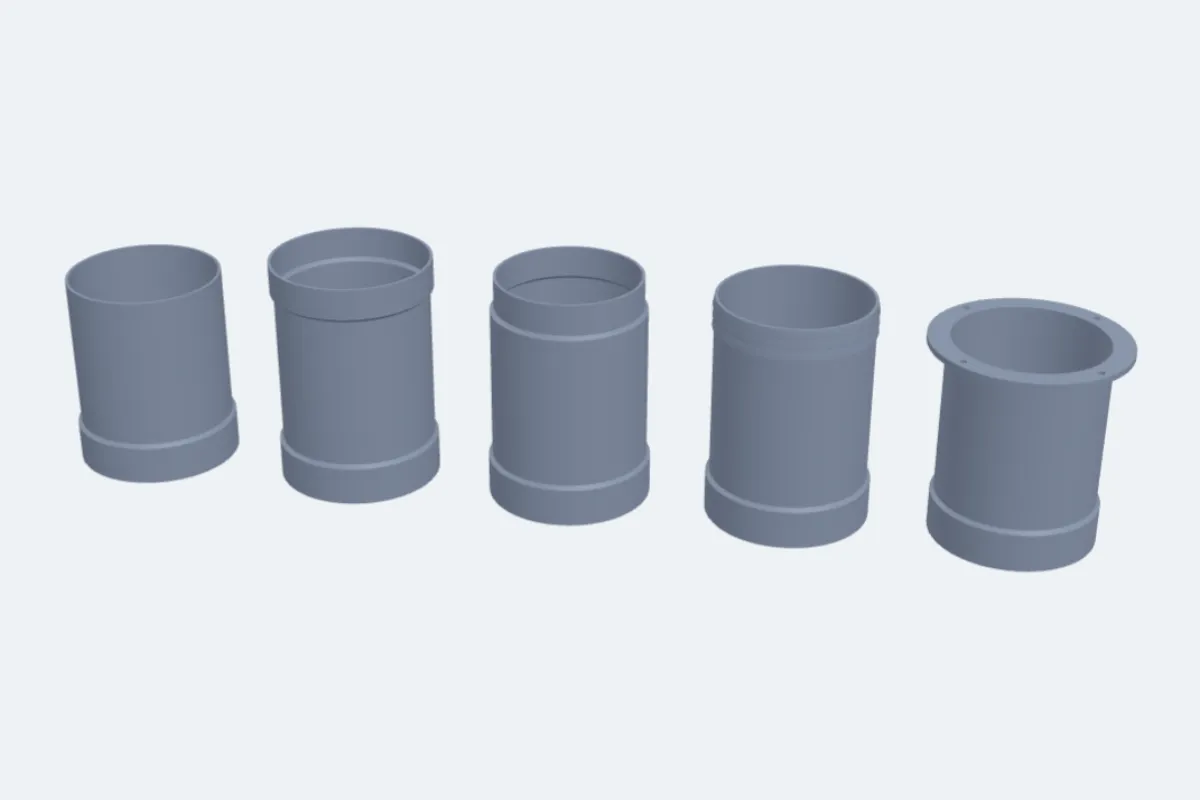
Each end has its own connector: Plain, Socket (another duct slides in; a 45° step out), Spigot (it slides into another duct; a 45° step in), Hose barb (ribs that grip a hose) or Flange (a ring with screw holes), with its length. Choosing a type sets sensible ends for it.
5Create and print
- Parts stand on end A and print without supports where the panel says so. An elbow or a tee can be Split in half: two halves printed flat side down, then glued.
- A blast gate prints as three parts: both housing halves joint face down and the slide.
- Click Create duct, then Export. Double-click it later to change it.
Questions
Outside or inside size - which one do I need?
Measure what the part has to fit. If it goes into a hose or a socket, use its inside diameter as the Outside size. If a pipe has to go into it, use the pipe's outside diameter as the Inside size. The fit gap (0.4 mm) is added for sockets and spigots.
Can I go from a round duct to a flat one?
Yes. Choose Reducer and set end A to Round and end B to Flat / rect. (or oval). The smooth transition keeps the airflow even.
How much air does it carry?
The panel shows the opening in cm² and the airflow at 3-5 m/s - typical for fans and extraction - in m³ per hour.
Do I need supports?
Most parts print standing on end A without supports. An elbow overhangs near the top: tick Split in half and print the two halves flat side down.
Can I change a part after creating it?
Yes. Double-click it (or select it and click Edit generator) and the generator opens with its settings.
Make your duct part now
Open the duct generator, choose the type and the sizes, and print.
Make a duct nowAlso see: Pipe generator, Box generator, Gear generator and all guides.