3DPrintCAD › Guides › Clock generator
Clock generator: 3D printed wall clocks in colour
Design a wall clock for a standard quartz movement in minutes: pick one of 12 styles, change the dial, the marks and numbers, add waves or a shattered side, draw your own hands, put texts, stickers and logos on it - then print it in colour, on a multi-colour printer or in separate colours that snap together.
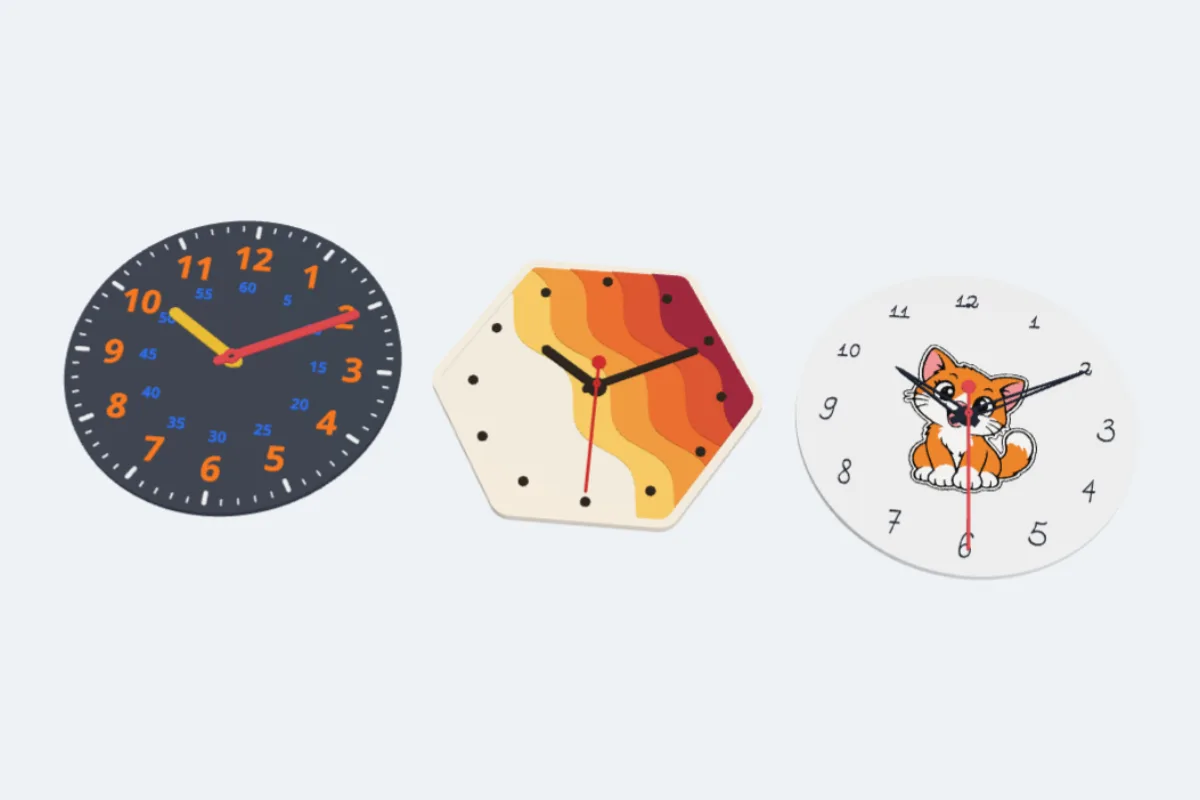
Watch the tutorial
The whole generator in under four minutes, with subtitles: styles, marks and numbers, waves and shattered dials, hands, texts on curves and tags, and printing in colour. Watch on YouTube ↗
1Open the clock generator
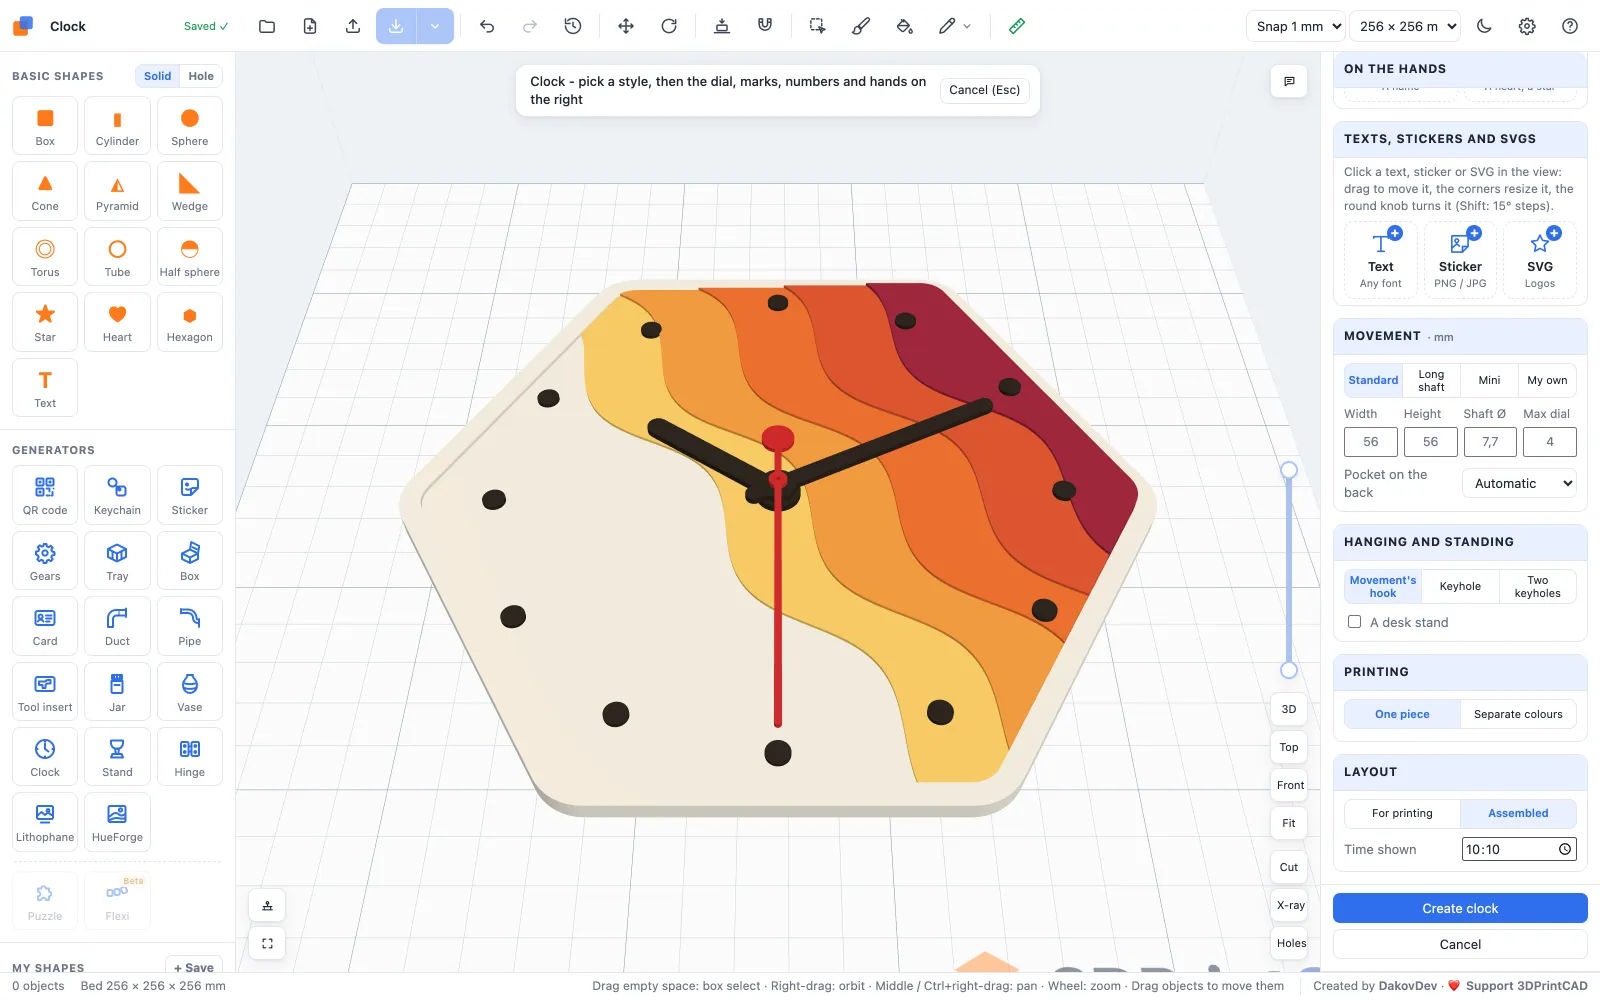
Open the app and click Clock under Generators on the left (or use this link). A classic wall clock appears with its three hands beside it. Every change on the right updates the preview at once, and the line at the top gives the size, the movement and its pocket, the hands' lengths and holes and how to print it.
The clock is made for a standard quartz clock movement - the small square box with a threaded shaft you can buy for a few euros. Its hands push onto the shaft, so the generator makes the dial, the hands and the holes to fit it.
2Start from one of 12 styles
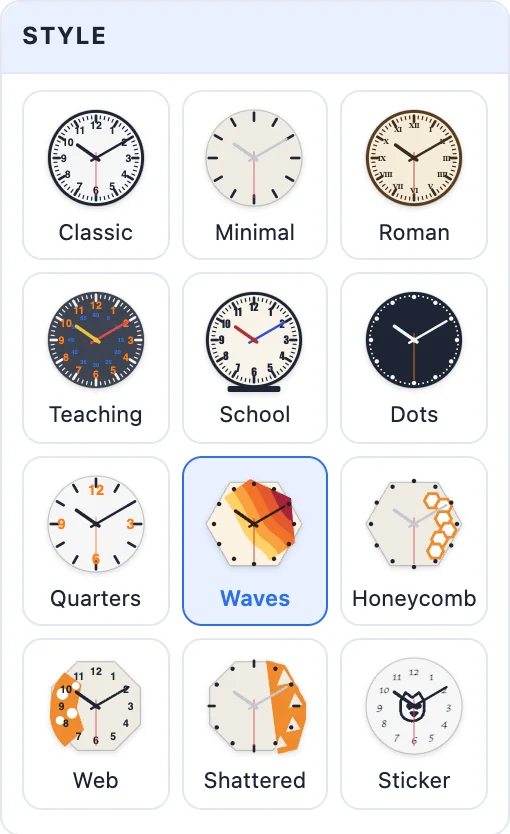
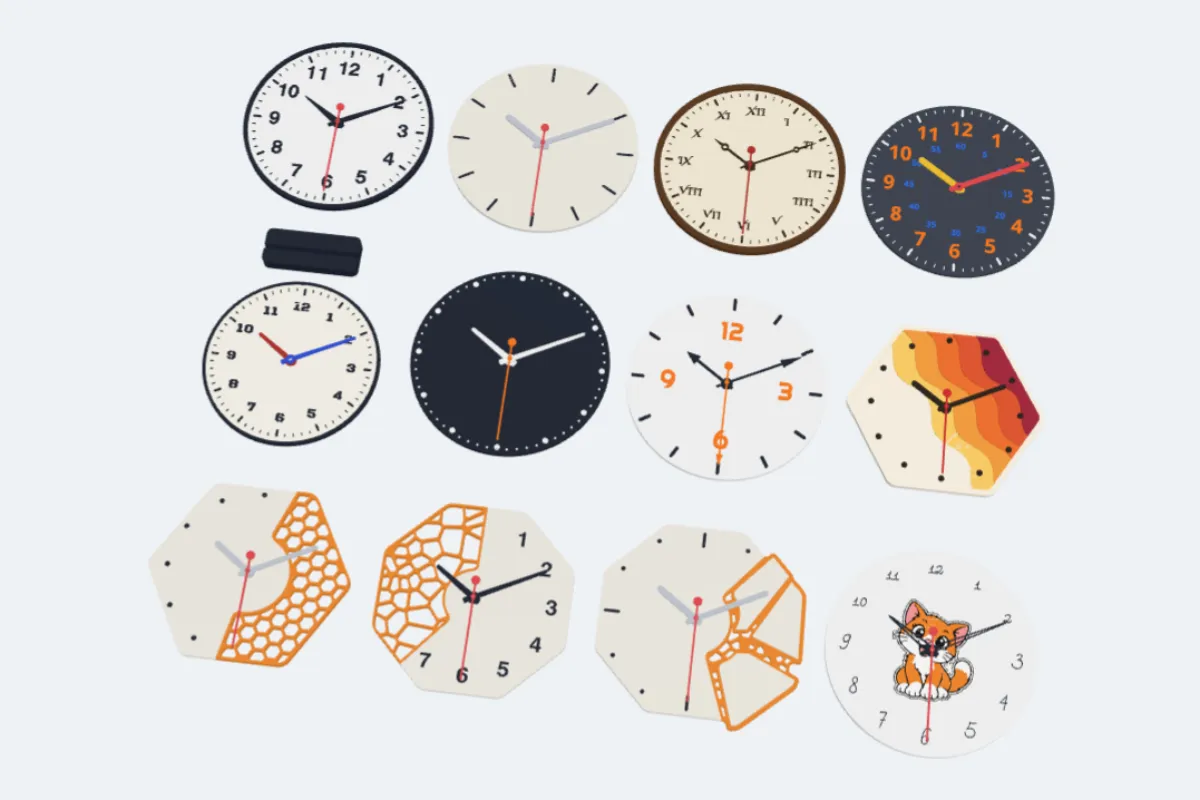
The Style card is the quickest start - each style sets the dial, the marks, the numbers, the decoration, the hands and the colours together. Pick one and change anything afterwards:
- Classic - numbers, minute ticks and a rim. Minimal - bars only, inlaid. Roman - Roman numerals on a cream dial.
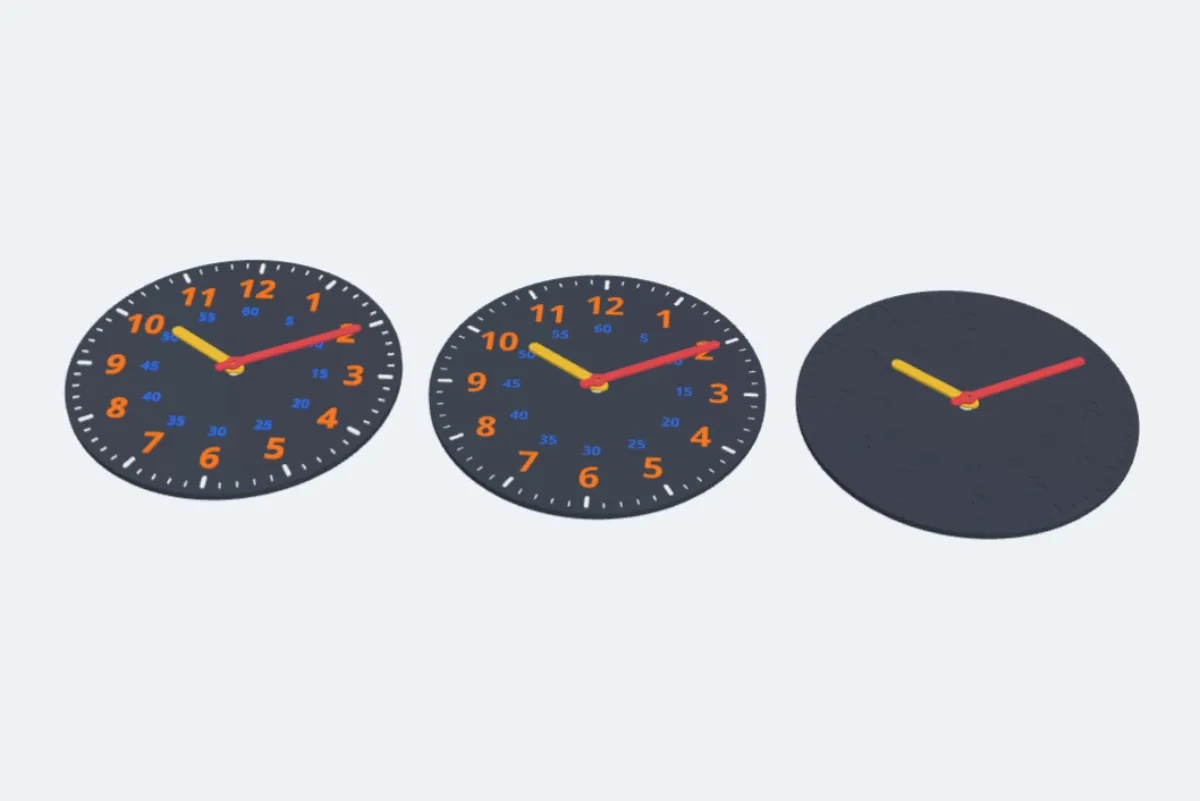
- Teaching - big numbers plus the minutes 5-60, to learn the time. School - stencil numbers on a desk stand. Dots and Quarters.
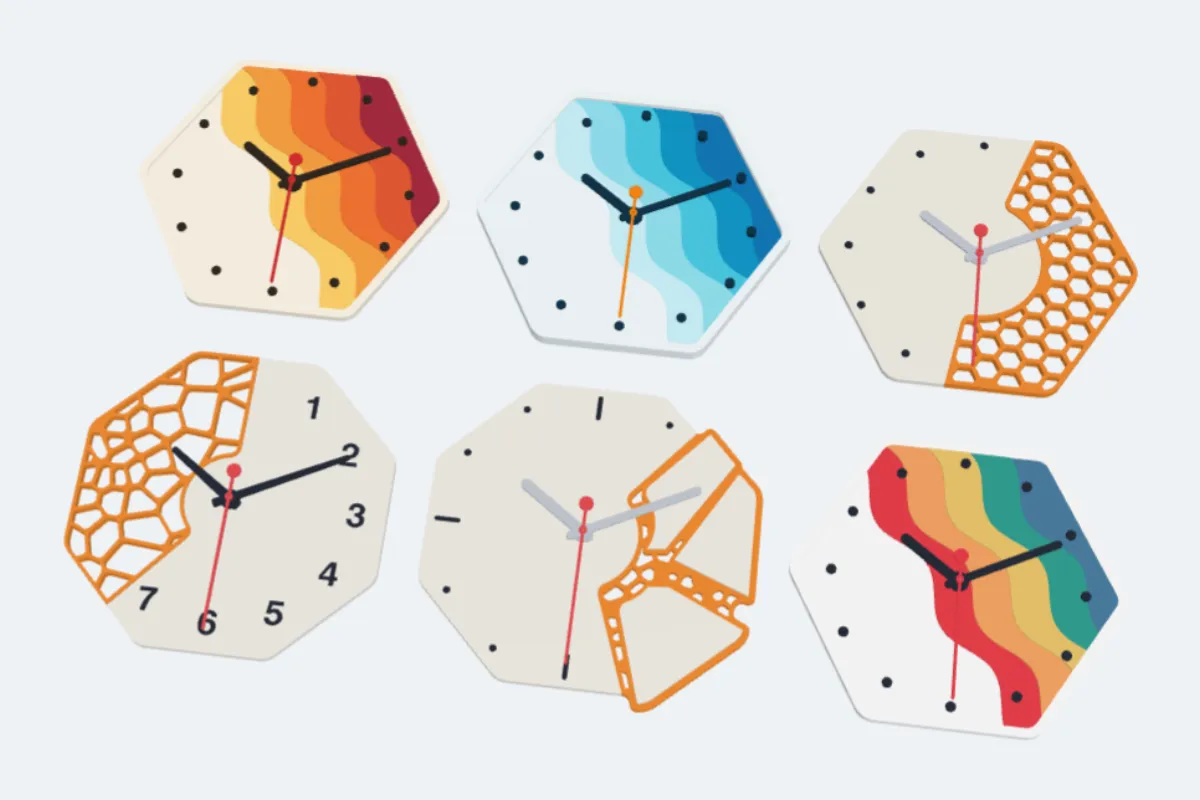
- Waves - layered colour bands. Honeycomb, Web and Shattered - part of the dial cut open.
- Sticker - your picture in the middle (it asks for one).
3The dial
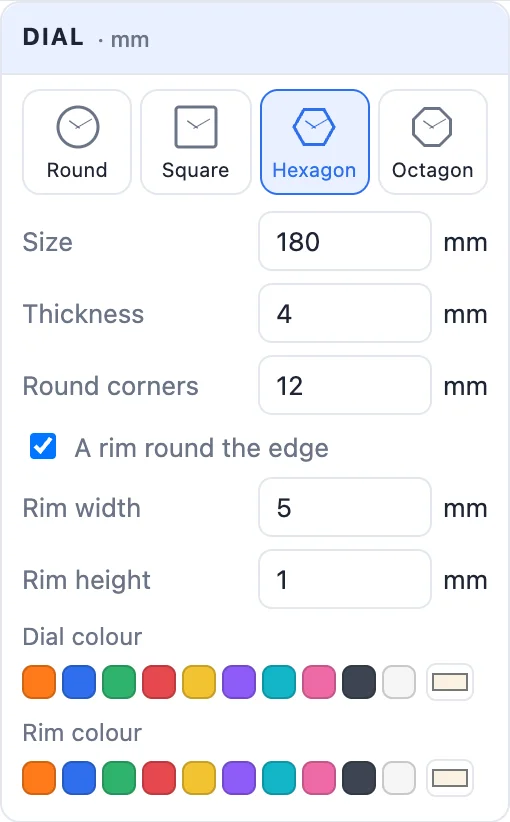
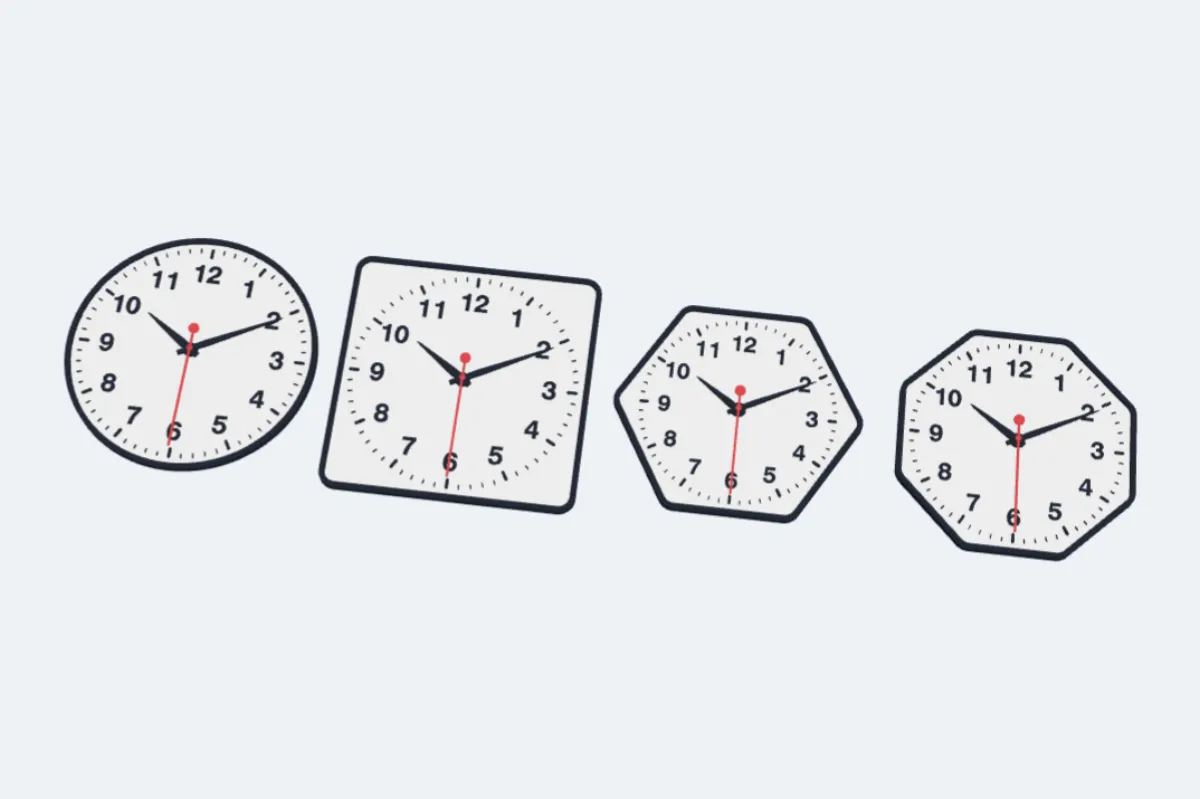
Choose the dial's shape - round, square, hexagon or octagon - its size across, its thickness and a rim round the edge (its width and how far it stands up). The rim can have its own colour.
4Marks and numbers
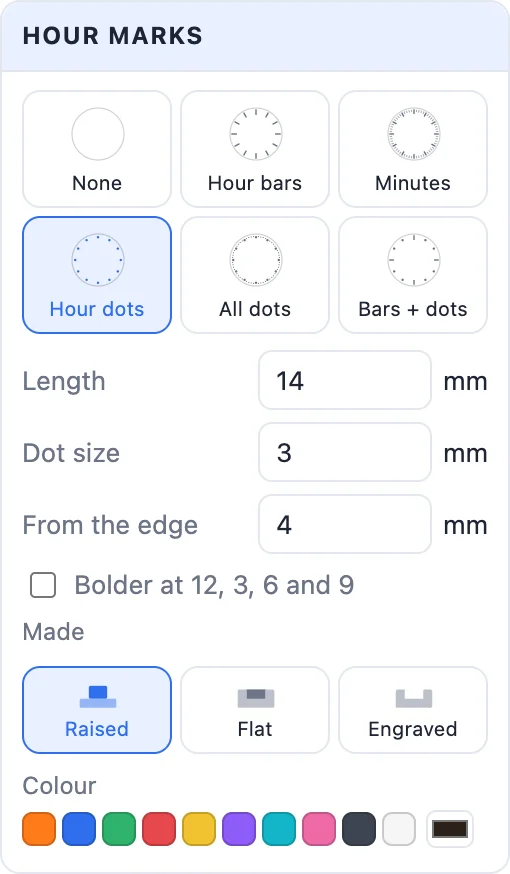
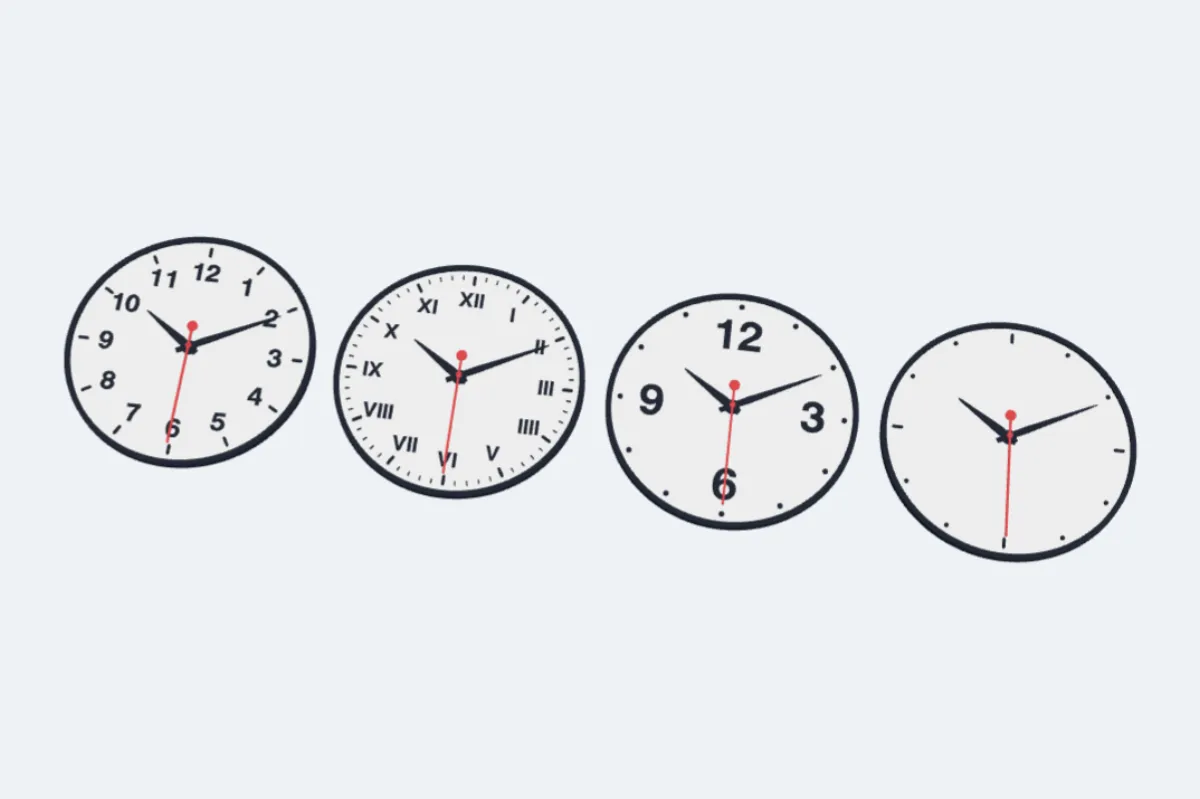
Hour marks: none, the hours, every minute, dots, dots for every minute, or mixed - with their length, width, distance from the edge, bolder quarters and round ends. Numbers: 1-12, Roman, only 12-3-6-9 (in figures or Roman), in any font, with their size and distance from the edge; turn them along the edge if you like. Minute numbers 5-60 sit inside them - handy for a child's clock.
Each group can be Raised (standing on the dial), Flat (inlaid level with the dial, in its own colour) or Engraved (cut into the dial) - pick it in its own card, or for all of them at once in How marks and numbers are made.
5Decoration: waves, honeycomb, web, shattered
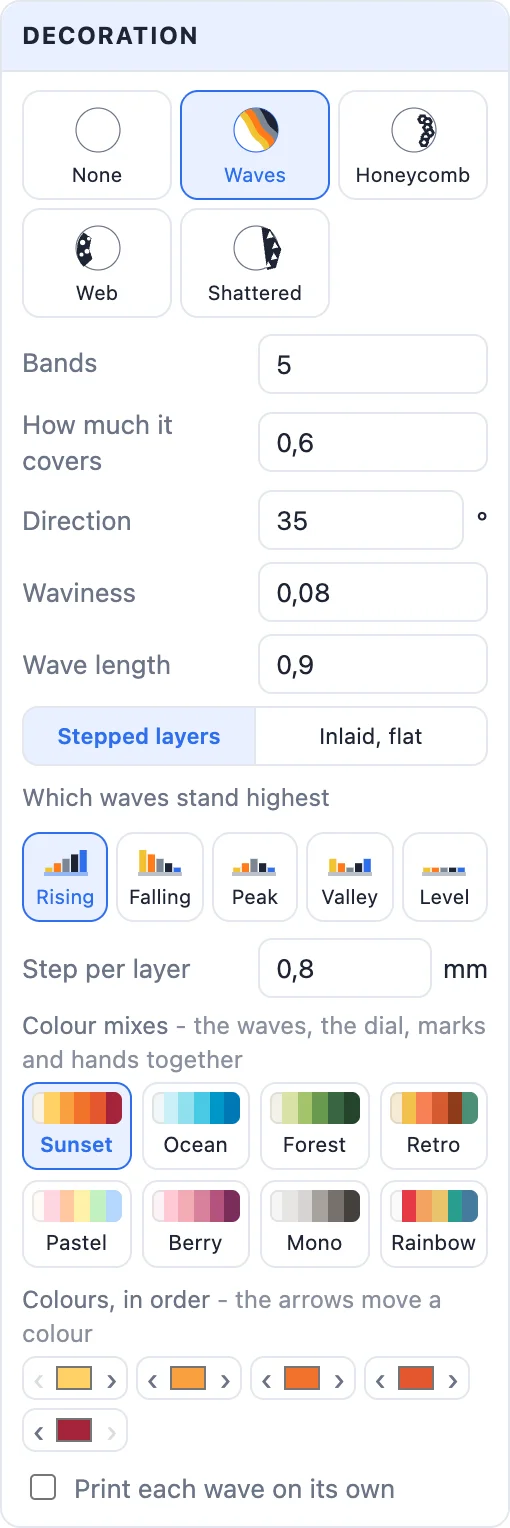
- Waves - colour bands across the dial: how many, how much they cover, their direction, waviness and length. Stepped layers stand each band a step higher; Inlaid, flat keeps the dial level. Which waves stand highest: rising, falling (sunk into a thicker dial), peak, valley or level. Pick a ready colour mix - Sunset, Ocean, Forest, Retro, Pastel, Berry, Mono or Rainbow sets the waves, the dial, the marks and the hands together - or move single colours with the arrows. Print each wave on its own makes every band a loose piece for a one-colour printer.
- Honeycomb and Web - a part of the dial cut open into hexagon or organic cells: where, how wide, how far in, the wall and the cell size.
- Shattered - one side breaks into pieces held by a web. Click a piece in the view to drag, resize or turn it; the pieces inside the clock always stay joined.
6Hands
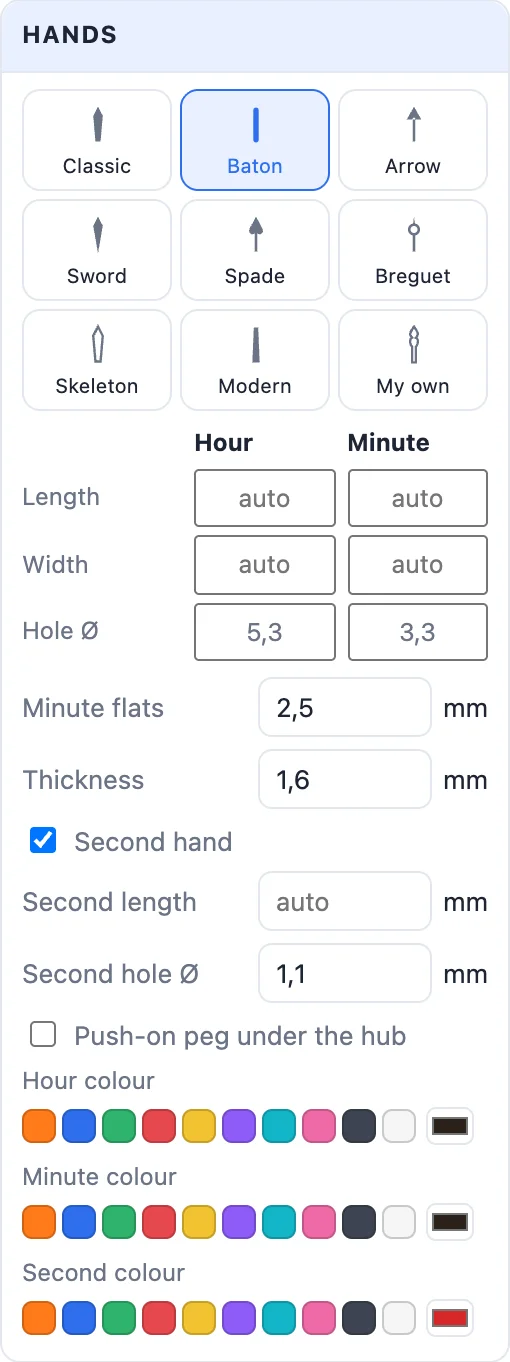
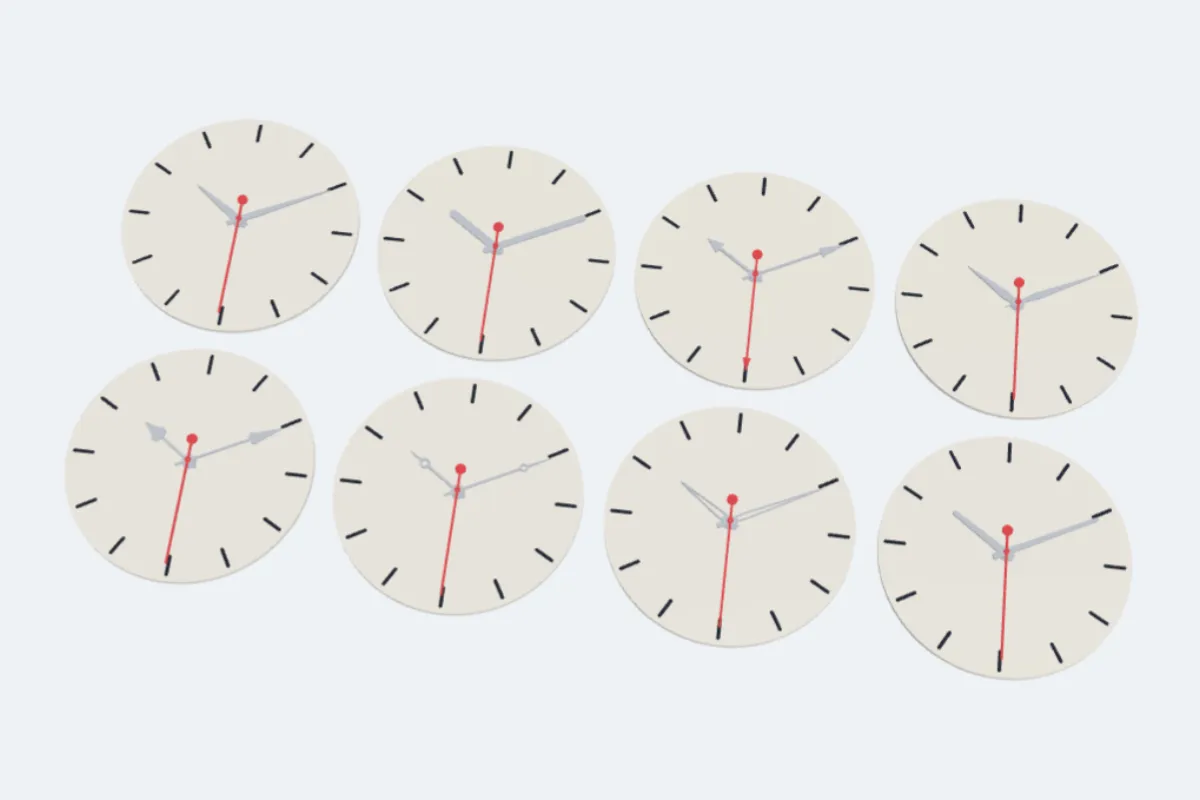
Eight hand shapes - classic, baton, arrow, sword, spade, breguet, skeleton and modern - or My own: draw each hand in the sketch editor (the hub and the hand's length are shown in red, it is used at the size you draw it) or use an SVG. Set the thickness, the lengths and widths, and the holes for your movement: the hour hand's round hole, the minute hand's hole with its two flats, and the second hand's - which can have a push-on peg like a bought one.
On the hands adds a name or a small SVG shape (a heart, a star, a logo) to a hand - drag it along the hand in the view, resize it from a corner and turn it with the knob.
7Texts, stickers and SVGs on the dial
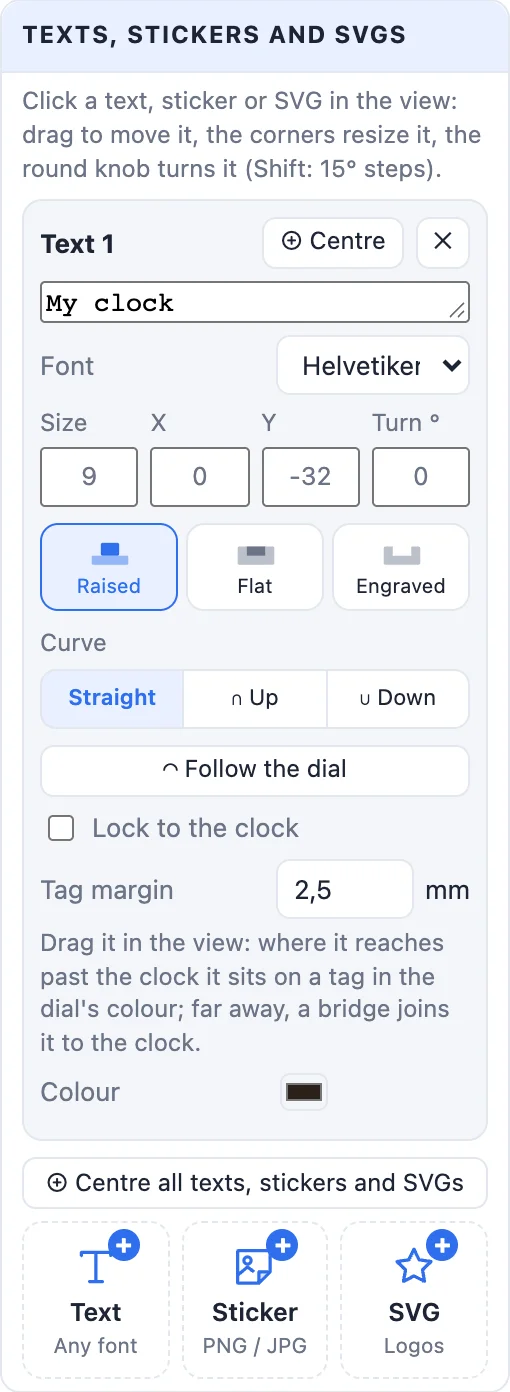
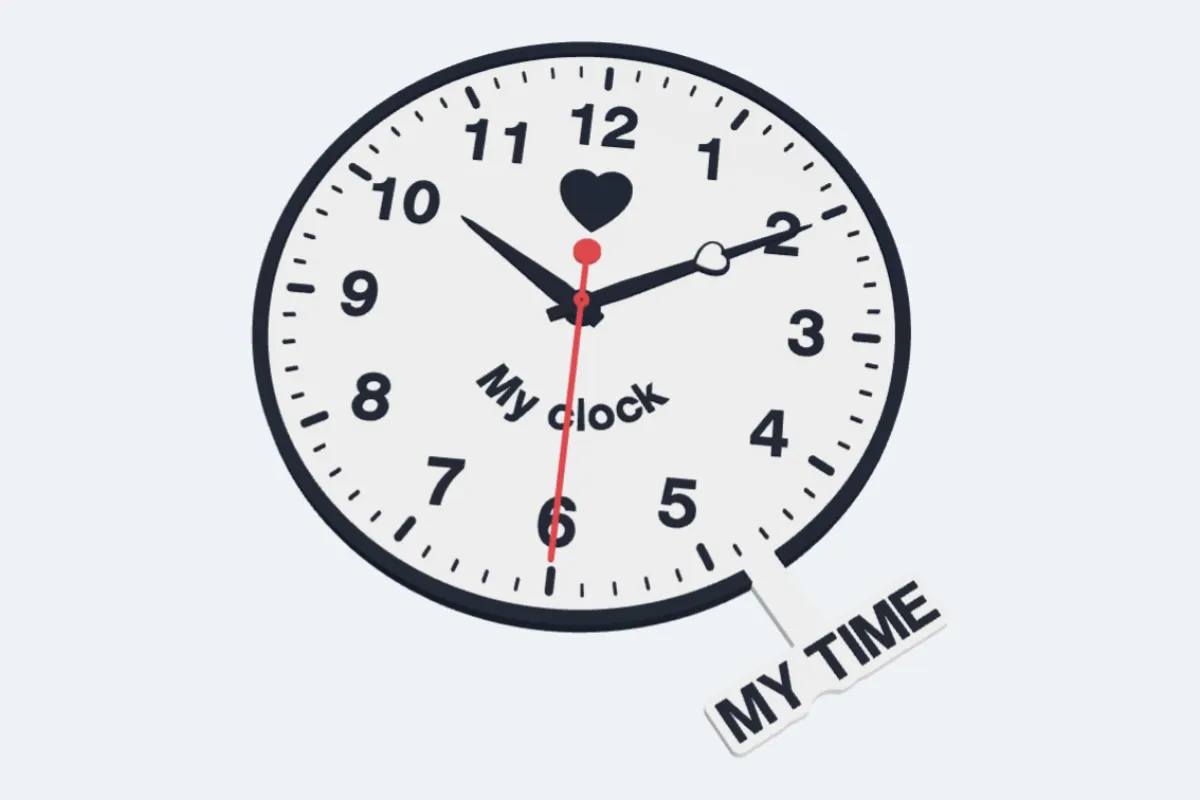
Add as many as you like with the three tiles Text, Sticker (a PNG or JPG made into colour parts, each colour its own height, like the sticker generator) and SVG (logos and shapes). Click one in the view to drag it, pull a corner to resize it and use the round knob to turn it. Each can be raised, inlaid or engraved, in its own colour.
- Curve: straight, ∩ arc up or ∪ arc down with a radius - or Follow the dial bends a text round the clock's middle at its distance.
- Lock to the clock: untick it to drag a text past the edge - it sits on a rounded tag in the dial's colour, joined to the clock.
- Centre puts one back on the middle line; Centre all does it for all of them.
8Movement, pocket and hanging
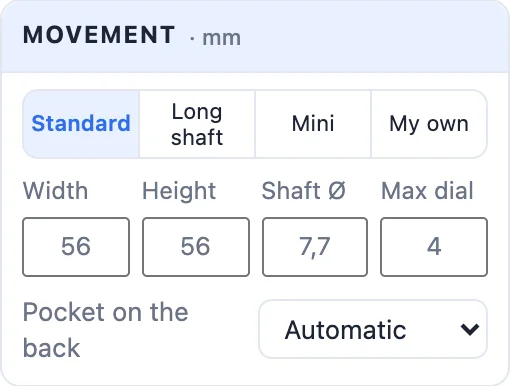
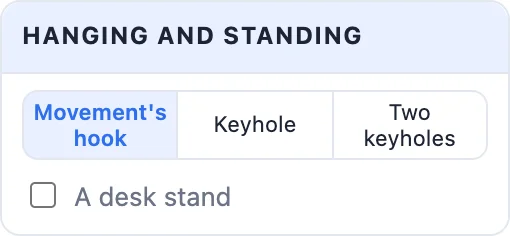
Pick your movement - standard, long shaft, mini or your own sizes. Its shaft goes through the dial; when the dial is thicker than the shaft's thread, a pocket is cut in the back so the movement sits deeper (the panel tells you the thickness at the shaft). Hang it with one or two keyholes on the back, or stand it on a desk stand.
9Print it in colour - two ways
One piece (the default) prints the dial with its marks, numbers and decoration in one go:
- Multi-colour printer (AMS, MMU, toolchanger): click Create clock, then Export ▸ Multi-colour 3MF. Every colour is its own part on its own filament in Bambu Studio, OrcaSlicer or PrusaSlicer.
- One nozzle: raised marks and numbers start at the dial's top - the panel says at which height to change the filament (e.g. "change filament at 4 mm"). Add a pause there in your slicer.
Separate colours is for a printer with one colour: every colour is printed on its own and put together afterwards.
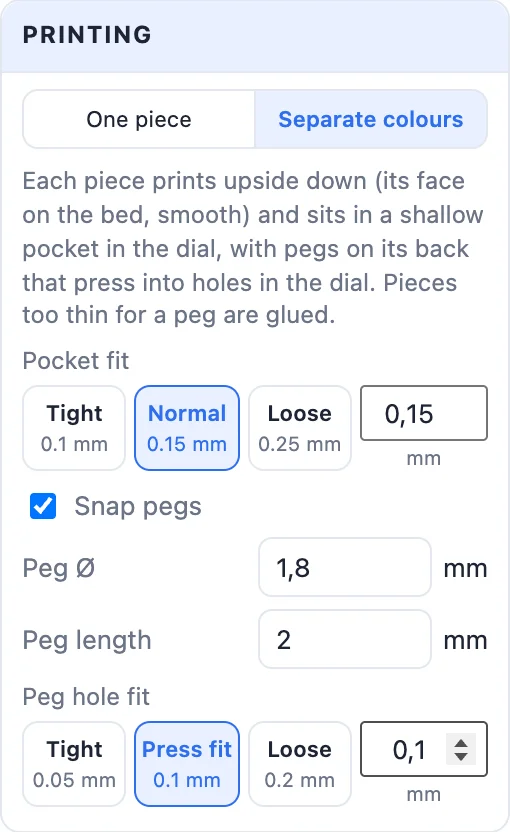
- The numbers, marks, texts and waves become pieces that print face down (smooth) and sit in shallow pockets in the dial, with small snap pegs on their backs that press into holes. Untick Snap pegs to glue them instead.
- Pocket fit and Peg hole fit have Tight / Normal / Loose choices - more if your printer prints a little wide.
- The info lists the print jobs by colour: the dial in one colour, all the pieces of each other colour together.
- A rim in another colour is glued on, or - optionally - printed with the base as a tray the dial clicks into. A honeycomb or web frame is glued edge to edge, or optionally clipped under a ledge.
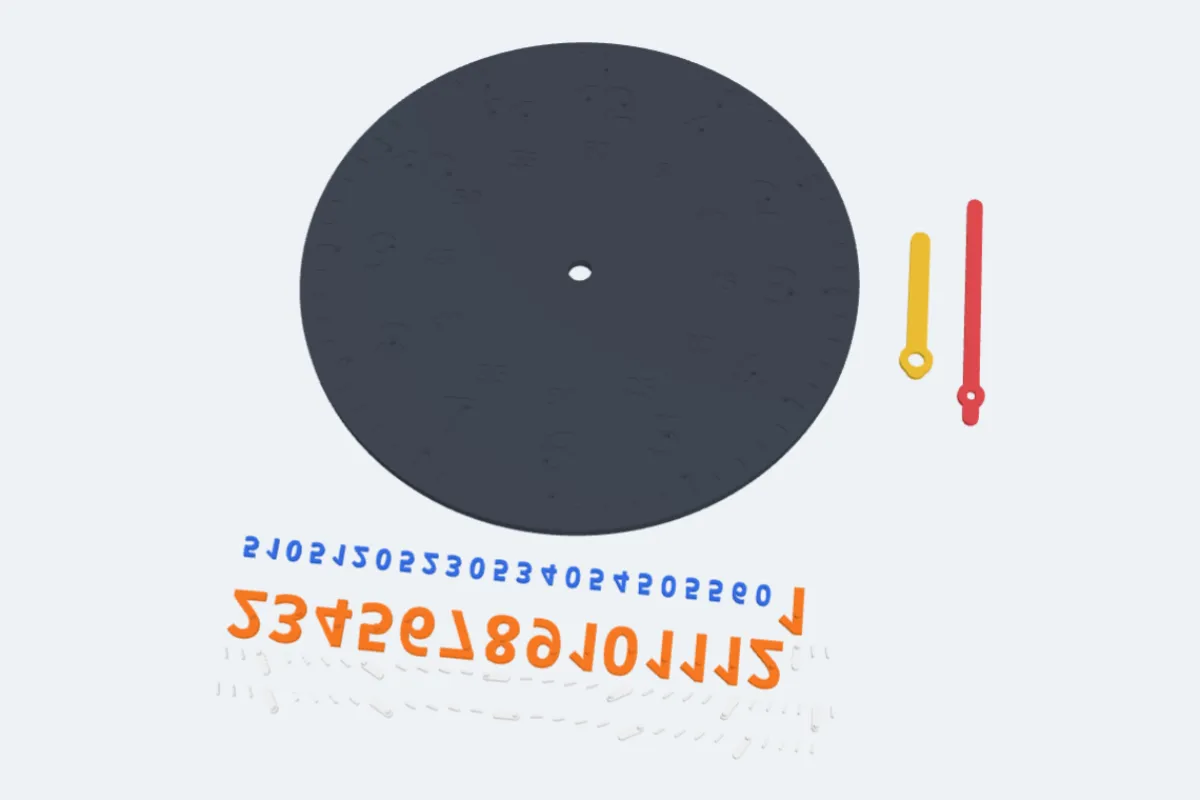
Layout: For printing lays the hands (and loose pieces) beside the dial, flat; Assembled shows the clock put together at the time you choose. A sticker on the dial always prints in one piece (its colours are inlaid side by side).
Print the dial and hands in PLA or PETG at 0.2 mm layers; hands look best at 0.12-0.16 mm. Push the hands onto the movement's shaft in order - hour, minute, then second - and tighten the nut.
Questions
Which clock movement do I need?
A standard quartz clock movement (about 56 × 56 mm) with a threaded shaft. Pick Standard, Long (for thick dials) or Mini, or type your own sizes. Measure the shaft's thread length: the dial must be thinner than that at the shaft - the generator cuts a pocket in the back when it is not.
Can I print it on a printer with one colour?
Yes, two ways: change the filament at the height the panel gives (raised marks and numbers start at the dial's top), or choose Separate colours - every colour prints on its own and the pieces snap into the dial with small pegs.
How do I print the clock on a multi-colour printer?
Keep One piece, click Create clock and Export ▸ Multi-colour 3MF. Every colour is its own part, already set to its own filament in Bambu Studio, OrcaSlicer or PrusaSlicer.
The hands do not fit my movement - what do I change?
In the Hands card set the hour hand's hole, the minute hand's hole and the width across its two flats, and the second hand's hole to what you measure on your movement. Add 0.1 mm if they are too tight.
Can I draw my own hands?
Yes: choose My own in the Hands card, then Draw it… for each hand. Draw it pointing up from the red hub; it is used at the size you draw it. Or upload an SVG.
Can a text go outside the clock?
Yes: untick Lock to the clock on the text, then drag it past the edge. It sits on a rounded tag in the dial's colour, joined to the clock.
Make your clock now
Open the clock generator, pick a style and make it yours.
Make a clock nowAlso see: sticker generator, lithophane maker, keychain generator and all guides.